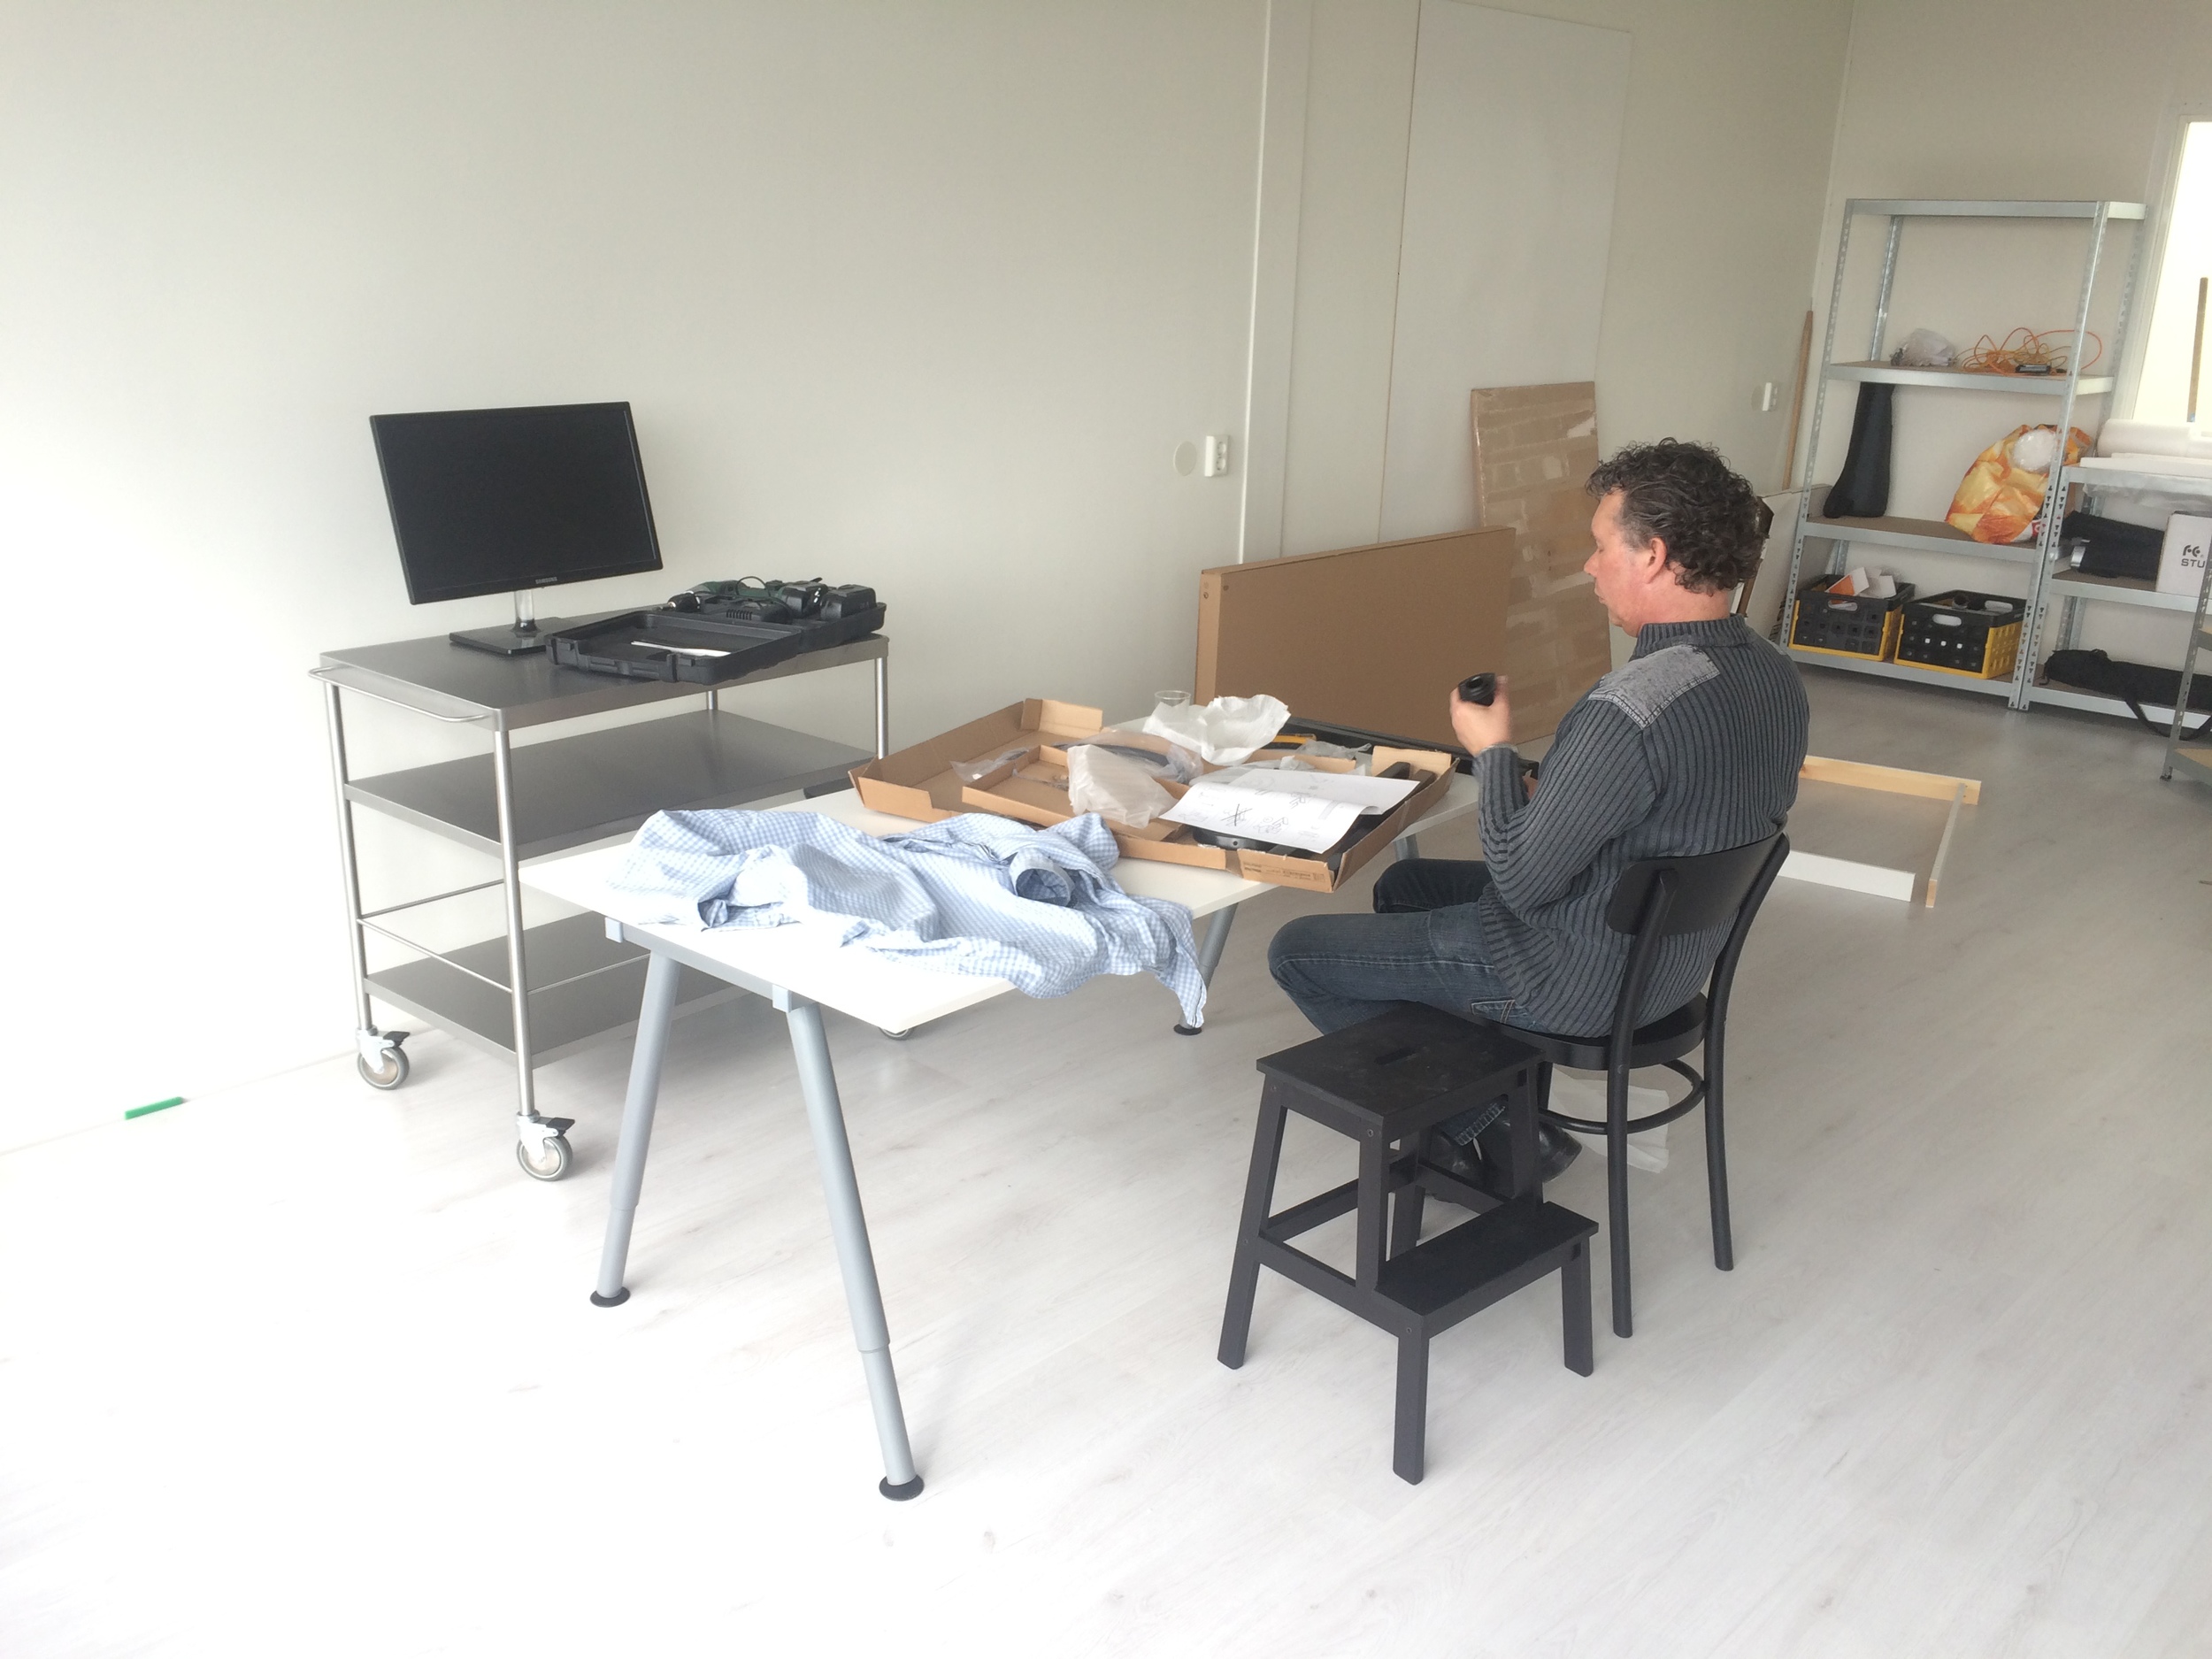
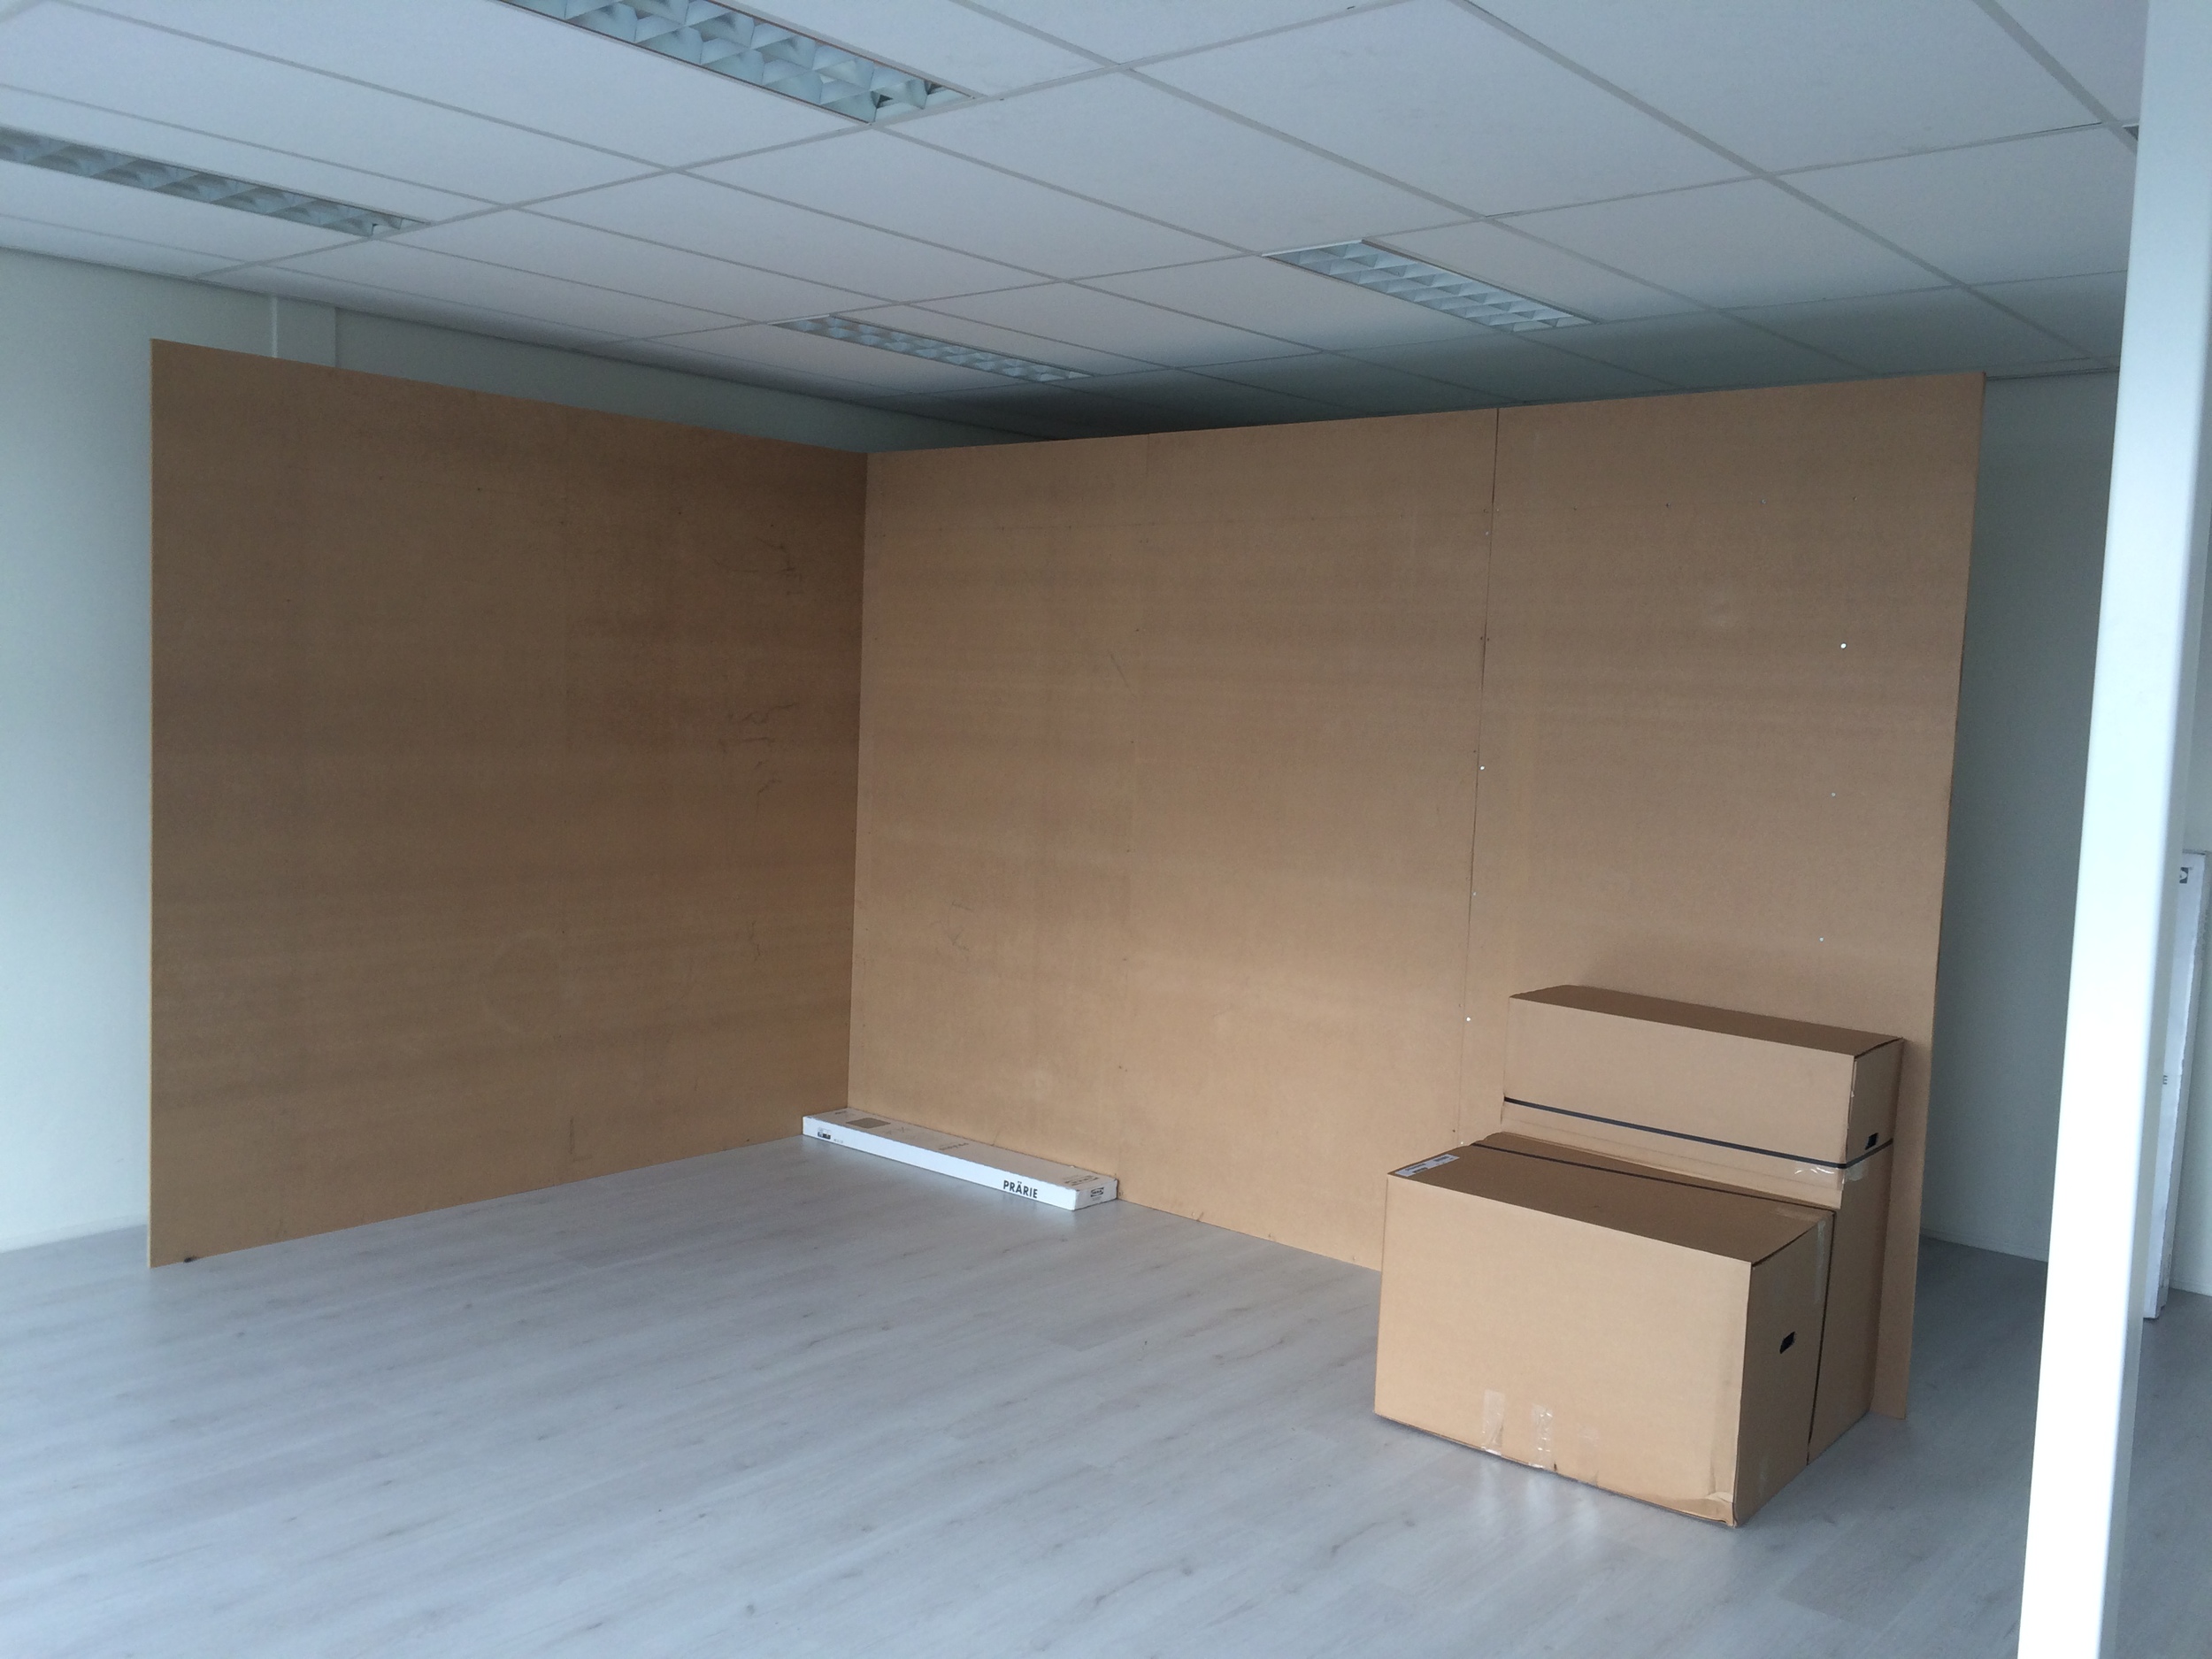
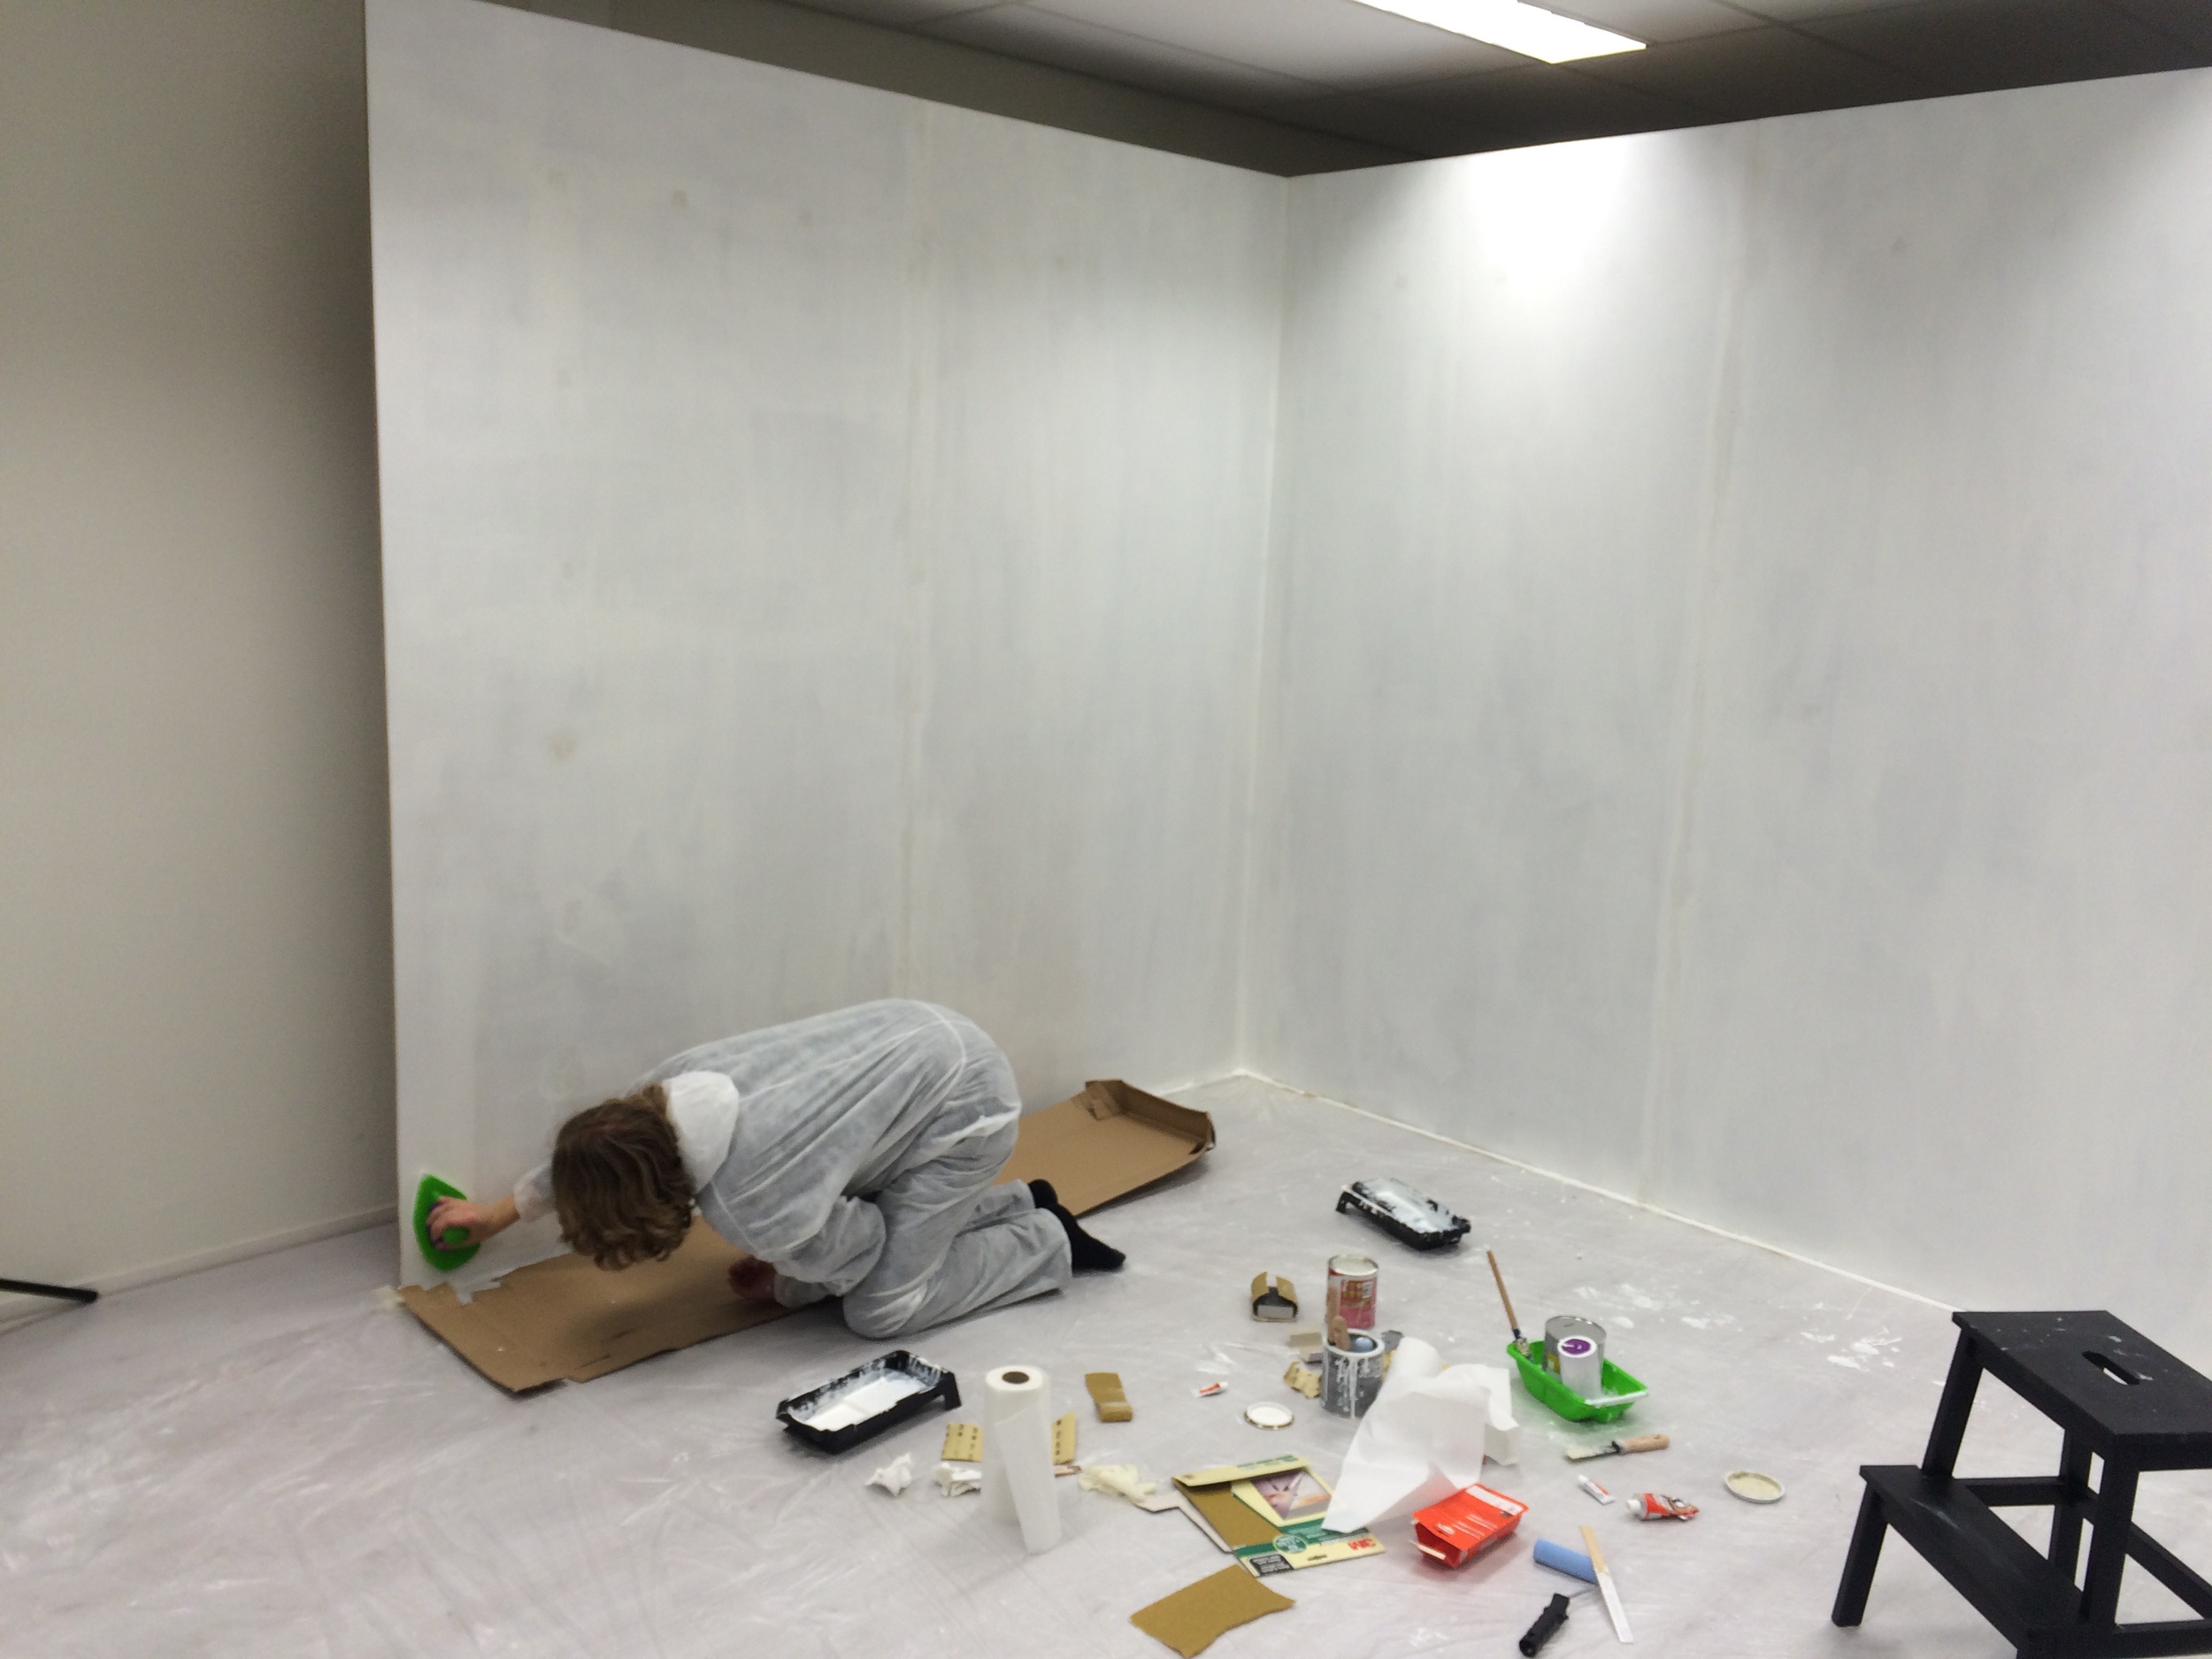
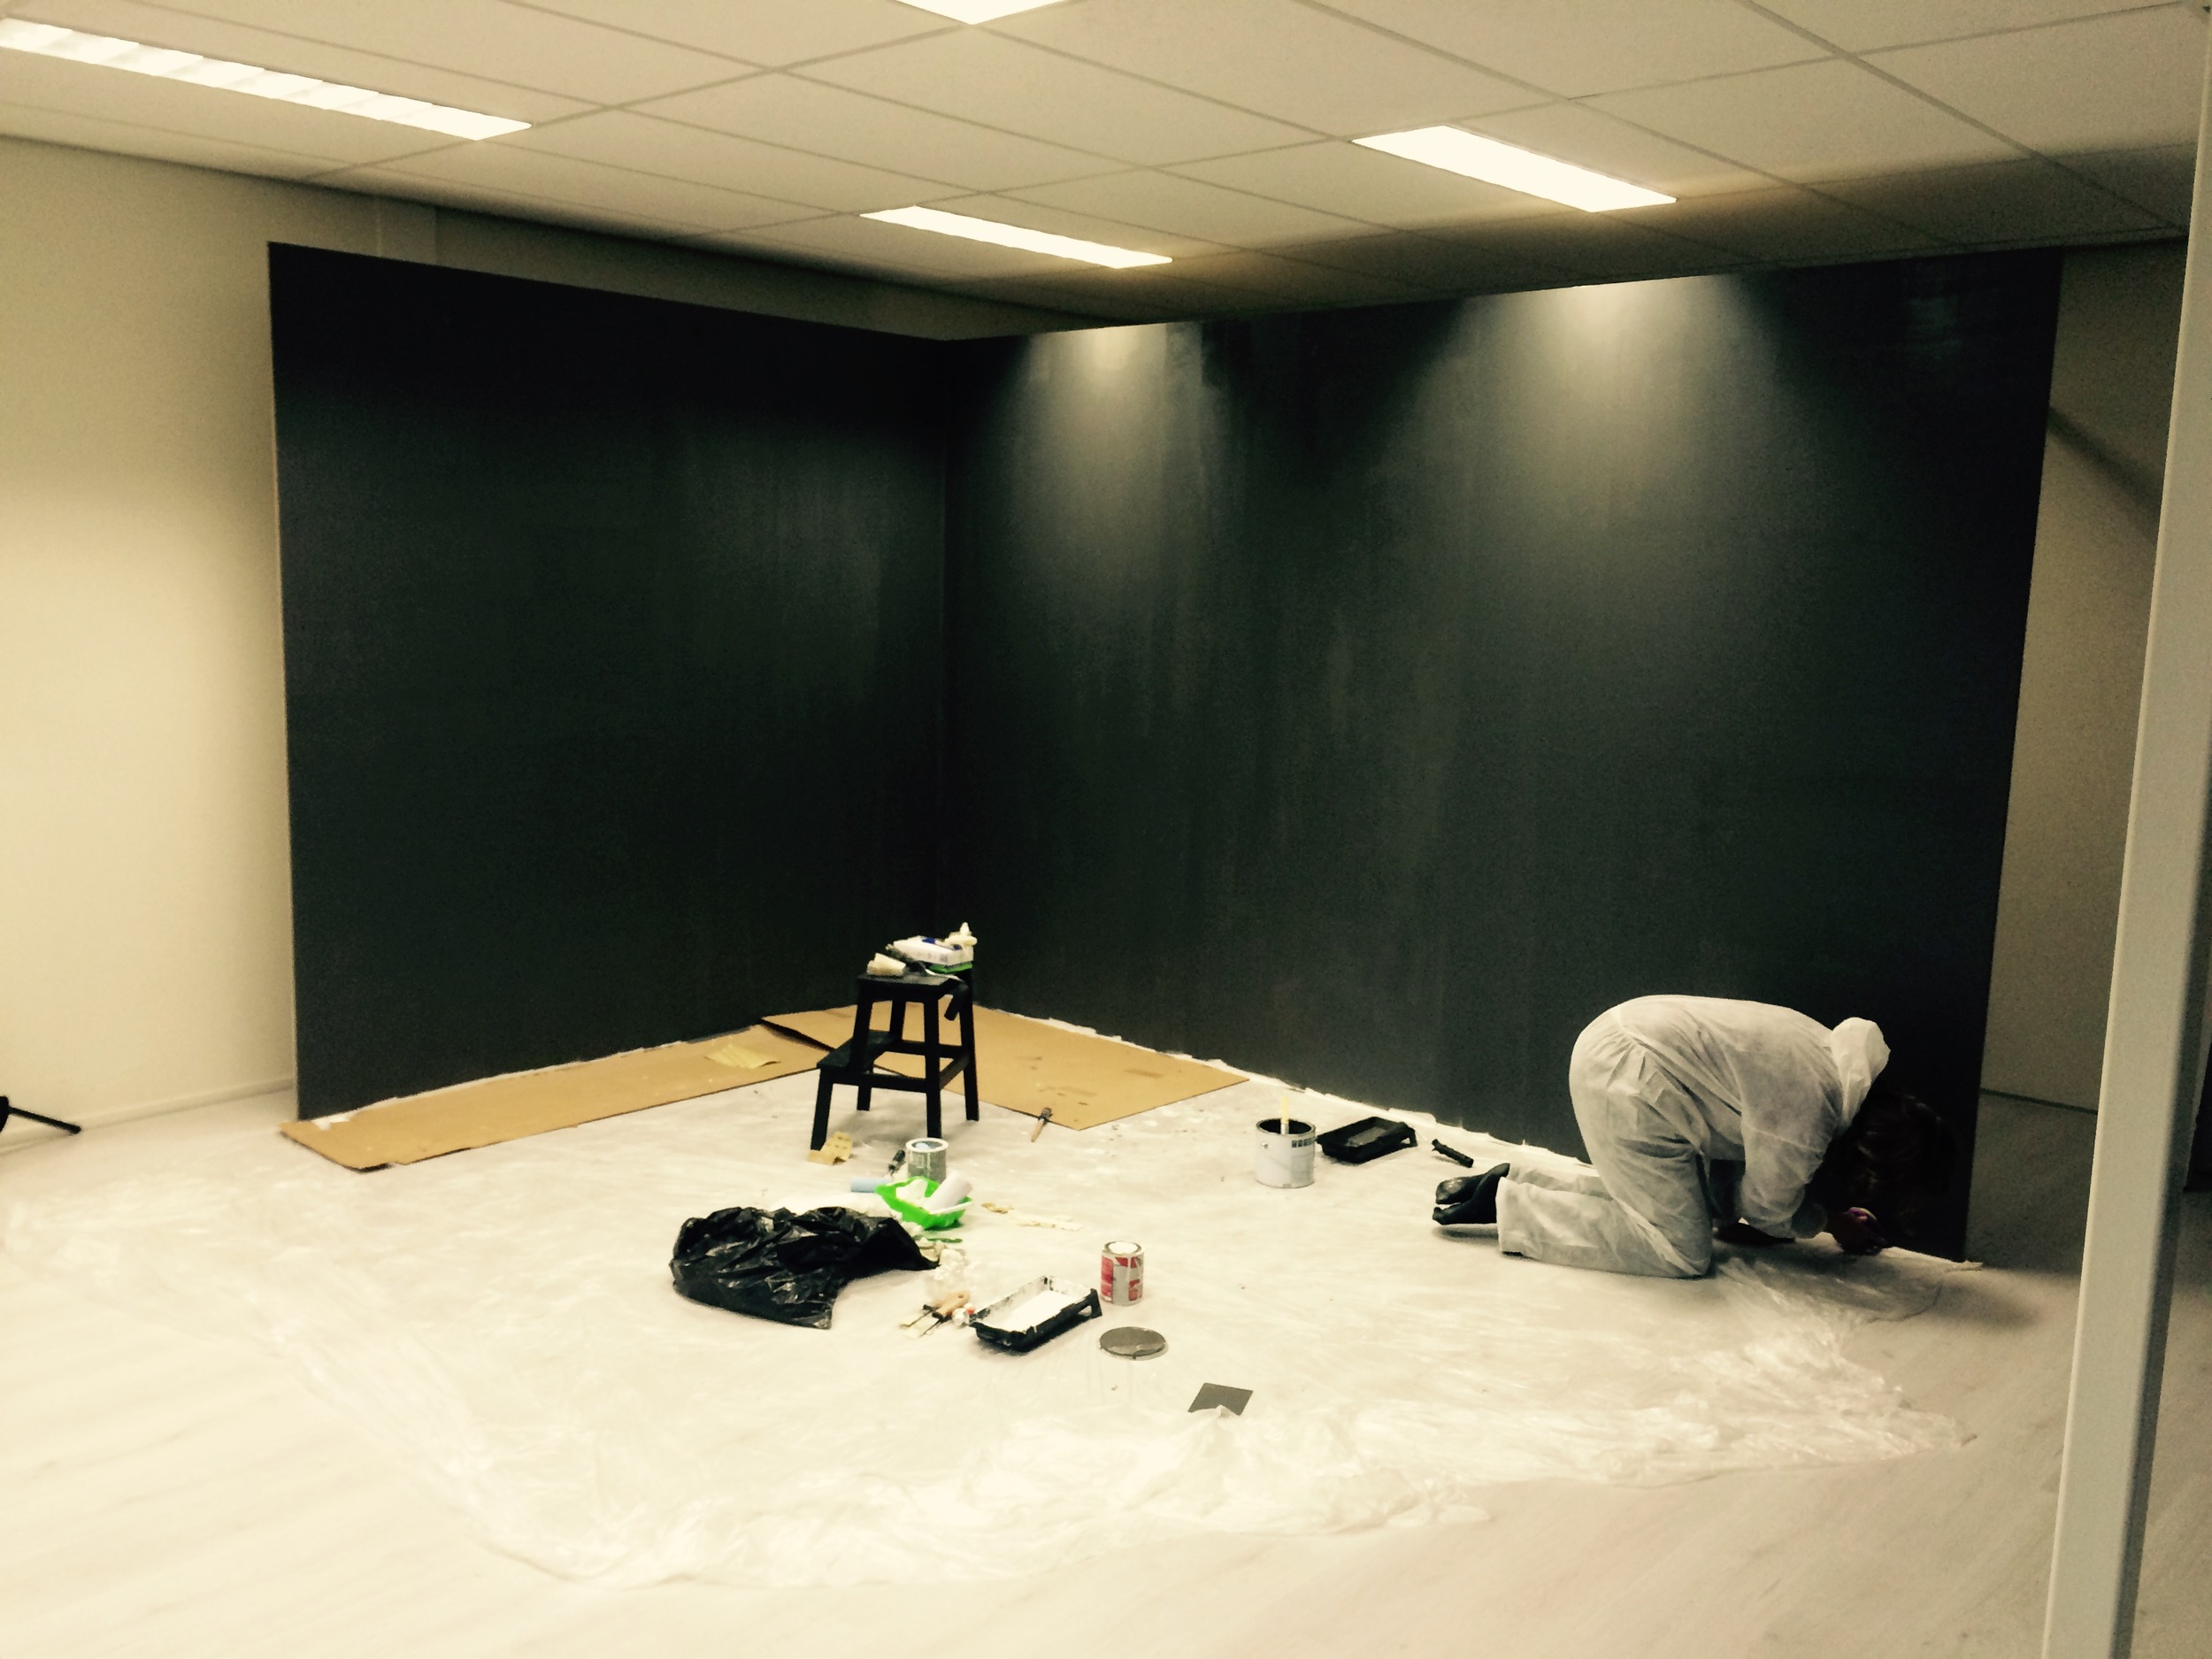
Nieuwe fotostudio in Nieuw Vennep!

Voor iedereen die zich afvroeg waarom het zo stil is de laatset tijd. Nou hierom! Ik ben de afgelopen weken druk geweest met het bouwen van mijn nieuwe helemaal eigen fotostudio in Nieuw Vennep! Hierbij even een paar eerste foto's van het bouw proces binnenkort meer als het klaar is!
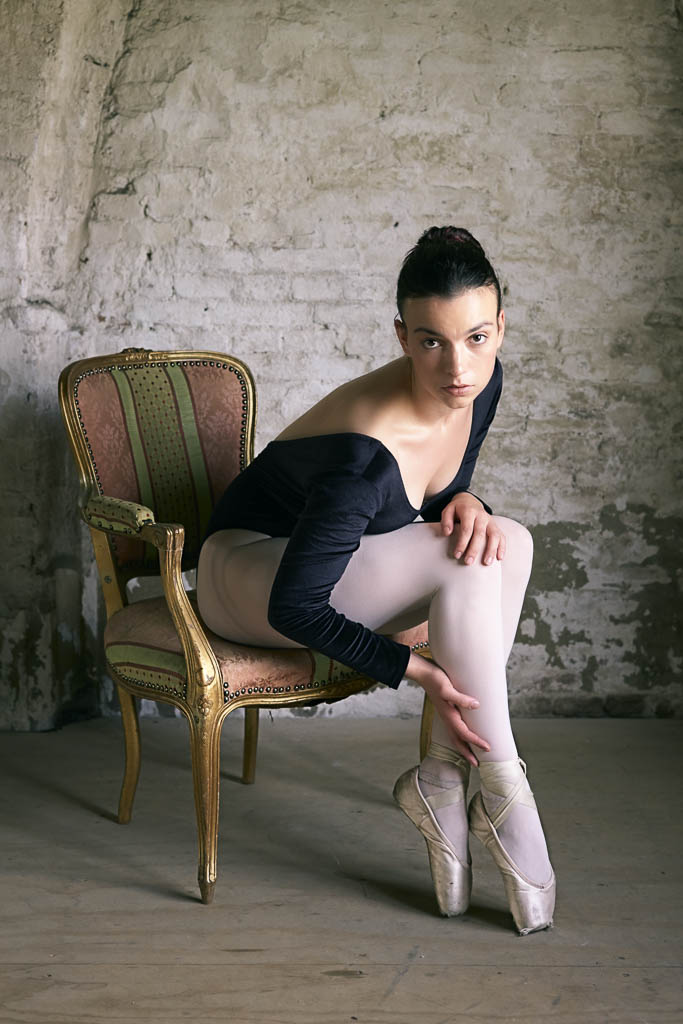
London Dance shoot with the XT-1
Recently I went to London for a business trip. I also did a photoshoot with two dancers. To keep my gear as light as possible I took the risk of only taking the Fuji X-T1 with the 35mm 1.4 and 65 1.2 lens, a Fuji X100 camera, a YoungNuo YN560II flash and Cactus v5 triggers.
The day of the shoot was the third day of my trip and unfortunately the charger of my X100 died, so I had only the X-T1 and the 35 1.4 and 56 1.2 lens left. For modifiers we bought a small Ezy-Box nock-off at the Calumet store in London.
Location Scouting
The second day of my trip we went location scouting. We found a couple of locations on a small walk from Convent Garden to the south bank. When we wanted to start shooting at the first location, the garden behind the church at Convent Garden, we got asked if we had a license and since we didn't knew, we got send away.
First Shots
The second location was a small alley near Trafalgar Square. It was a lovely ally for some portrait work and some warming up shots.


Trafalgar Square
If you are shooting in London you better show you are in London. So the second shooting location was on Trafalgar Square. This was a great location to shoot. The only big challenge was that I only had a 35mm (50m eqv) lens as widest angle. So to get everything in the shot like the high statue there was nothing left then getting really low, Like put your head on the pavement low.


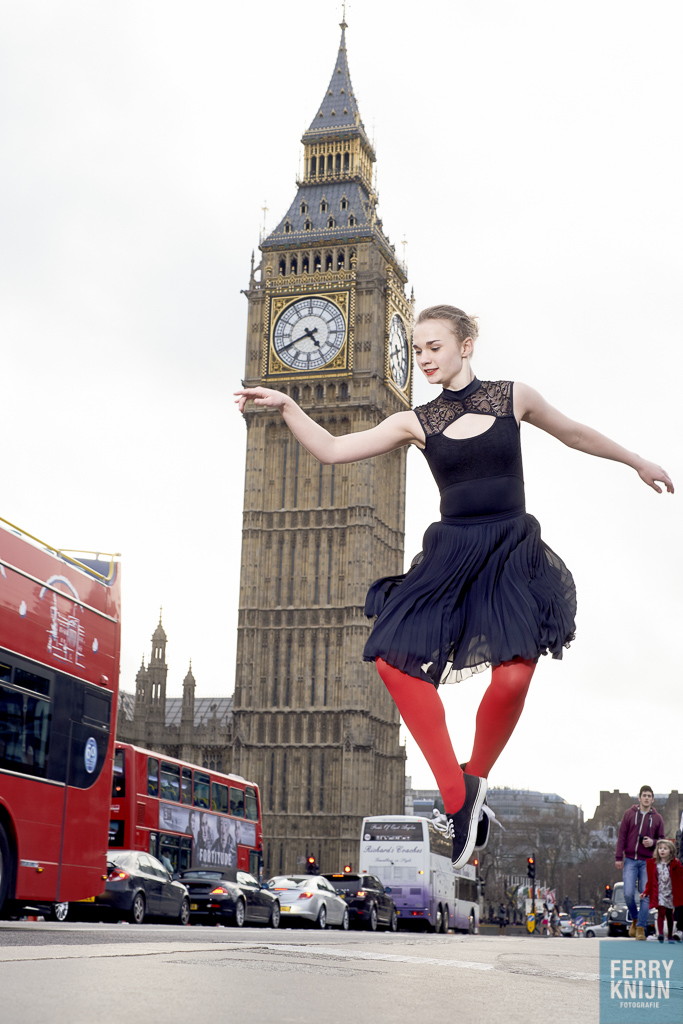
Westminster Bridge
If there is one landmark screaming London, it is the Big Ben. So we went to Westminster bridge for the last photo's with the Big Ben on the background. It was pleasent to see how the Crowd reacted and just walked calmly past us.


The verdict about the X-T1
The Fuji X-T1 is a great camera. But not for things that move. 7 out of 10 shots the focus was wrong. This doesn't makes the Fuji X-T1 a bad camera, but for dance and action photography the X-T1 is not the camera. During the shoot I was wishing I brought my Nikon D800 or D610 with me. Although they are a lot heavier, the focus tracking is great.
For the portrait and street work the Fuji X-T1 one worked great. Currently I am in doubt about getting a wide angle 14 or 23 mm lens for the X-T1 for some more wide stuff or upgrading the X100 to a X100S or T. But they stay additional camera's for travel or when I need to go light. Also they are great for portrait and studio photography. But when the chips are down I rather go for the Nikons DSLR camera's.
Besides talking about camera's, trips to London are always fun. Also having the possibility to photograph two really nice ballerina's is always great! I had a great time and can't wait to go back again! Hopefully even later this year!
Why you don't need the most expensive fast Glass
Hi All,
There is something I wanted to share for a while, so here it is. I hear al lot of people always go, you need the most expensive glass and the fasted apertures, Get the Canon 50mm 1.2L for the smallest depth of field and so on. But there is a catch especially with portrait work. And that is what I am going to talk about.
I have for my Nikon kit one lens I do almost everything with. This is the Sigma 24-105 f4! Yes f-FOUR!!! Not 2.8. So most people say, they are bad for creating a Small Depth of Field. But they always forget there is always focal length and distance to subject in the equation. I made a small table:
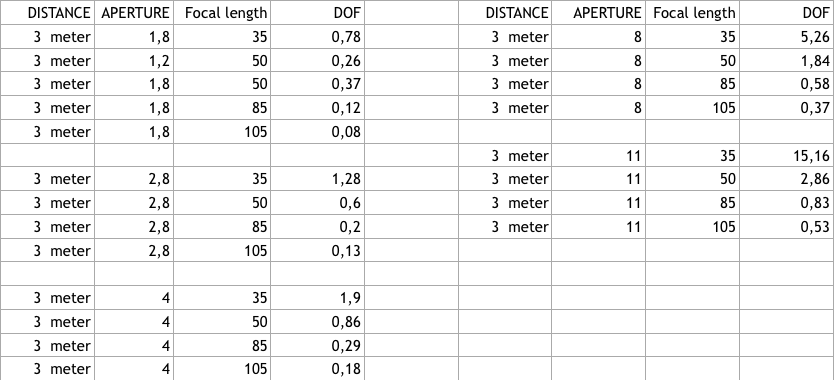
Nikon D800/Sigma 24-105 Art @! 105mm 5.6
To make it a fair comparison I calculated everything with a 3 meter (30 feet) distance, with the most common used focal lengths. What you now can see is that with the Sigma 24-105 I can have a smaller Depth of Field at F4 than you can get with the 2.5x more expensive Canon 50mm 1.2L lens at 1.2.
This gives me also some extra advantages. I want to control my light, using strobes at 1.2 apertures is not really easy because a lot of studio strobes don't get that low and to kill the ambient light you have to start using ND filters. Also the compression for portraits at 105mm is beautifull. 50mm lenses are great for environmental portraits. But headshots are not flattering with 50m lenses. For people shooting portraits also take a look at an 85mm 1.8, you can get even smaller DOF with that than the 1.2
But whatever you do, never forget, a small DOF can be beautiful, but hell to focus. When people move maybe an inch it can make or break your shot. So a lot of time you even won't be shooting at maximum aperture, but more at f8 or f11. So you don't even need to buy the most expensive lenses to get great portraits.

Fuji !00 @ f2 with 1/1000
With Cropsensor camera's
The table above is calculated on 35mm/Full Frame camera's. Nowadays there are also a lot of great (mirrorless) crop sensor camera's like the Fuji's. The Fuji 56 1.2 is a killer portrait lens! And for the table, on 1.2 at 56mm you can get a 0,14 DOF! So don't come with the story you can't get a small DOF with a Crop Sensor camera!
With Medium Format
Or take a look at an old Hasselblad like the 500c/m with a 80mm 2.8. These baby's may be analogue, but still rock! I currently use to and love shooting with them and the quality and look is so great! For the table, at 2.8, 80mm you get an 0.38 DOF, so also small. And I can tell you, you will shoot the camera at f8 or f11 almost every time, because getting focus at f5.6 or lower is a challenge!
And with some nice film like Tri-X or Fuji Velvia, Scan them big (you can scan then up to 60mp eqv) and print them.
So I hope this helps you not to feel bad at not having the most expensive fast glass. You can do it with less. And yes the expensive lenses will be sharper and faster and all that. But it is still the photographer who seek the light, creates the composition and takes the pictures!
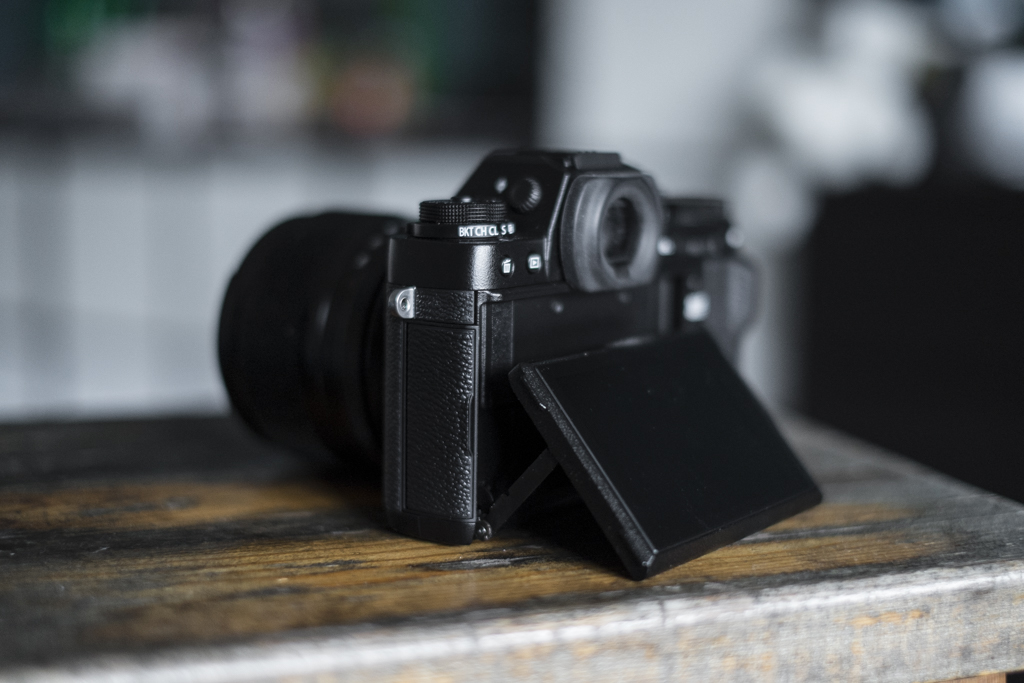
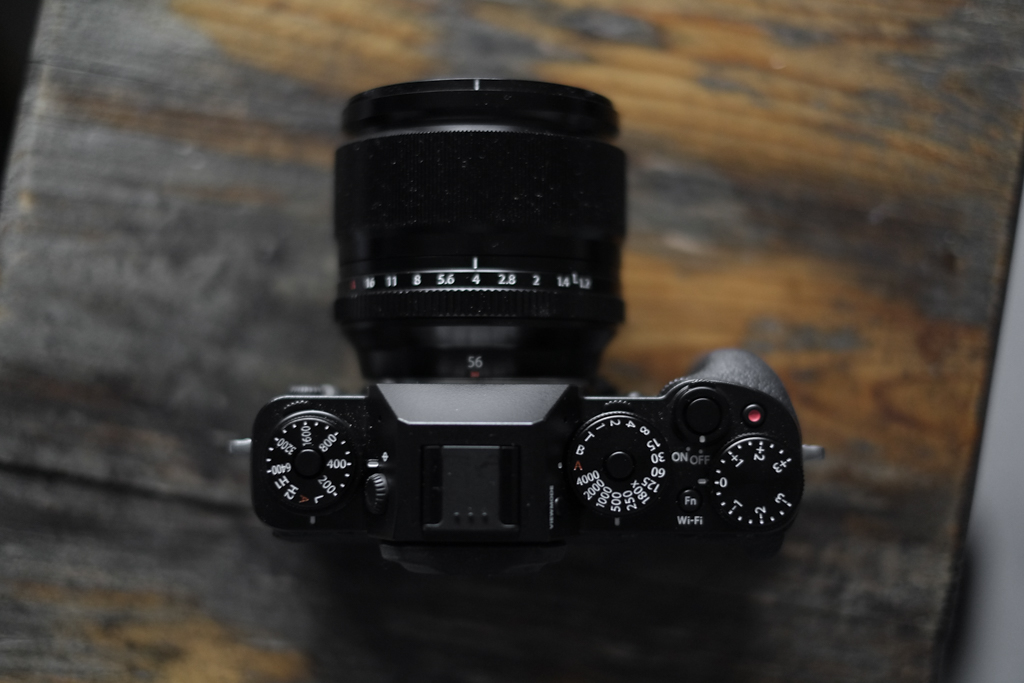
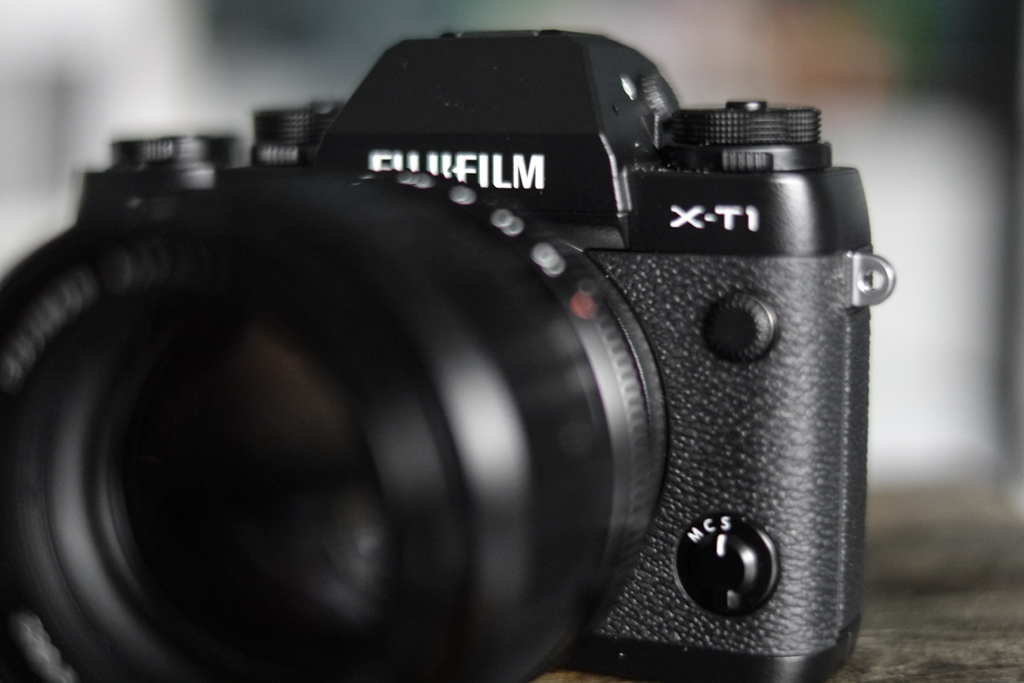
Street testing the Fuji X-T1 with a portrait sessions
Review of the X-T1 while doing a portrait shoot on the street of Amsterdam.
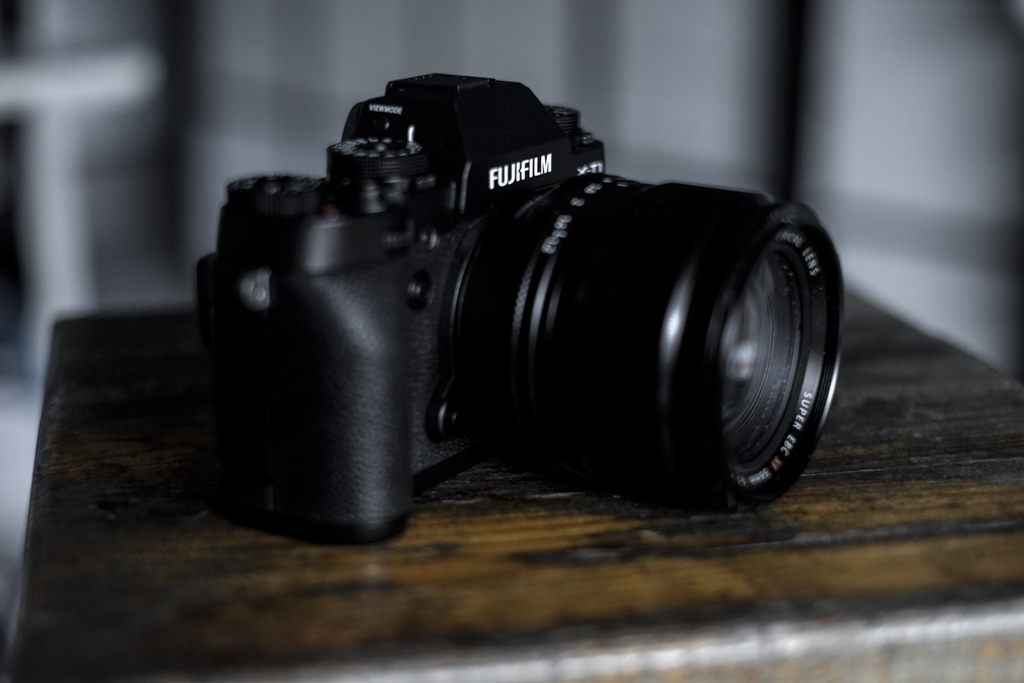
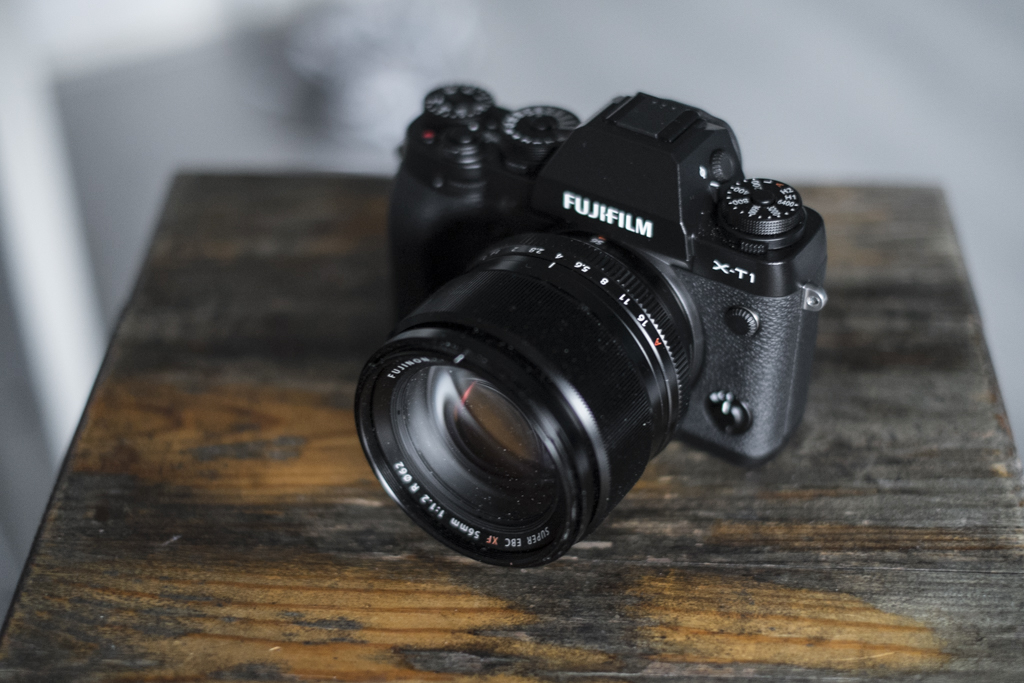
Last week I traded in my Fuji X-E1 with the 18-55 lens for a Fuji X-T1 body. I really like the concept of the Fuji camera's. Their compactness, weight and a good image quality. But the slowness with image writing of the X-Pro1 and X-E1 let me grab my Nikons faster for jobs then the Fuji's. So I thought to start getting rid of my Fuji gear and start to try Olympus. But after comparing the OM-D E-M5 and the X-T1, there started a feeling to give Fuji a last chance. The main reasons were that it felt more responsive then the X-pro1 and for me the biggest issue, being possible to view the pictures while it is still writing to the card. The large viewfinder is awesome! But also a great dust collector. Another reason was that I already have the Fuji 35 and 56 lenses and I really don't like the standard Olympus 12-50 lens which is the kit lens for the OM-D E-M5. Other pro's are all the controls you really need are on the body, So if you want you would never have to go into the menu's once you set up the camera.

The portraitshoot
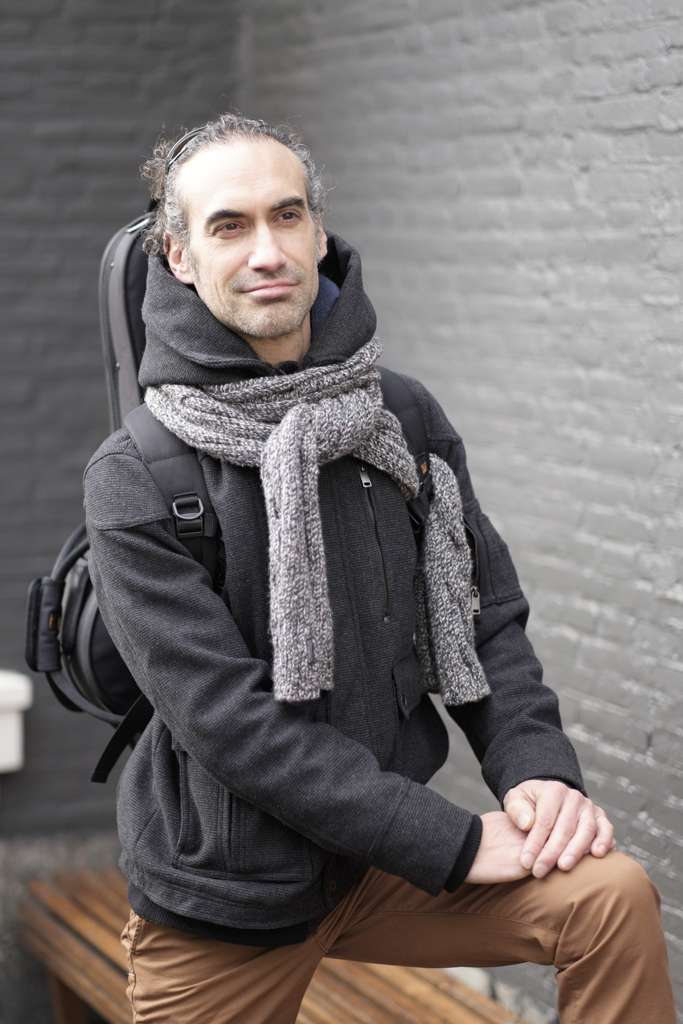
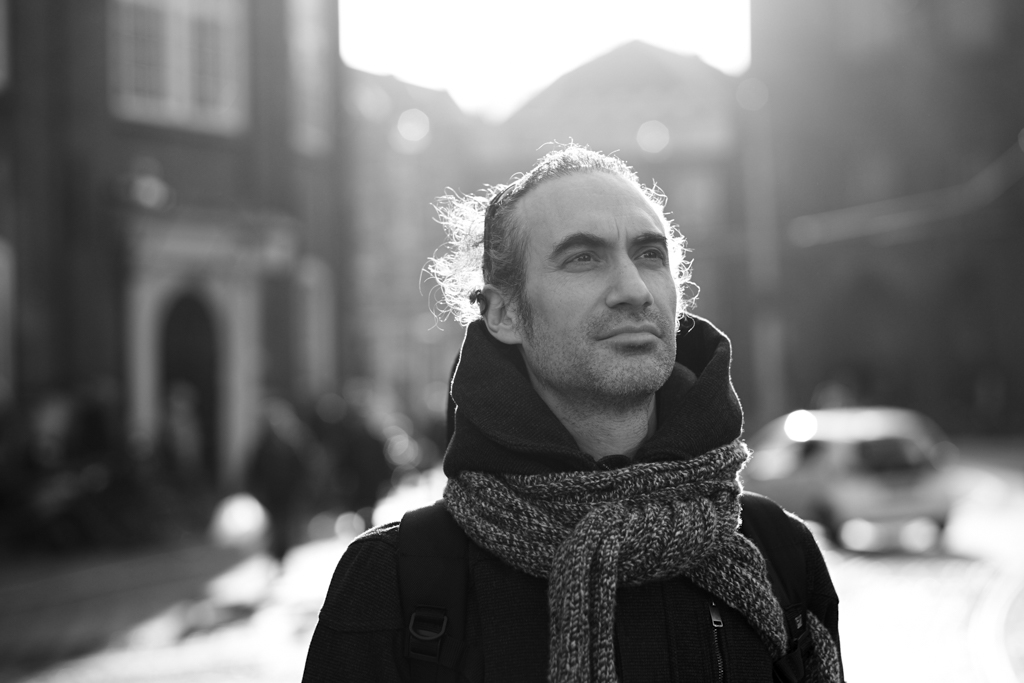
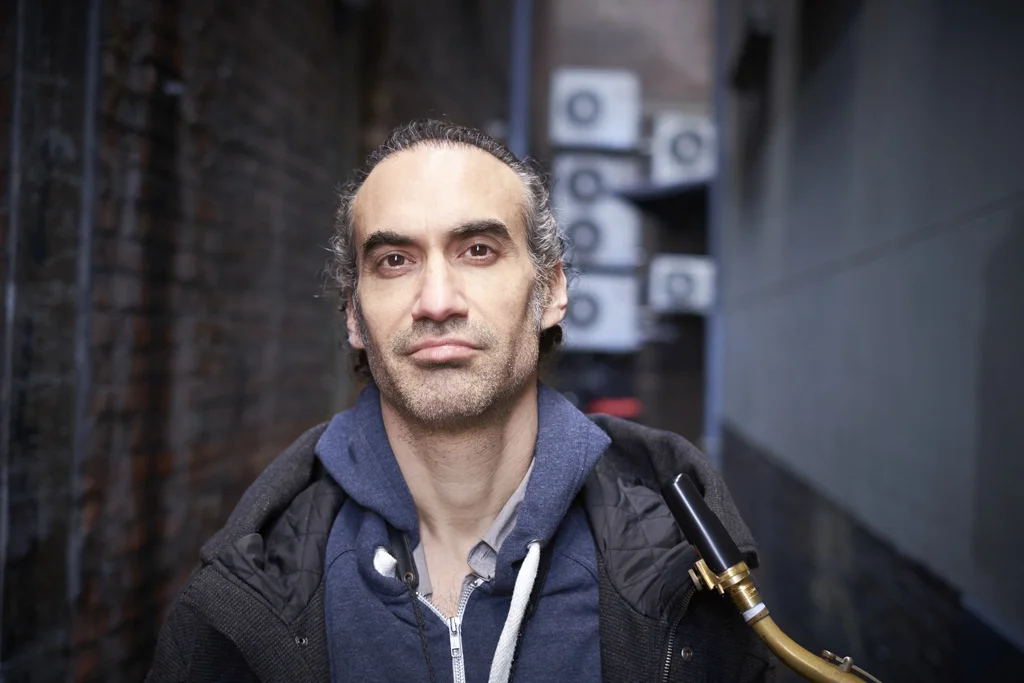
Due to traffic/weather Issue a big shoot was cancelled, but when the weather cleared later that morning I really wanted to go out and test the camera. So I called a musician who wanted some new portrait shots and set up the shoot on the streets in Amsterdam.
For me the scary part was that I wanted to travel really light. But have everything I needed, so I took the X-T1 with the Fuji 56 1.2 and 35 1.4 lens and a X100 for the wide stuff. All lighting had to be done with available light.
Once on the location I took an hour with my assistant to scout the location and we found around 5 nice spots.
I met Efraim in the musicstore Hampe on the Spui. From there we started our session. In about 50 minutes we had all the shots we needed.
The results
Before I start discussing the results I would like to start with saying how much I was Impressed by the original X100 camera! It's still a great camera with good results!
I first started editing the photo's in Capture One Pro 8, but with these type of session somehow I feel Lightroom is faster for just basic editing and handeling the Fuji RAF files. So FYI almost all the photo's have had bass raw editing.
RAW vs. Jpeg
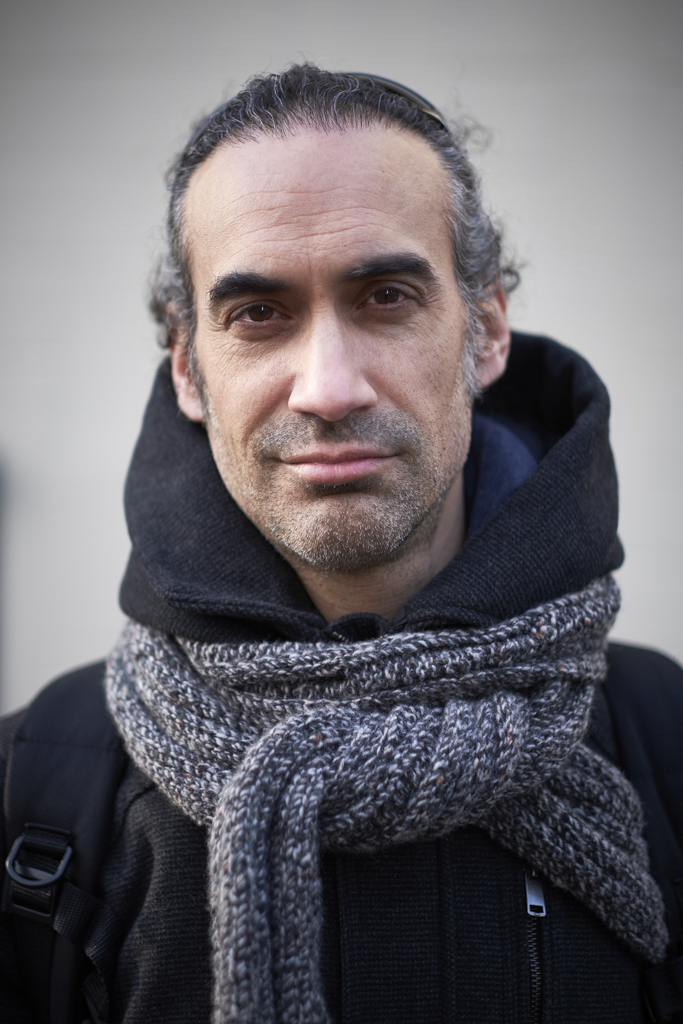
With the Fuji's I always shot in Raw and Jpeg mode. I liked the colours and feel of the Jpegs, but not for when I have to do some editing. In Lightroom 5 We got the possibility to add a profile to match the color/feel to the Raw files of the Fuji, But with my X-pro1 and X100 photo's these profiles where not good enough. Now with the X-T1 Raw files I must say the results are way closer. The raw files are a little bit more blueish, but the rest was pretty close! Below are a RAF file with profile and a jpeg

Dynamic Range and ISO
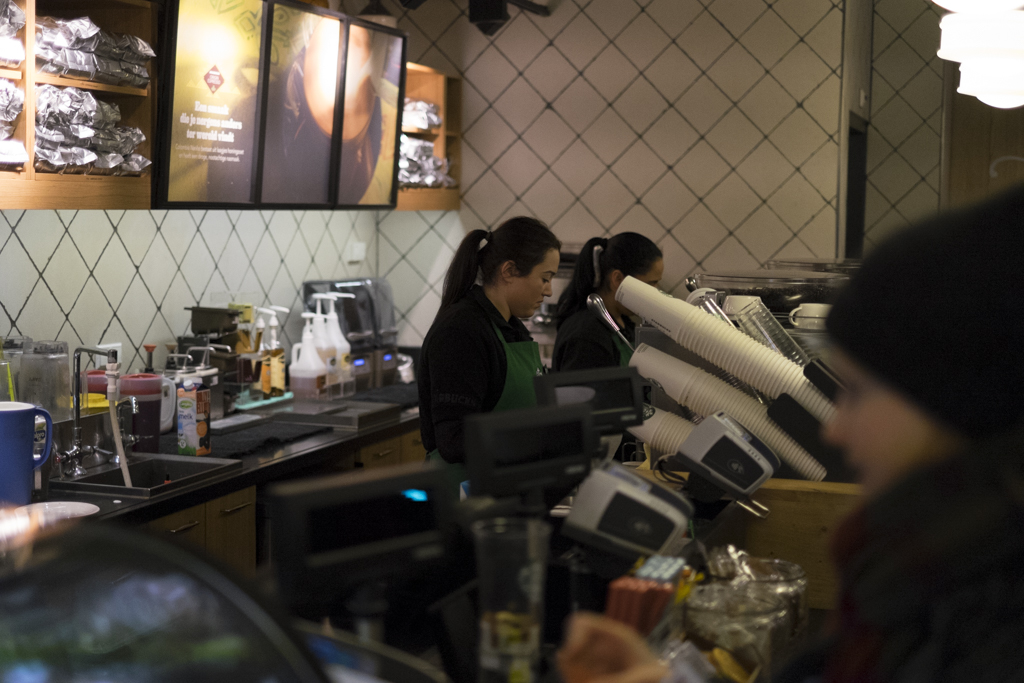
Something that I must give Fuji a lot of credit for is the Dynamic range. It is really great. I took some photo's staring directly into the sun and still there was enough detail left! Although I would wish Fuji could go natively to RAW ISO 100, the ISO range is great, Even add ISO3200 you get great files (which the Starbucks photos, ISO100 straight out of camera). The only thing I don't like is that the Raw images feel a little soft sometimes. But they have this Filmlike look. So when I need more sharpness I still prefer the Nikons/Olympus camera's. But I also have to say all these picture are between f1.2 and f4. So in the studio I have to really test this on higher Apertures with some flash added.


Final Thoughts
For what I have tested now the Fuji X-T1 is a great travel camera, and fuji is started to produce some really great camera's! I heaven't fully tested it yet but I think I will like this camera. Somehow I am still waiting and hoping for the Fuji X-pro2 to come out to decide if I will stay with Fuji. I love the Rangefinder style and the OVF, I was really missing that on the street and even made me a little longing back to the Leica M type 240 I tested some months ago (read the review HERE). So to be continued.....


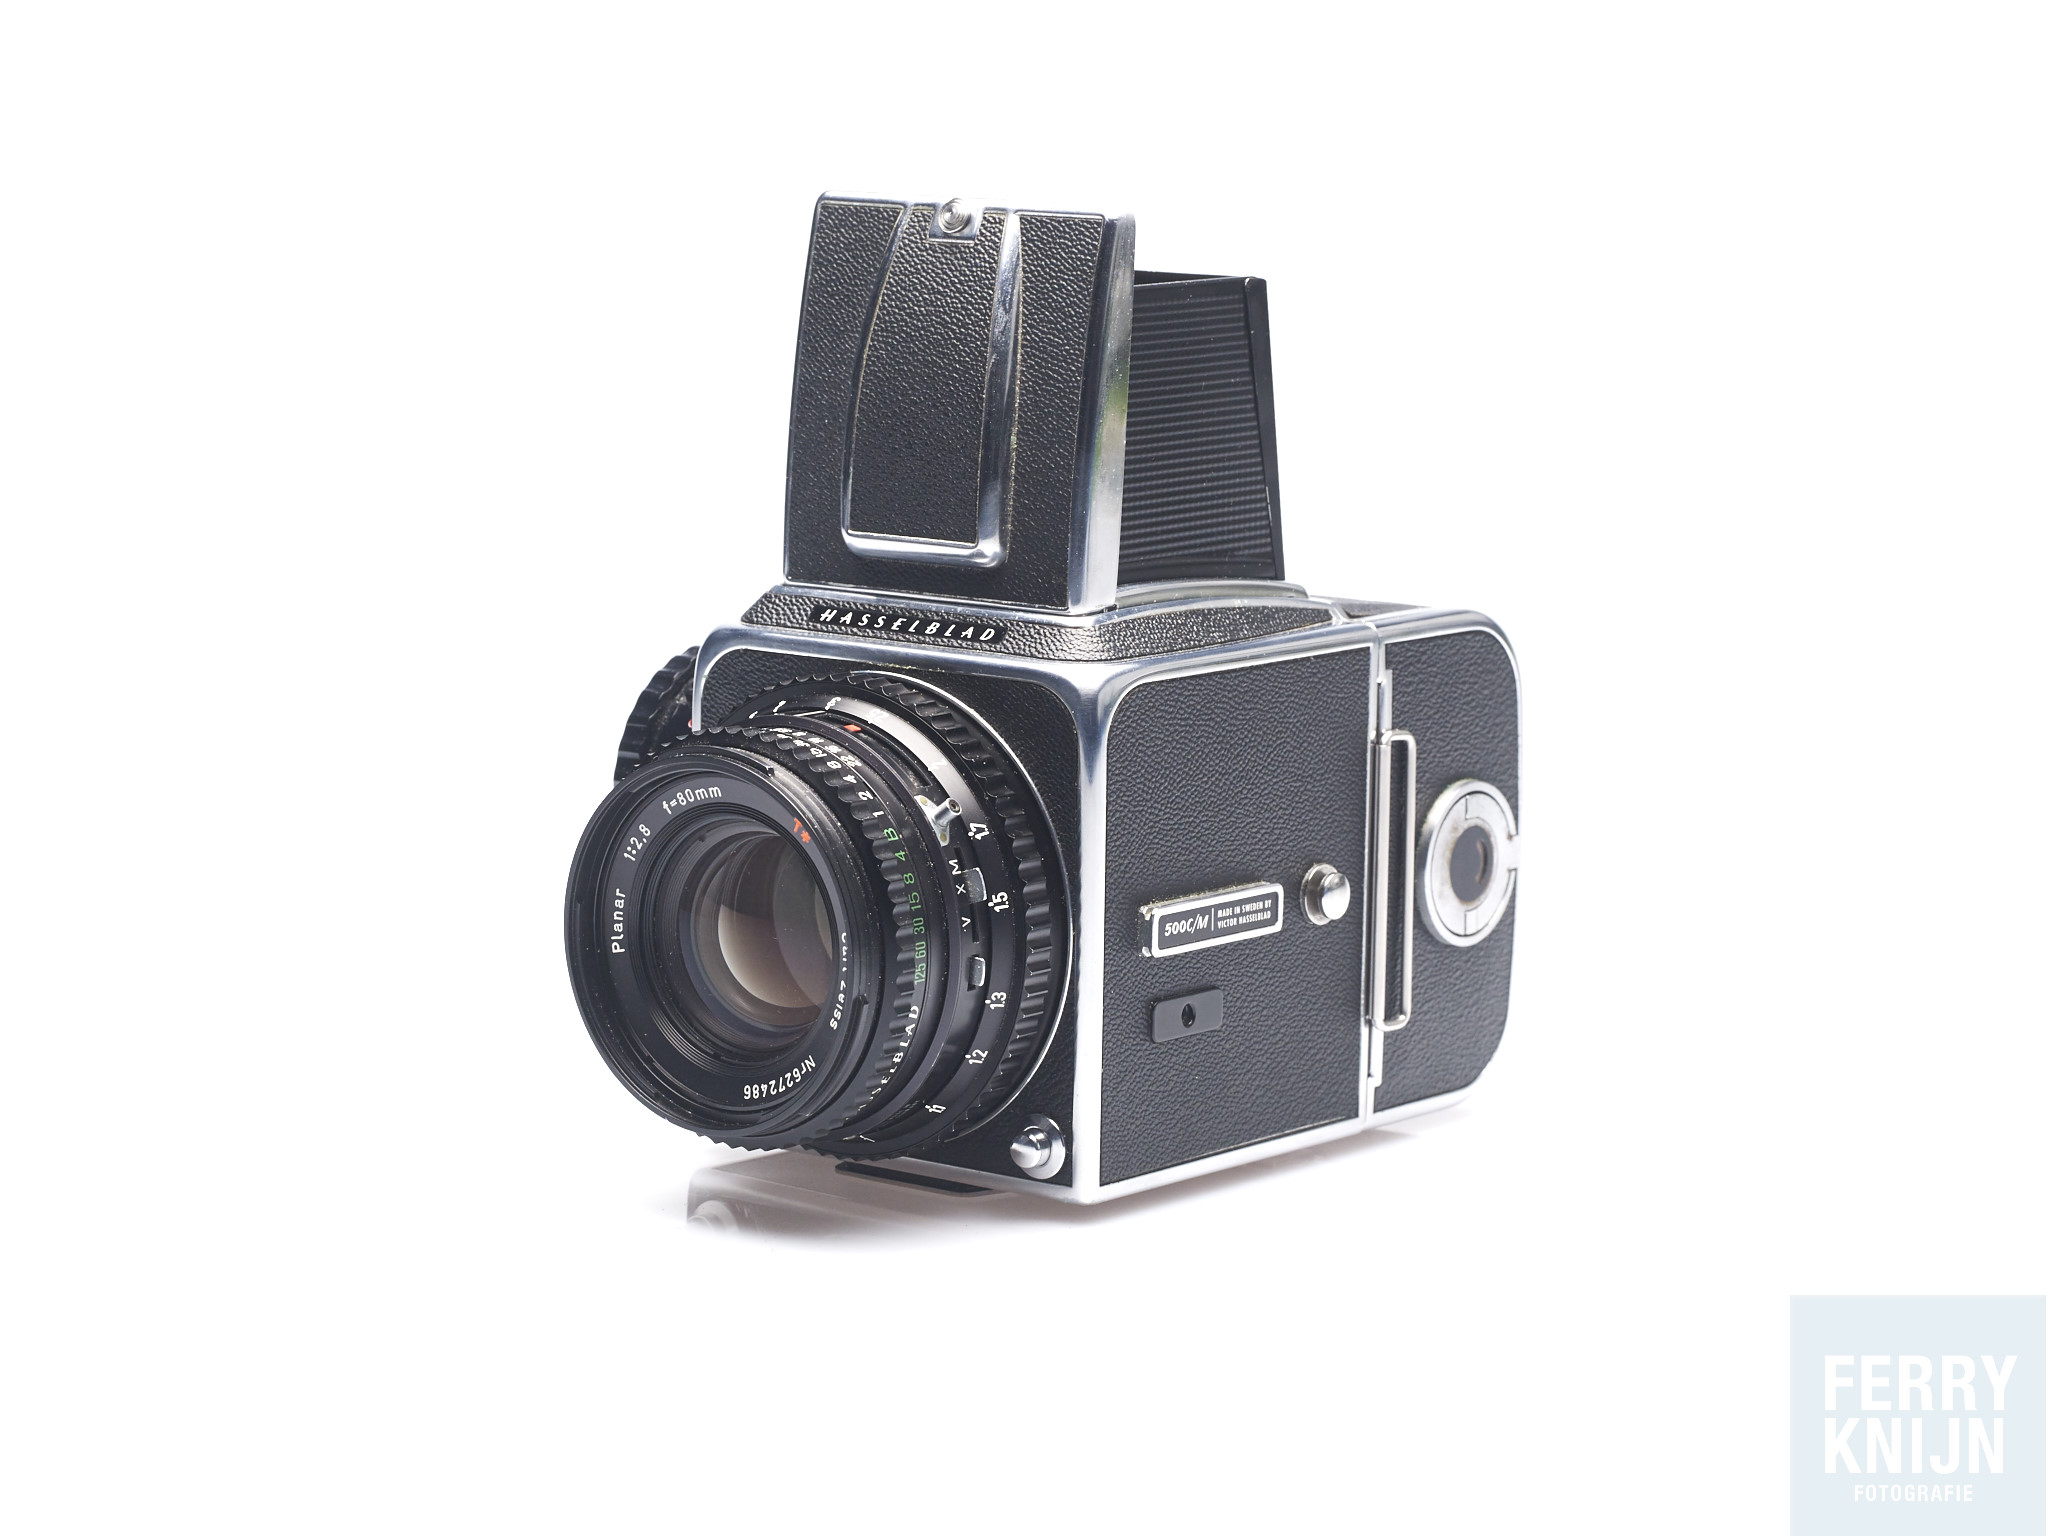
Review: Hasselblad 500c/m with a Phase One P30+ Digital Back
Last week I had a Phase One P30+ digital back on loan from the people of Eyes on Media Amsterdam. To start, I love working with my analog Hasselblad 500c/m camera and a Carl Zeiss 80mm 2.8 lens. But the only downfall is the speed, and not the working speed, but the time before you have your work back. So I started looking for a digital back. Since they are quite expensive (over 8k) I was glad I could loan one from Eyes on Media.
Shot with: Hasselblad 500c/m and Phase One P30+ ISO 100, 1/200 at f11
The P30+ Back
First for the spec lovers, the Phase One P30+ Was released in 2007 and has a 31.6mp, 16-bit sensor with a 100-1600 ISO range. It has a 1.25x crop factor which makes 60mm eqv on 35mm. Storage can be on a CF card or done by Firewire directly to your computer using Phase Ones Capture One. The back has a 2.2-inch 230,000px TFT display. To connect the display with the camera you need to plug a cord between the lens and the P30+ back. The V-mount back is also designed to have a seamless fit with the design of the Hasselblad 500c/m, but not as beautiful as the Hasselblad CFV-50c. Another nice thing is that you can turn the back 90 degrees to portrait mode.

Working with the Phase One P30+ back
Working with the Phase One P30+ Digital back is pretty easy, it has only5 buttons. I am not going to explain all the buttons, but believe me if I say they work intuitively.
I did two sessions with the back, the first was on location, but I didn't like the images. That was not the P30+ backs fold! I used a new Hasselblad 500c/m (another one then the one I use normally) which I did not had tested enough. The photo's where OK, but the photo's from my Nikon D610 where better. The first thing you have to learn that this is not a speedy set-up, especially with focussing. Checking focus on the back is possible but I really think the Screen is not great. Like it's there but I don't really like it.
Between the first sessions and second session I had some time to do some extra testshots to learn the system. Have the laptop to check the focus was really nice and made the proces a lot easier.
The second session was in the studio. This is where the set-up starts to shine. I did a few regulair portraits and dance portraits. The first portraits where taken on a Storm Grey background with the standard small Elinchrom Softbox with A Elinchrom RX One flash head.
After the regular portraits we started with the dance portraits. We changed the light set-up to the Elinchrom Rotalux 150cm Deep Indirect Octa with a Elinchrom Quadra RX and the A-Head.

The Verdict
After the learning process I loved the images coming out of the Phase One P30+ Back with V-mout. But there are some cons working with the camera and back.
First the screen is really bad for a 8k+ camera back. Secondly I really disliked the cable from the lens to the back and then having to add another for triggering the flash. And lastly the focussing, although this is not the backs fold, but the body has to get a check-up. I had to slightly unfocus to get in focus.
What I liked was the old and relaxed feel of working with the camera and the image quality between ISO 100 and 400 is really lovely. The compression with working on medium format cameras is so nice!
So to finish it, will I buy it? Well no, I will keep working with my Hasselblad 500c/m but keep it analog with Kodak Tri-x, Tmax and Provia film! In the mean while I am going to save up for a digital medium Format camera this year!
FYI: All the editing was done in Capture One Pro 8 Only!
More reviews
For more blog on digitalbacks on the Hasselblad 500C/M and medium format camera's:
New: Light Guide Working with Flash Photography app
Now available in the Apple Appstore my guide to Flash Photography, Read all about it here!
After weeks of work it is finally finished, my newest app "Light Guide Working with Flash Photography". In this app I will teach you all the basics you need to learn about working with flash photography!
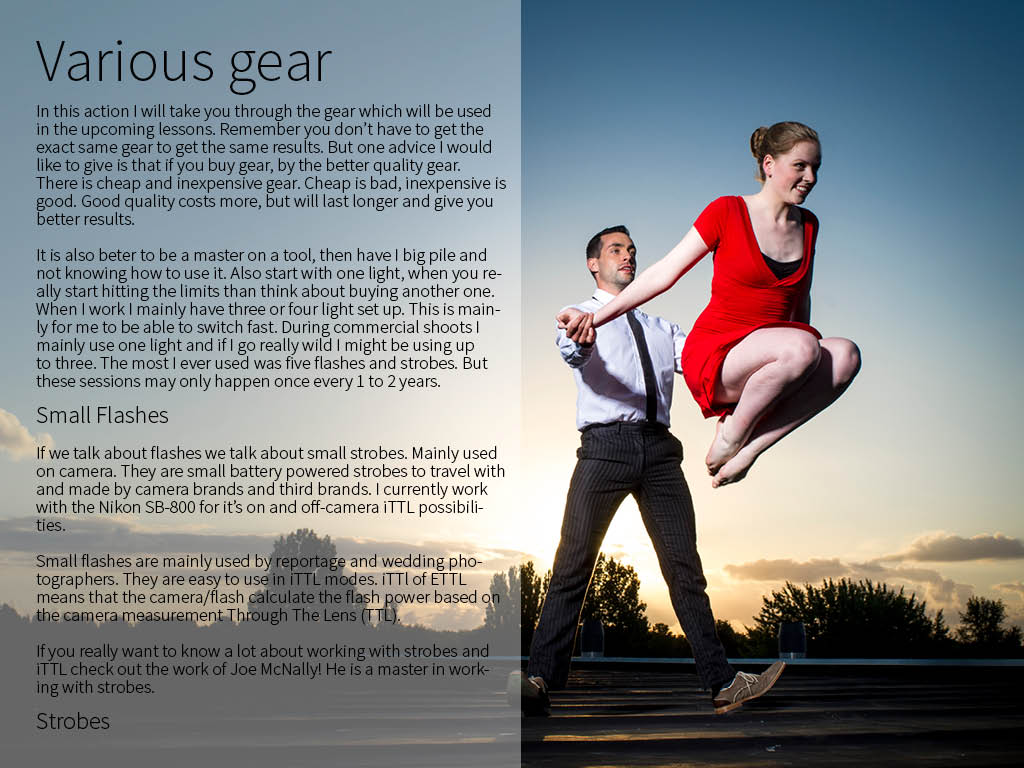
In the first chapters I teach you the five basic variables you need to know for flash photography. The chapters after that will discuss all the basic gear you need and don't need. After that it is practical time! I have added photo's made with all kinds of light modifiers and a description about what I used and the settings.


Use this app as a guide to working with flash, it will show you all the door you can take. When starting with flash keep it simple. Start with one light and use it all the ways you can .All the photo's in this app are made with only one flash/strobe. Until the January 19th it will be available for the introduction price on €0,99 after that it will be €1,99. Get it now in the App Store
Please leave a note if you bought it and let me know if you like it!

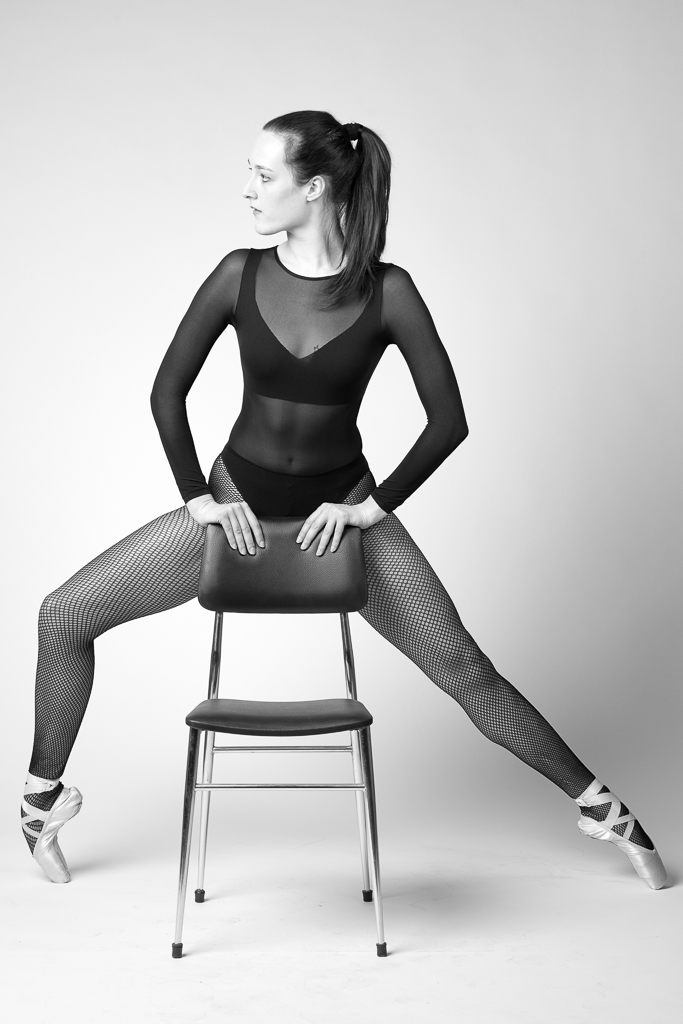
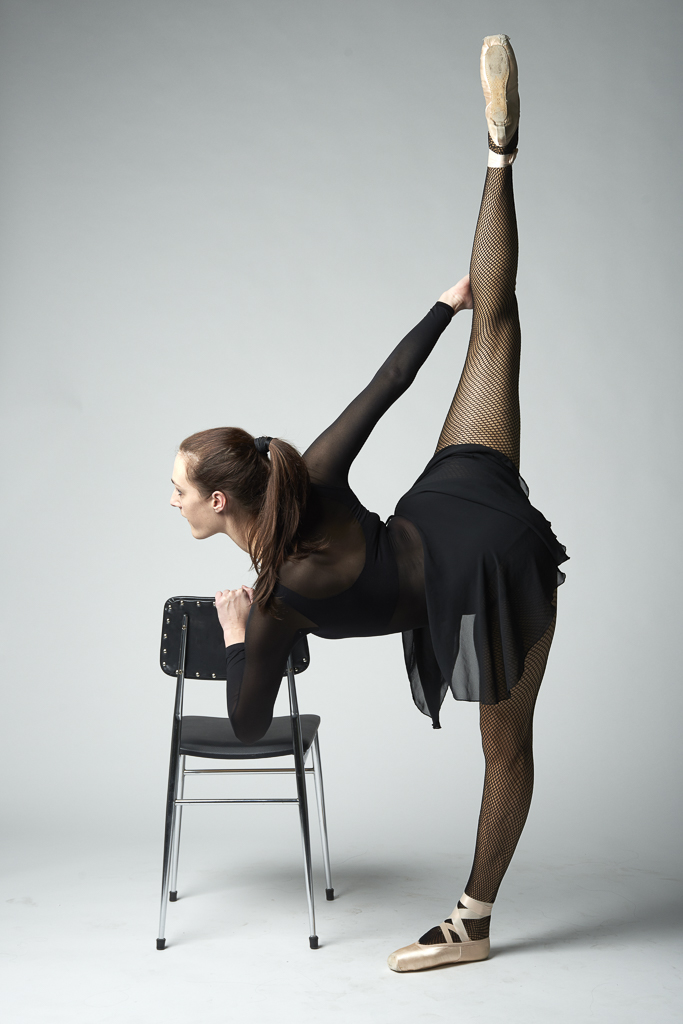
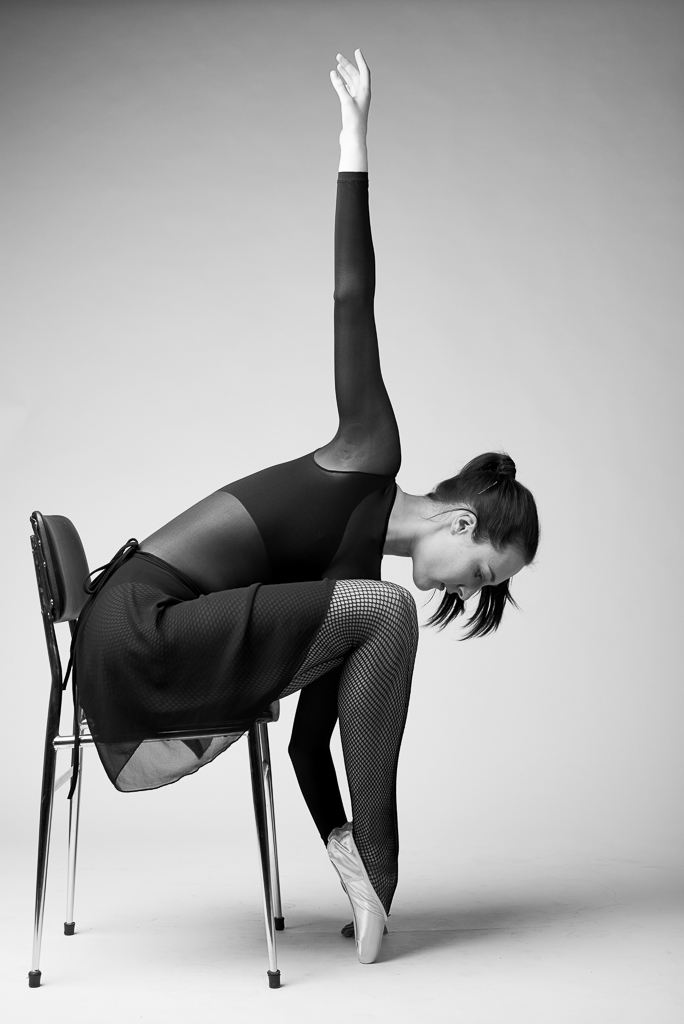
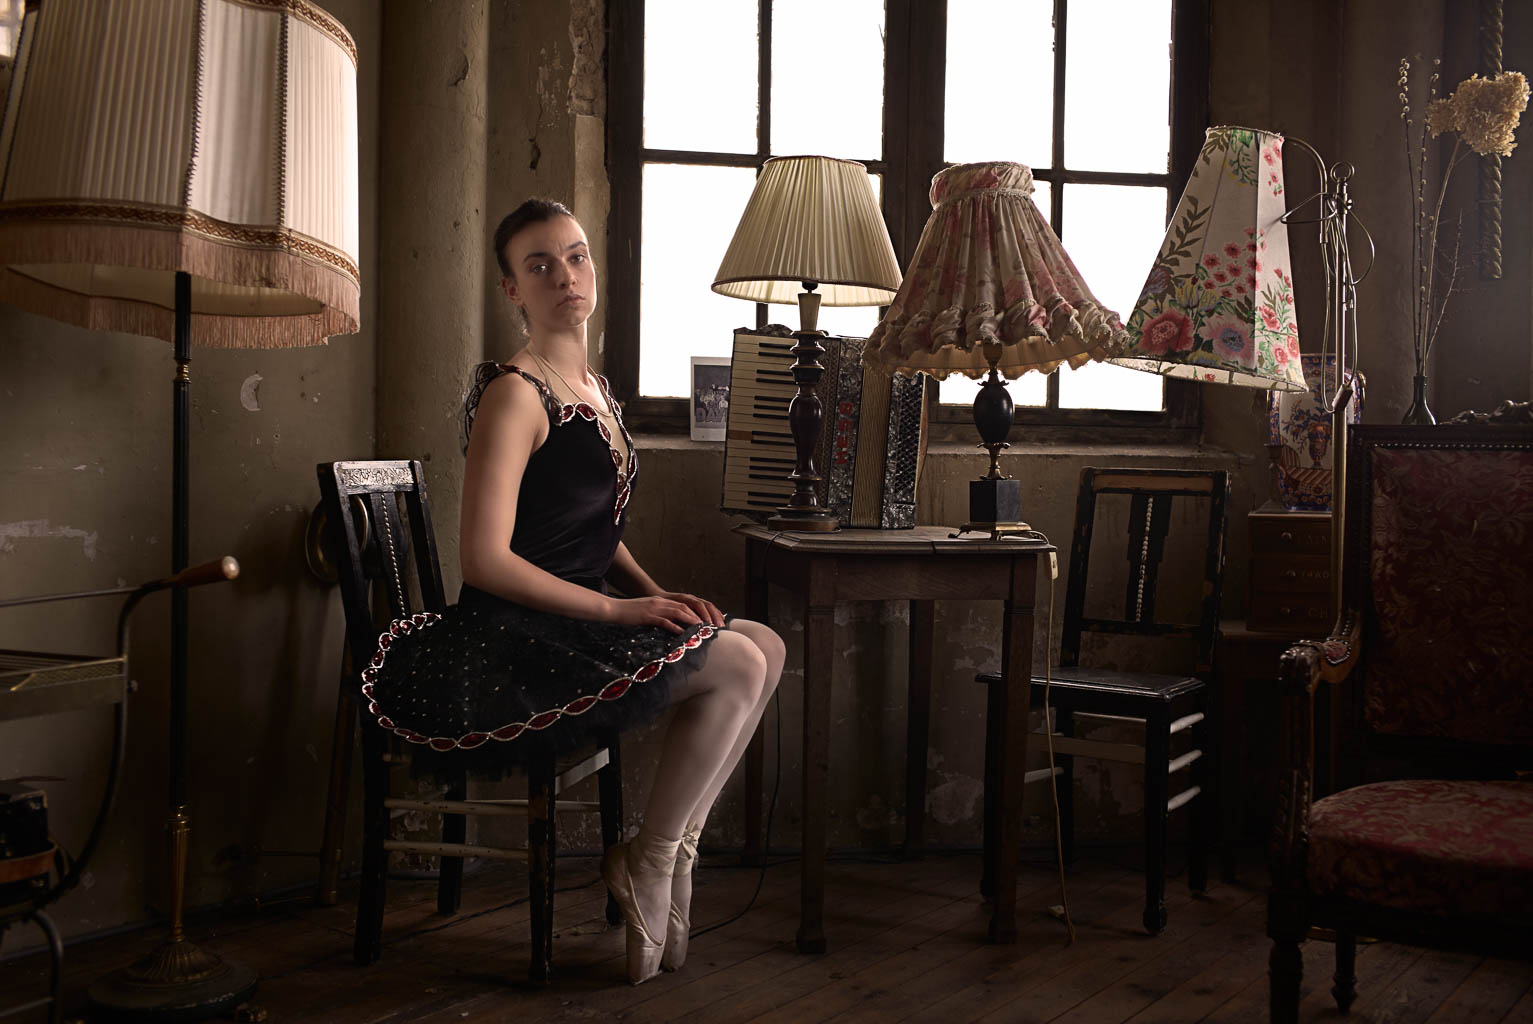
Christmas Ballerina
A couple of week a go I had a photoshoot with beautiful woman and ballerina Nienke Knop. We wanted to mix ballet with christmas. Below you see the results.
Specs:
Camera: Nikon D800
Lens: Sigma 24-105 Art
Light: 1 Elinchrom BRX250 with a 5' Elinchrom Rotalux deep indirect octa
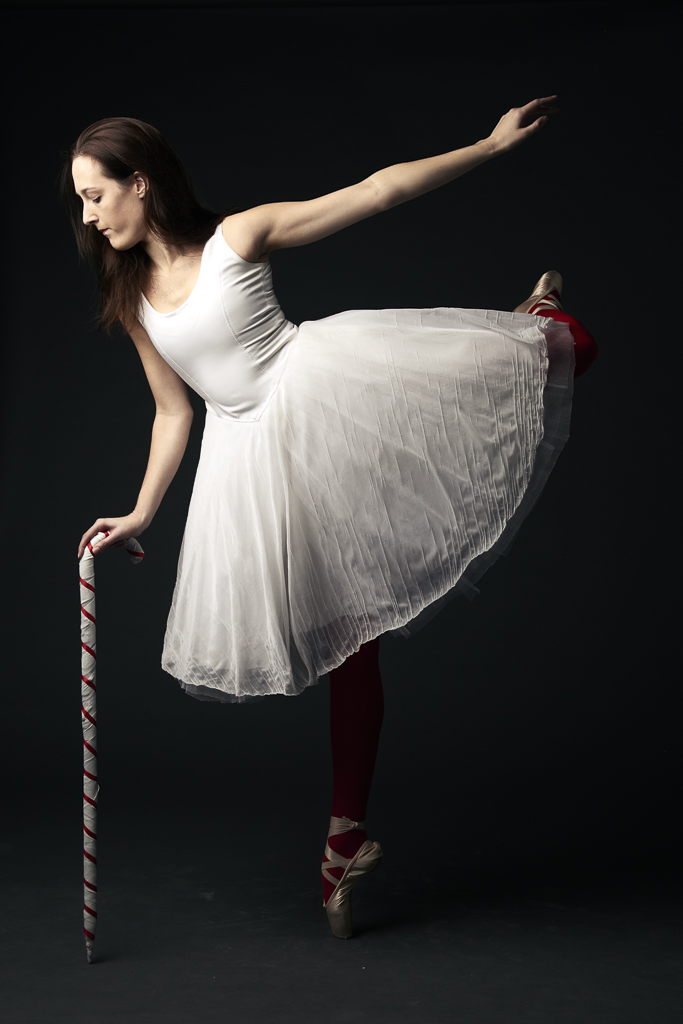

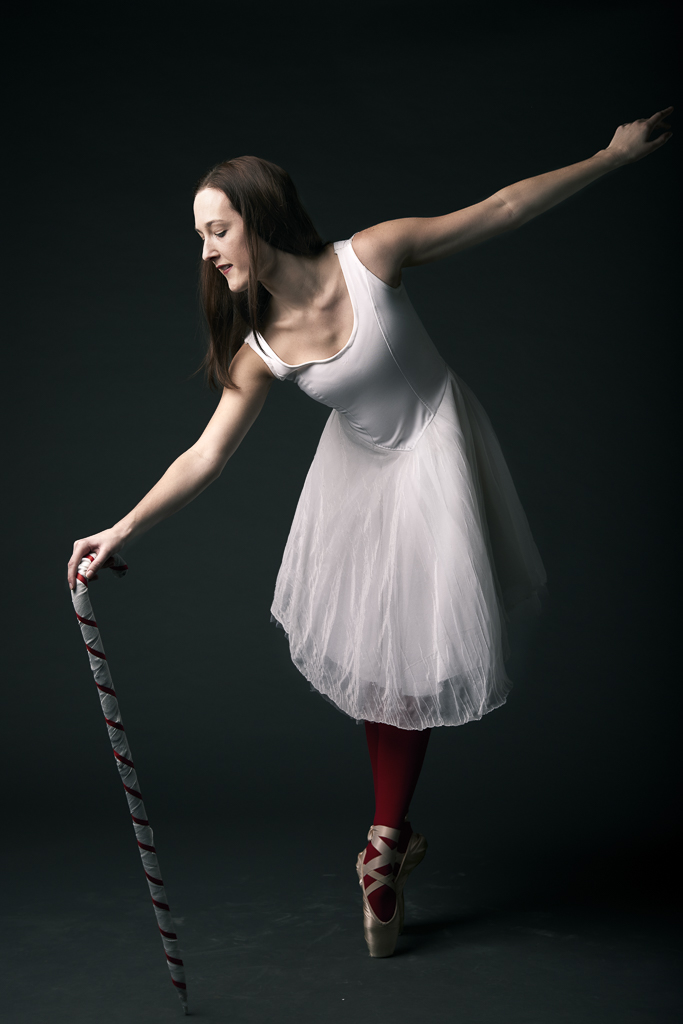
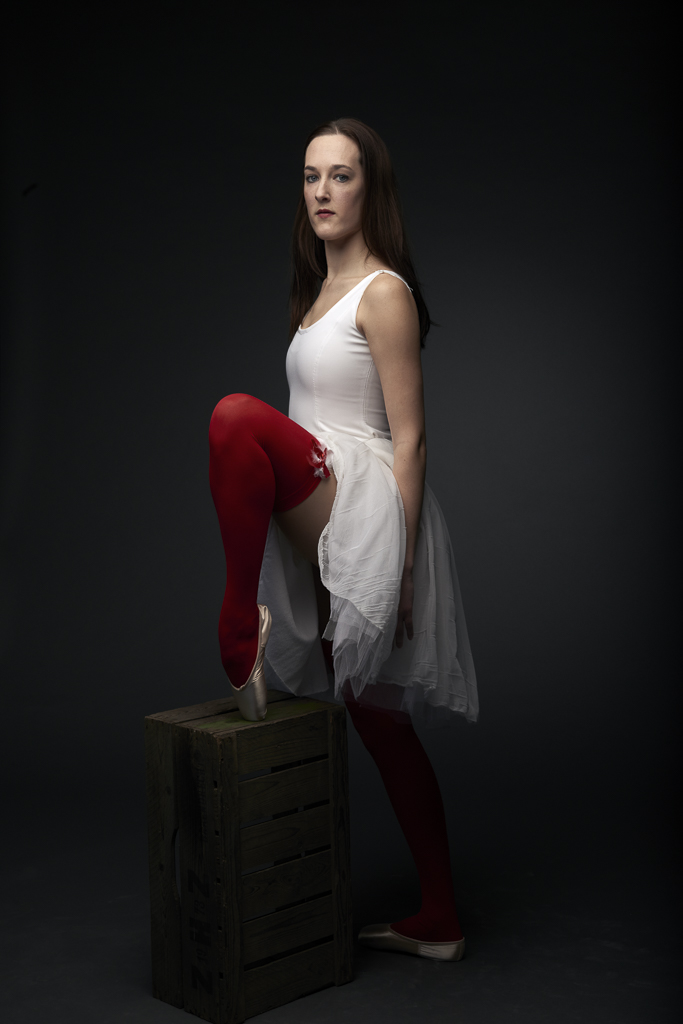

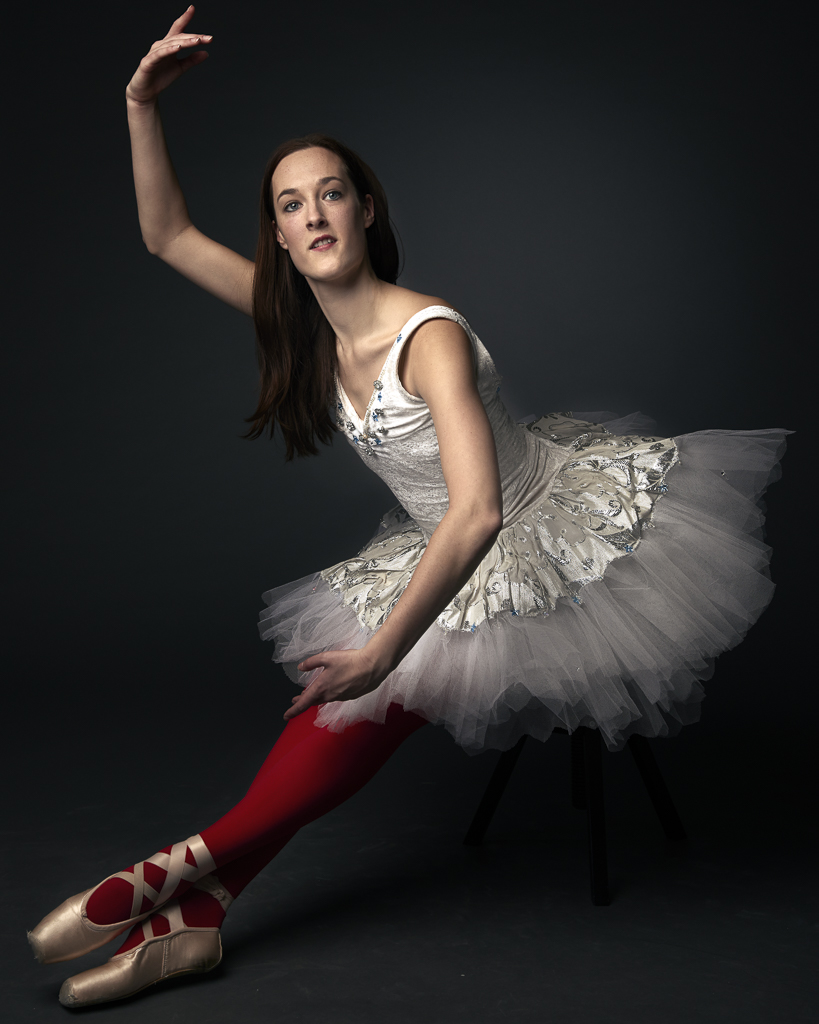
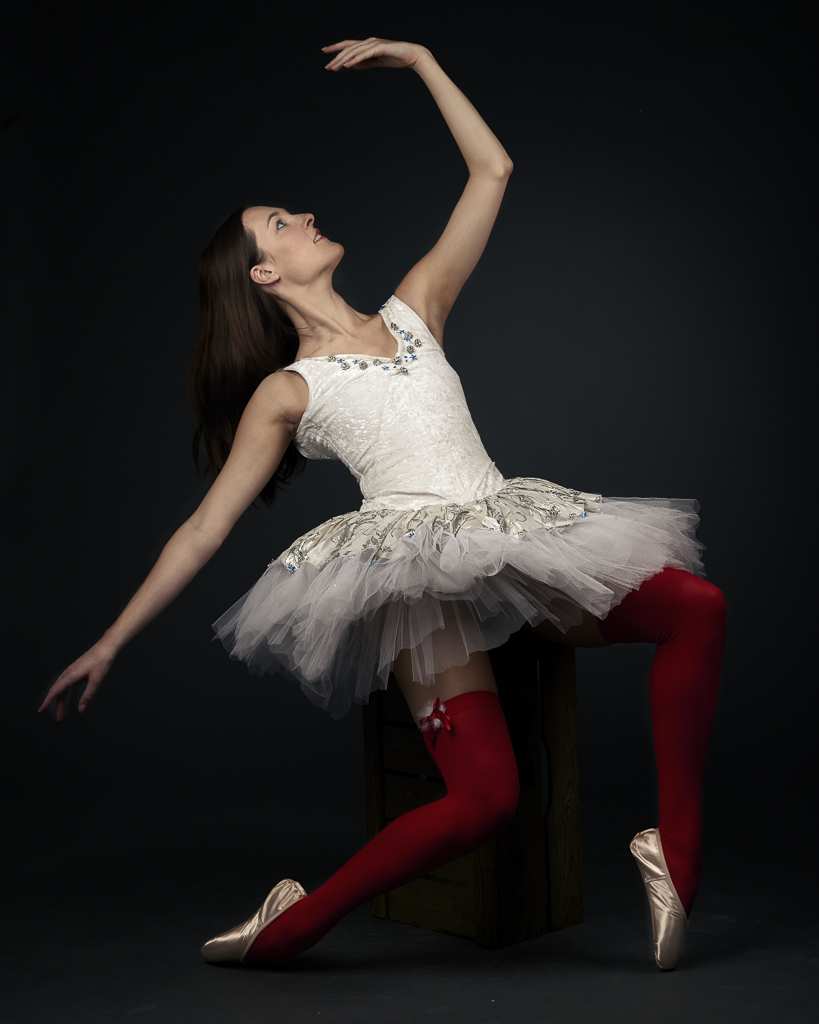
After the christmas ballerina photo's we had some spare time to do some more modern Fosy like photo's. Same gear only aded a large white beauty dish as a fill.

Why hire a photographer for your website?
Sometimes I get the question why they need to hire a photographer for there promotional outings while they can use Stock photography for way less. Well see the answer below!


These are two completely different companies both selling websites. But both with the exact same set of images. This is where photographers come in! We (photographers) create photo's that tell your story and bring your image across to your target costumers. Without the chance that a competitor has exactly the same set of photo's.
And this is just one case of a website with the same set of images, but in everyday life I see it on a daily base. A lot of small companies with the same of the shelf logo's, business cards, websites, etc. While as a company it's important to be unique and have your own identity and image
Behind the Scenes: Kees Visser Portrait
Hi All,
I made a small time-lapse during the shoot with Kees Visser. It has been made with the SONY HDR AS30V Action Cam on interval modus. The timelapse had been made with Adobe After Effects and Premiere Pro.
Want to have more informative on the hotshoot? read it
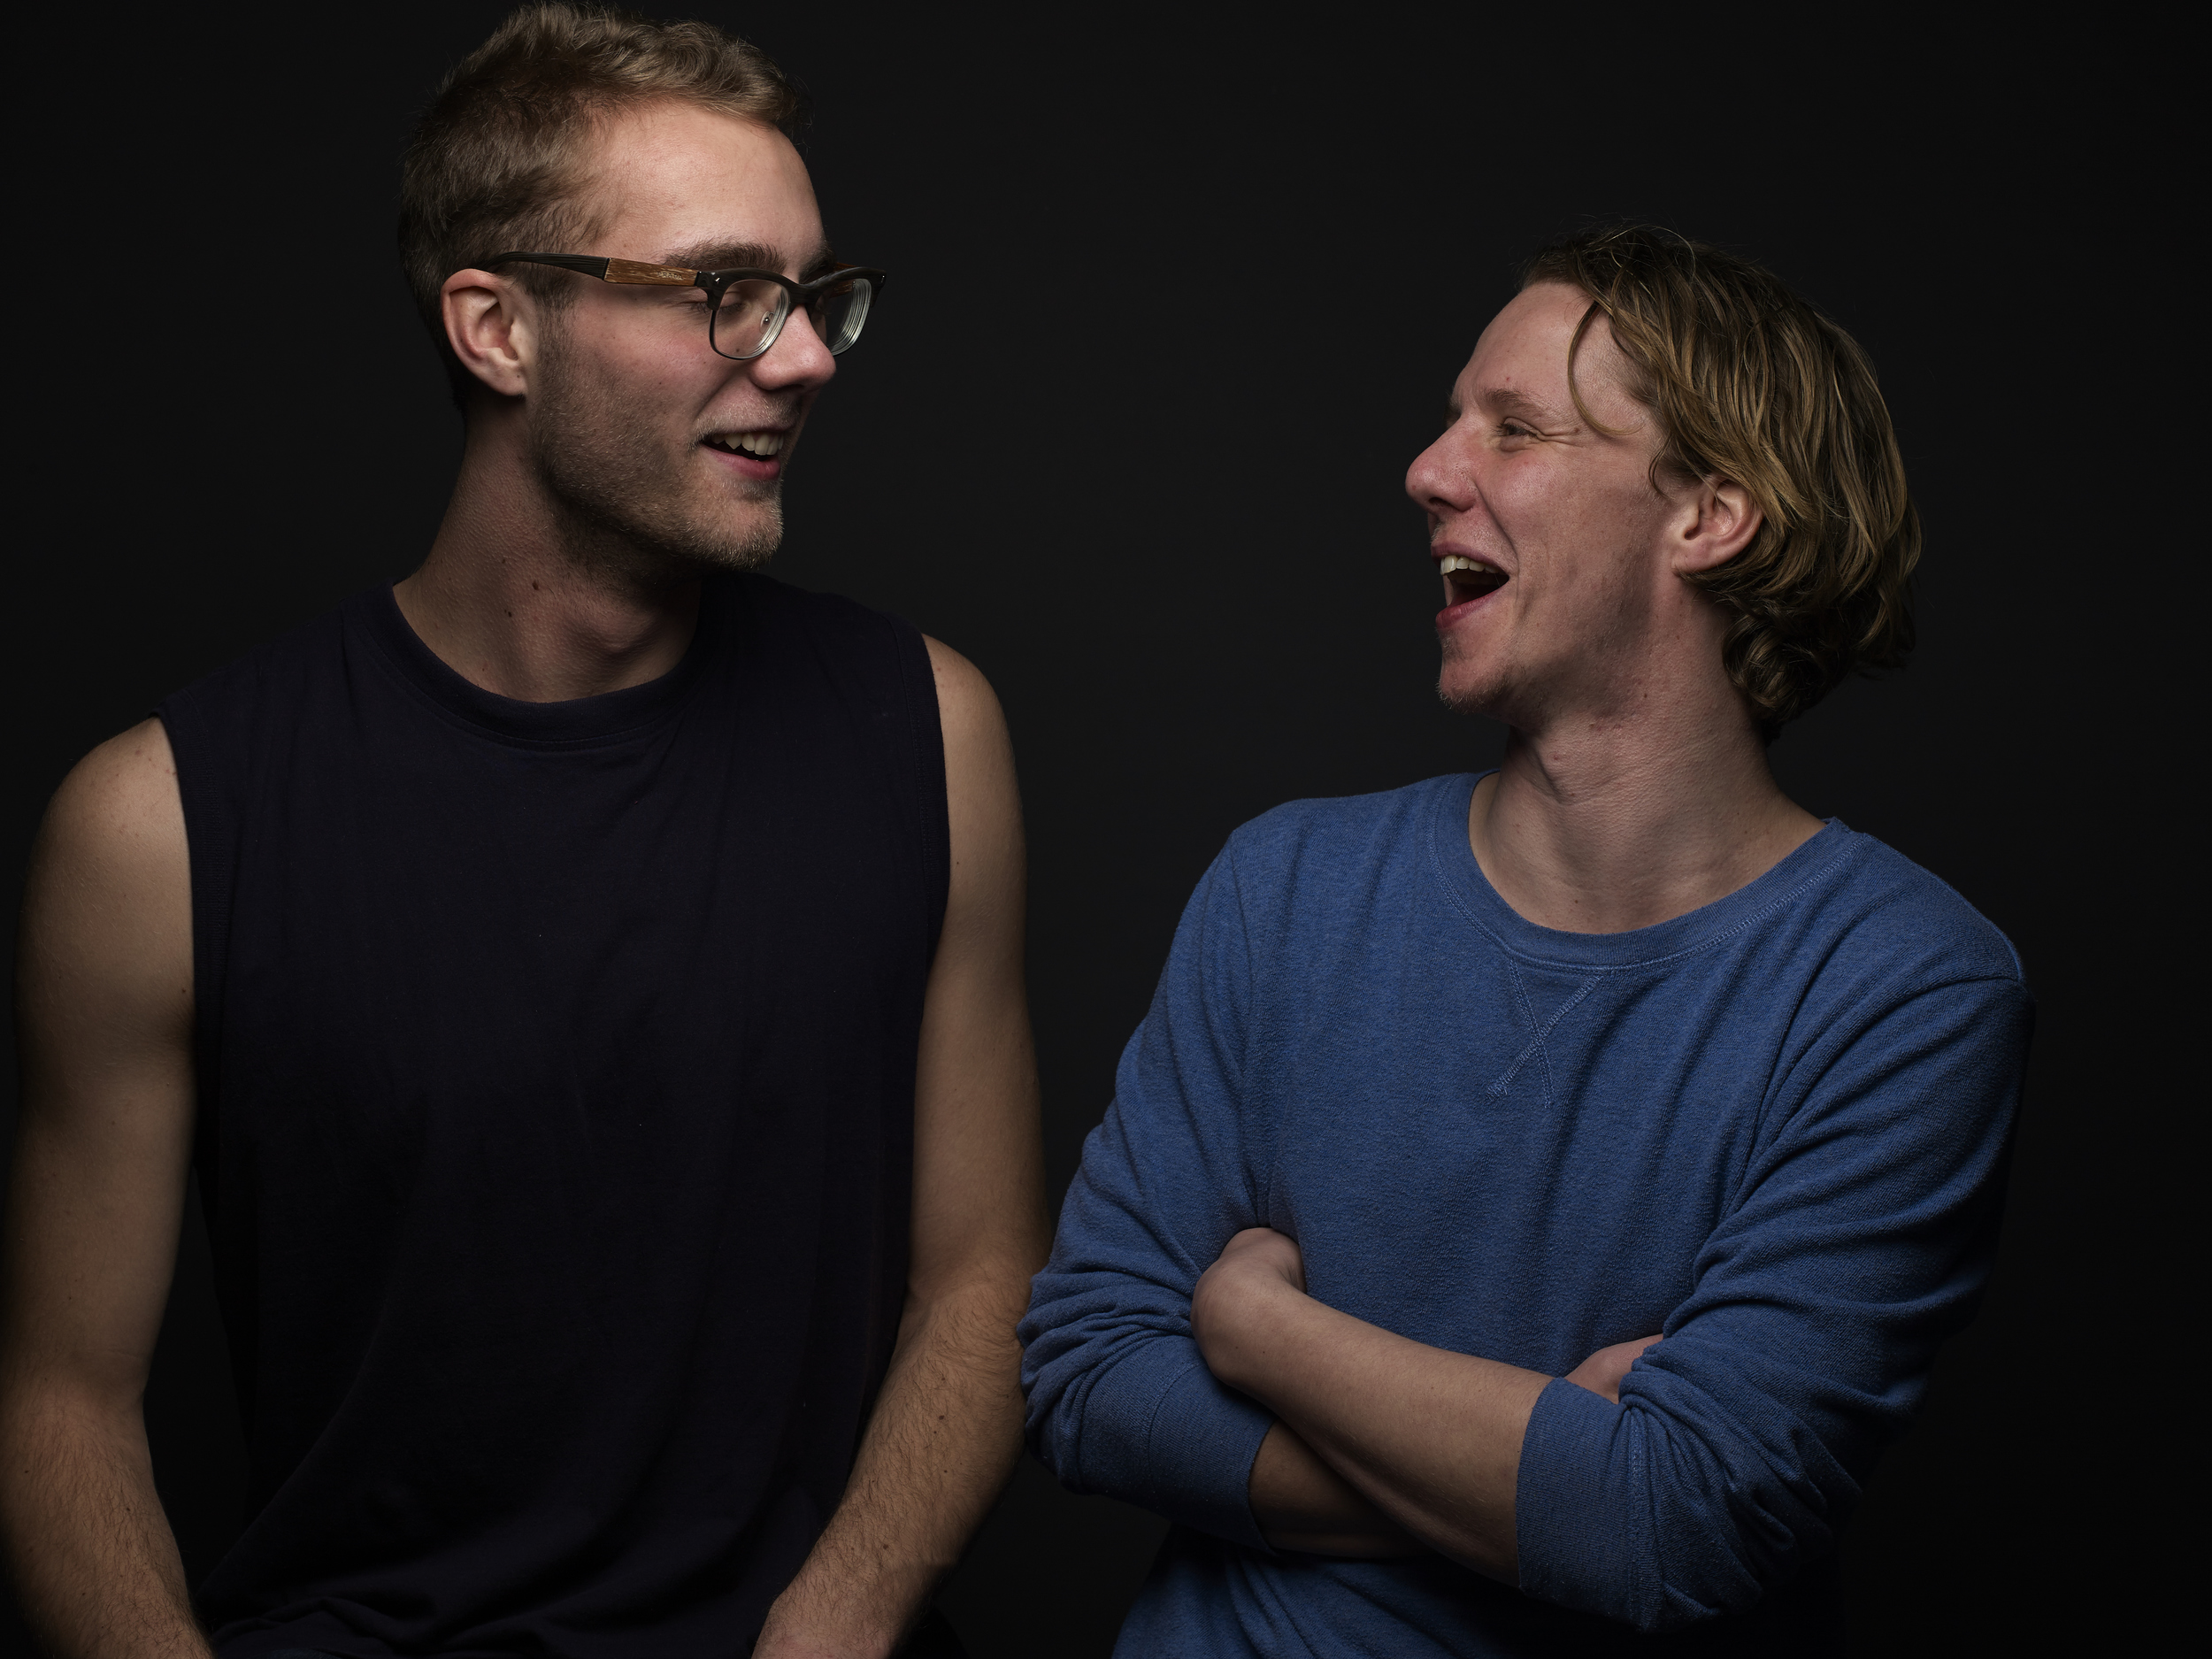
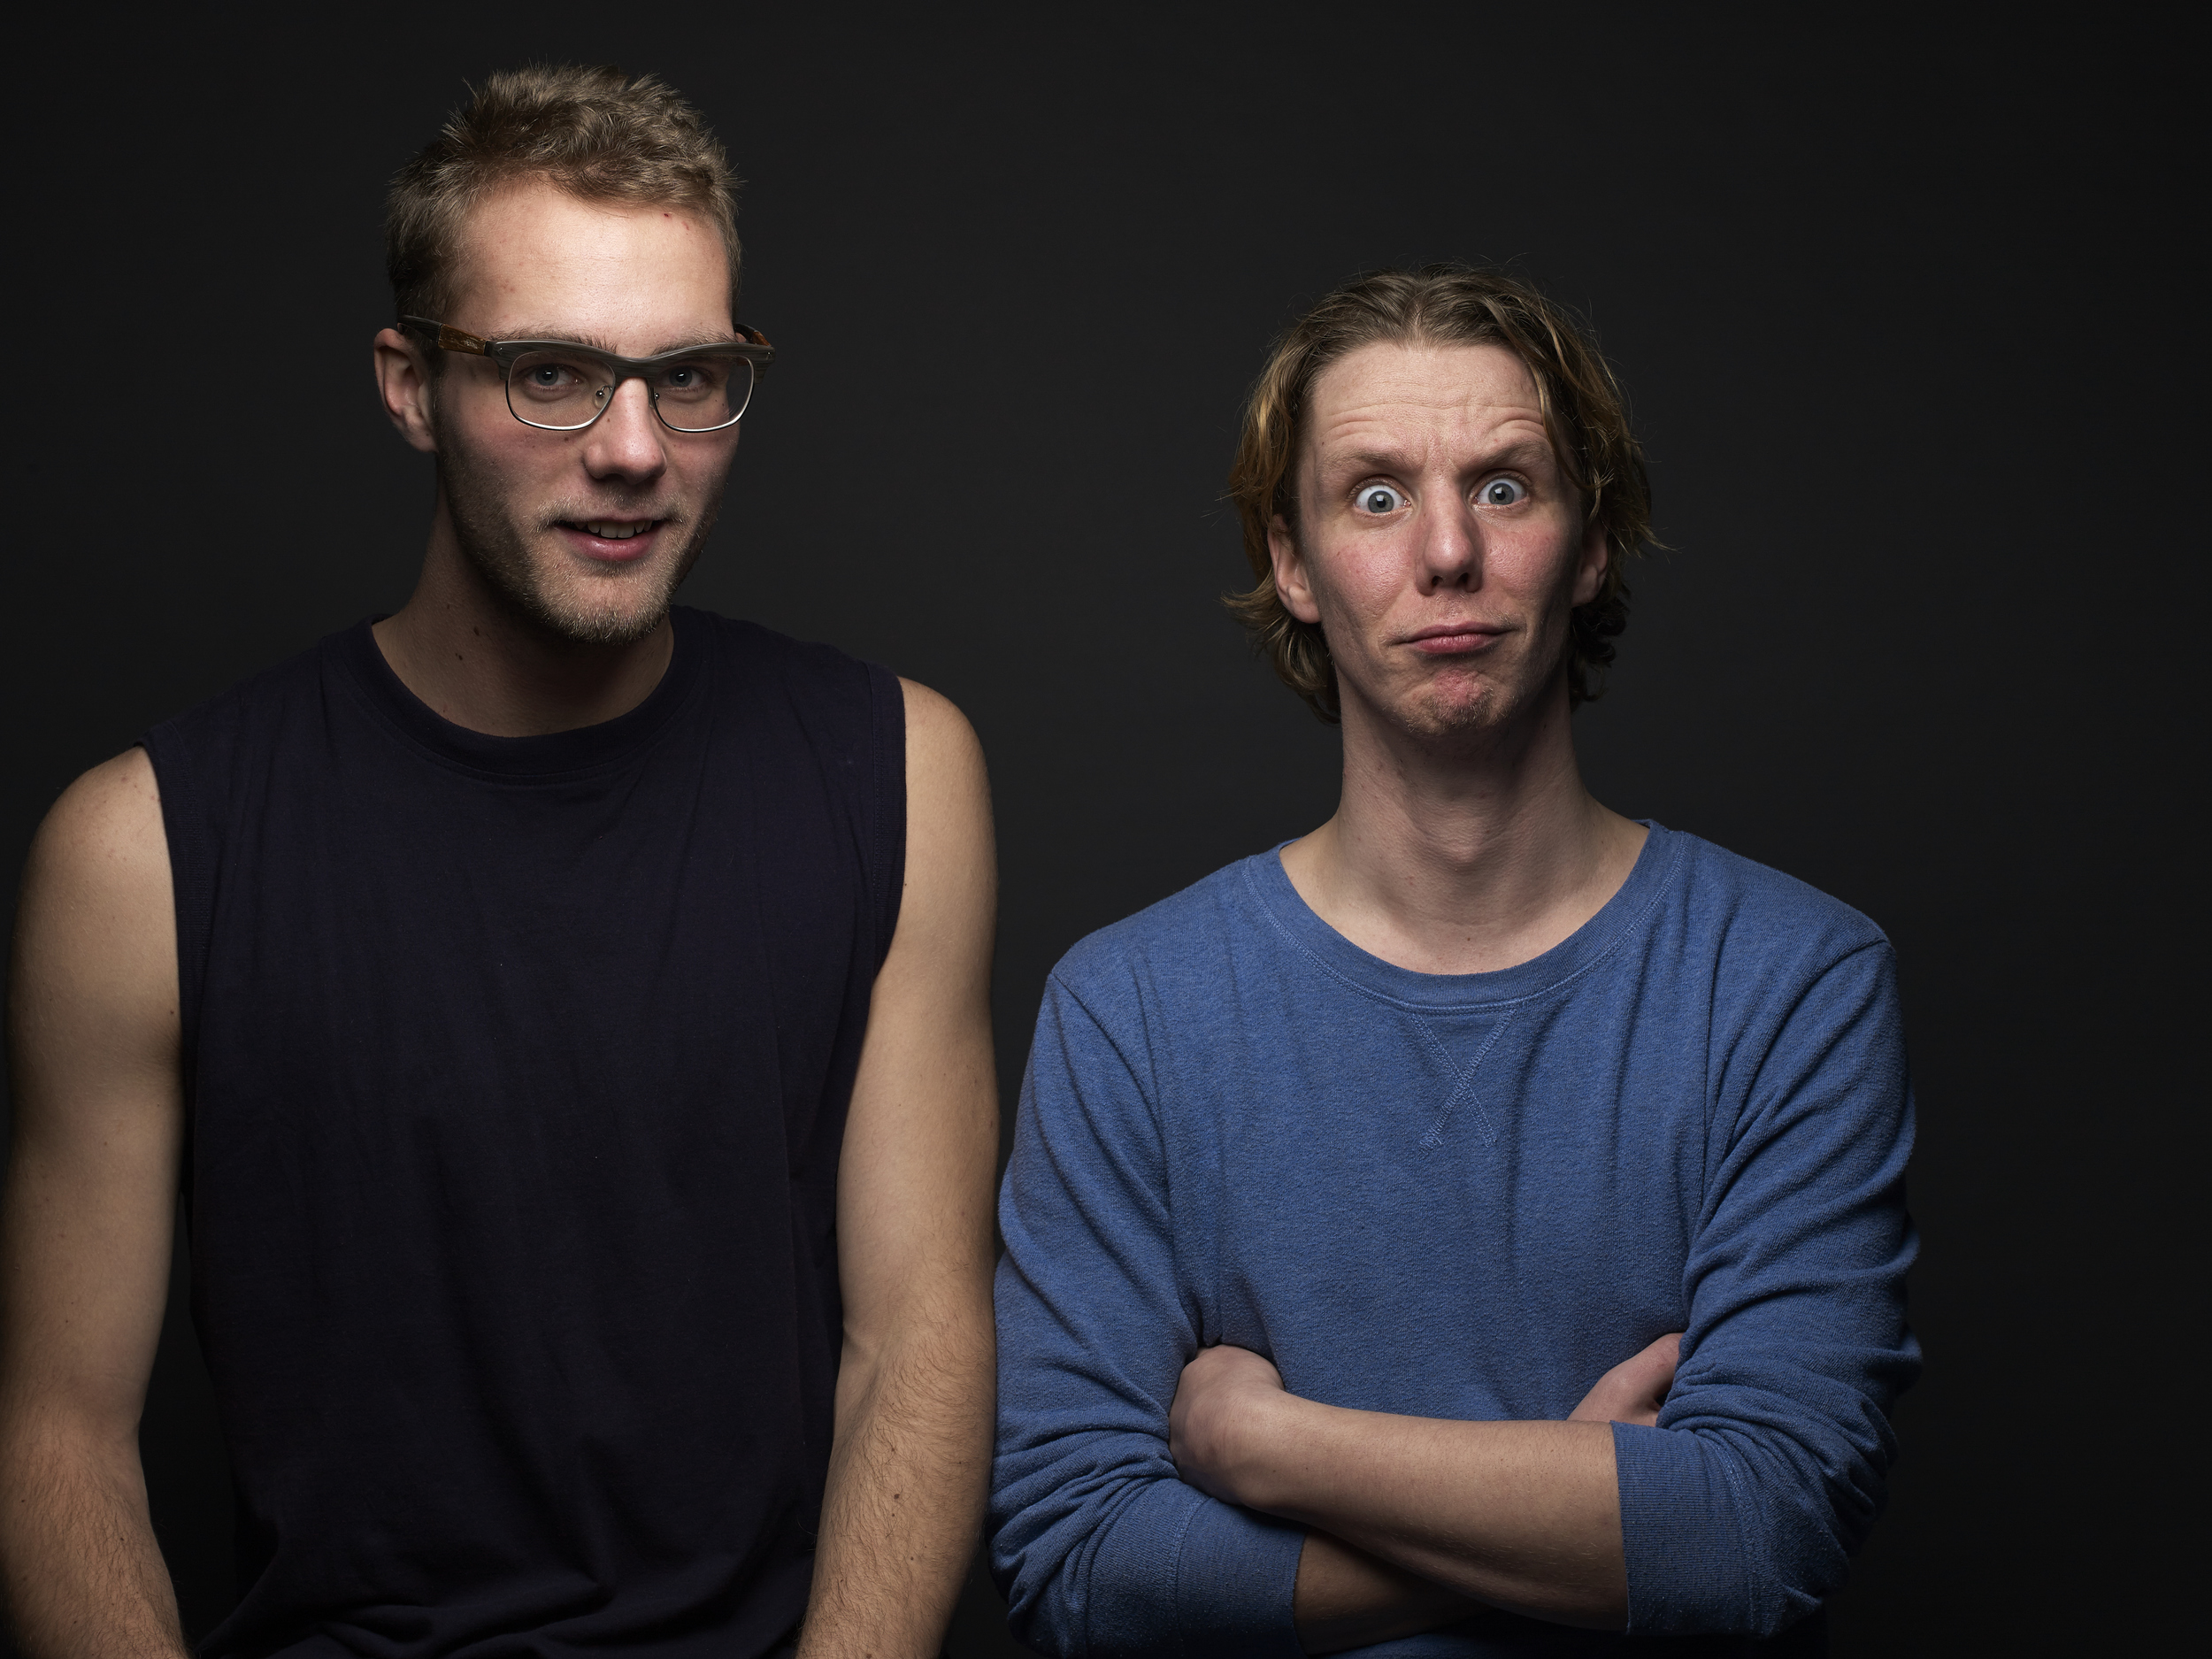
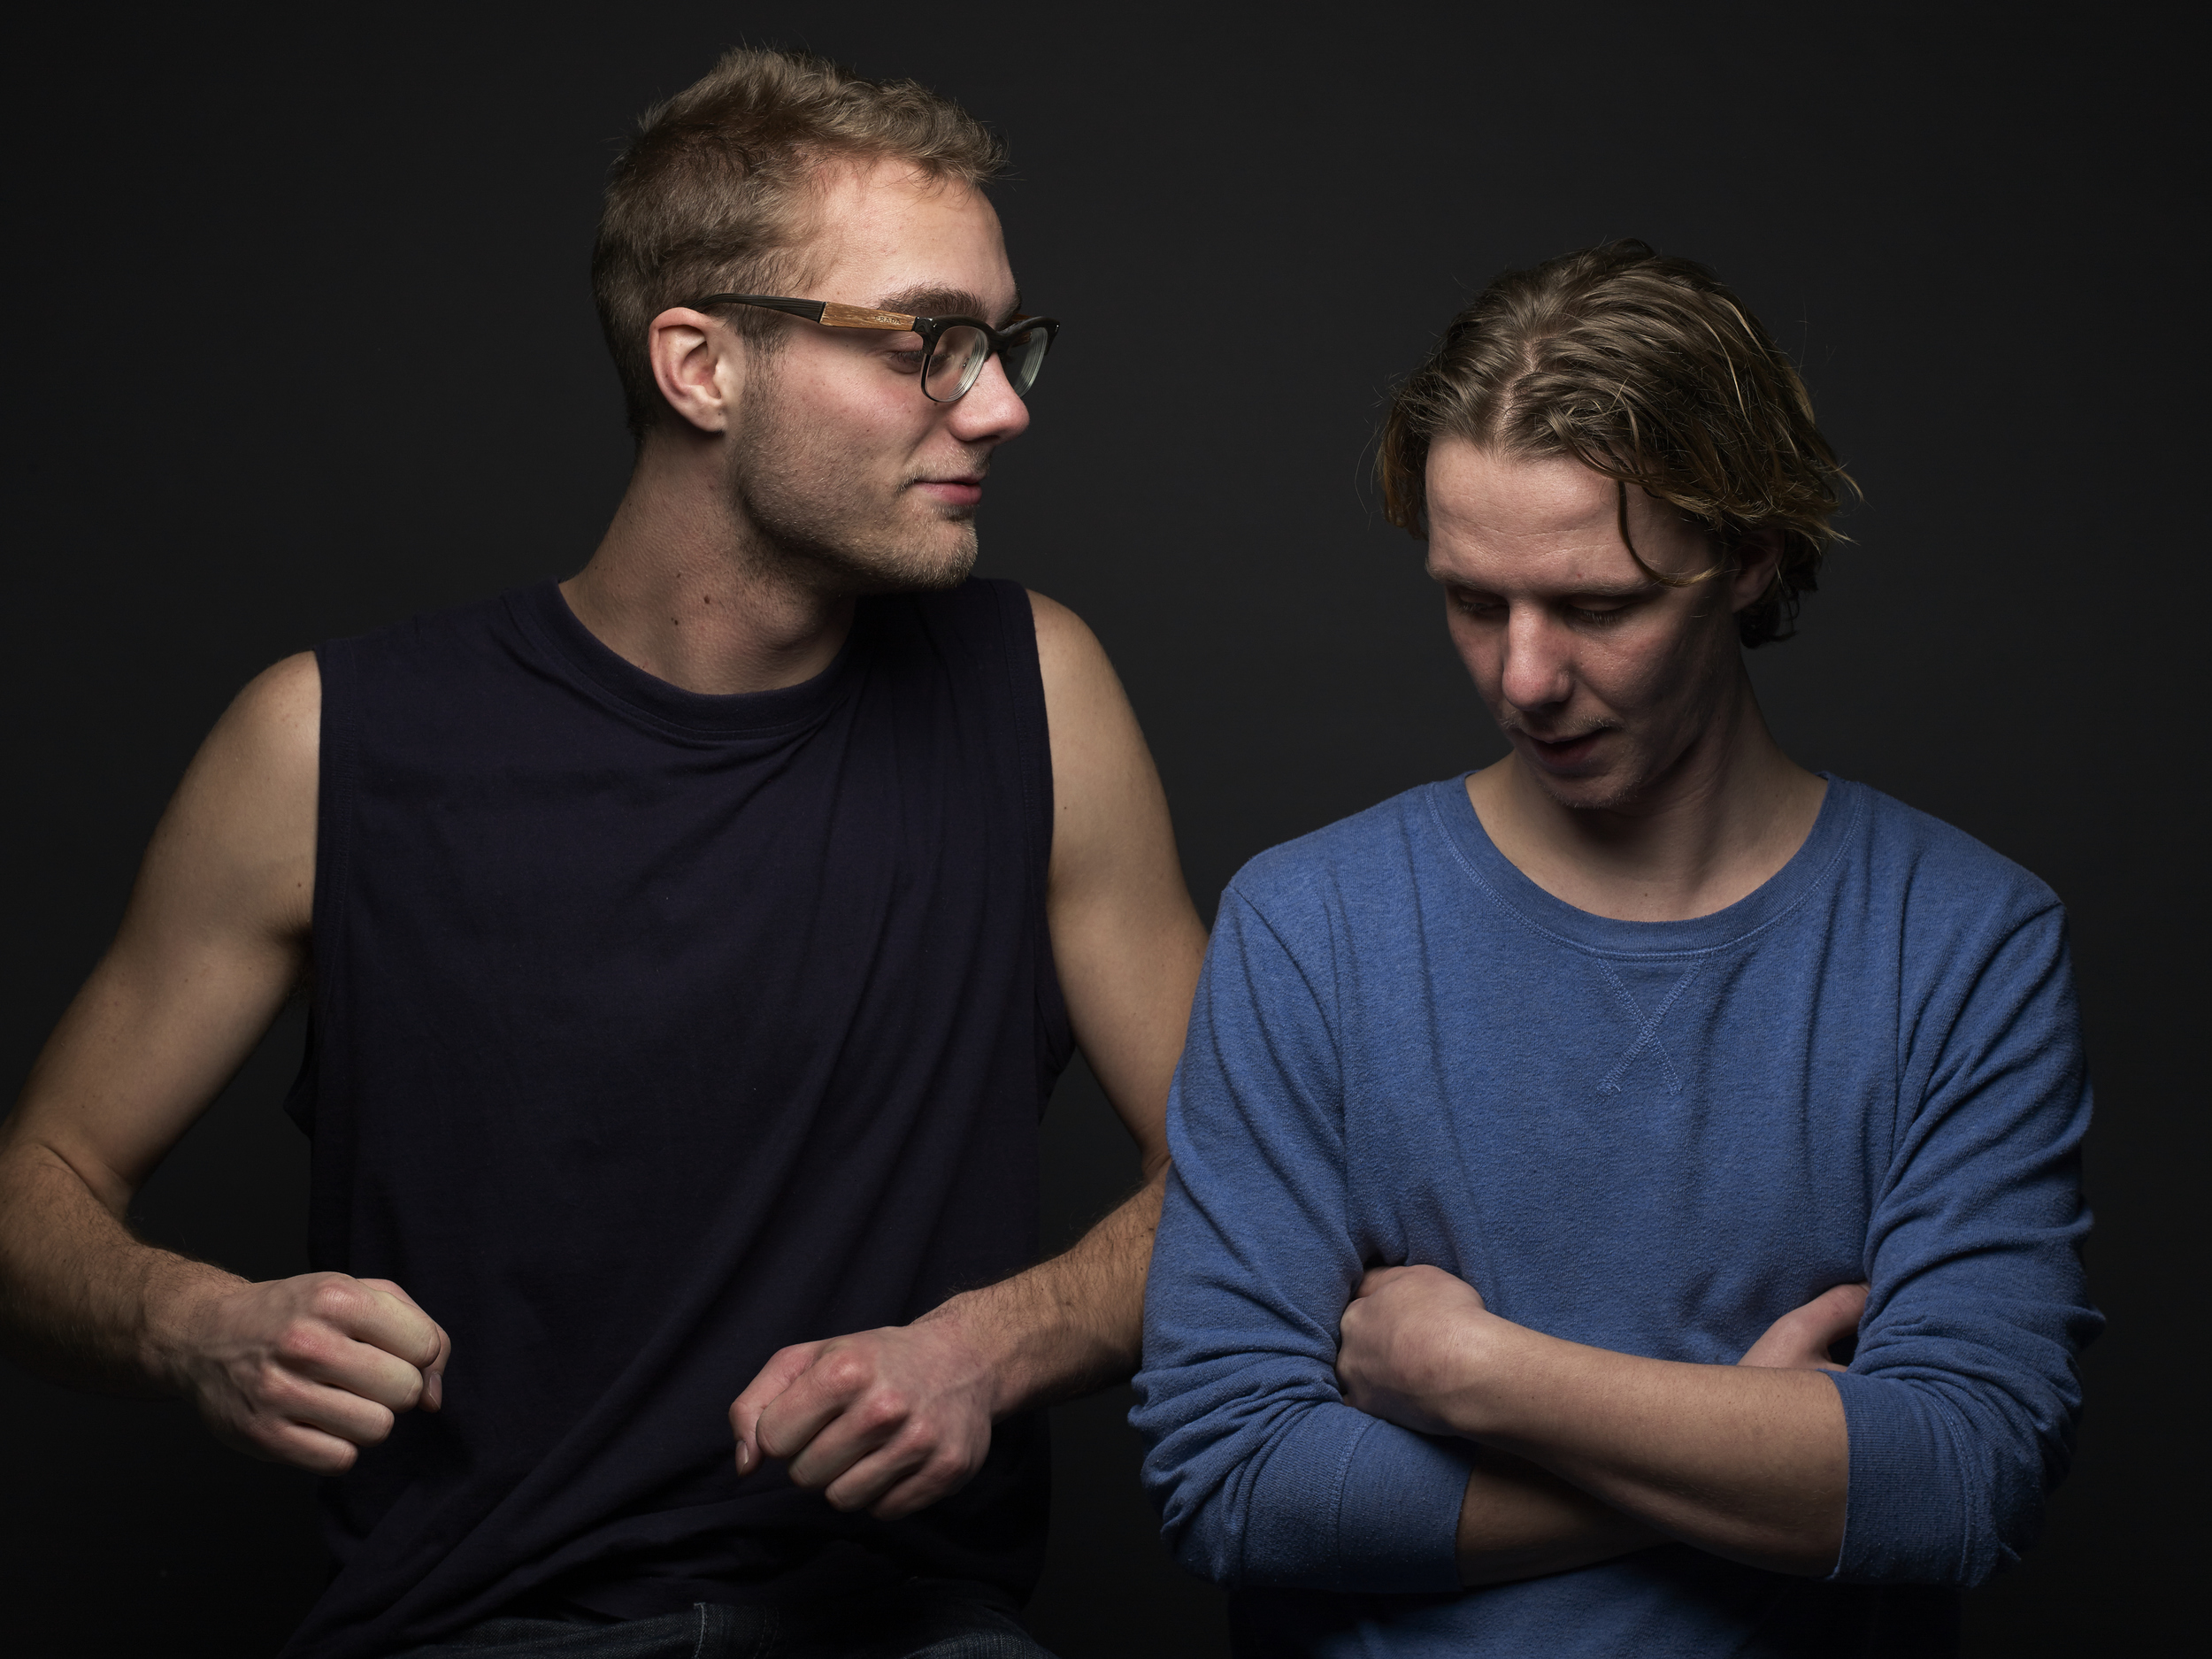
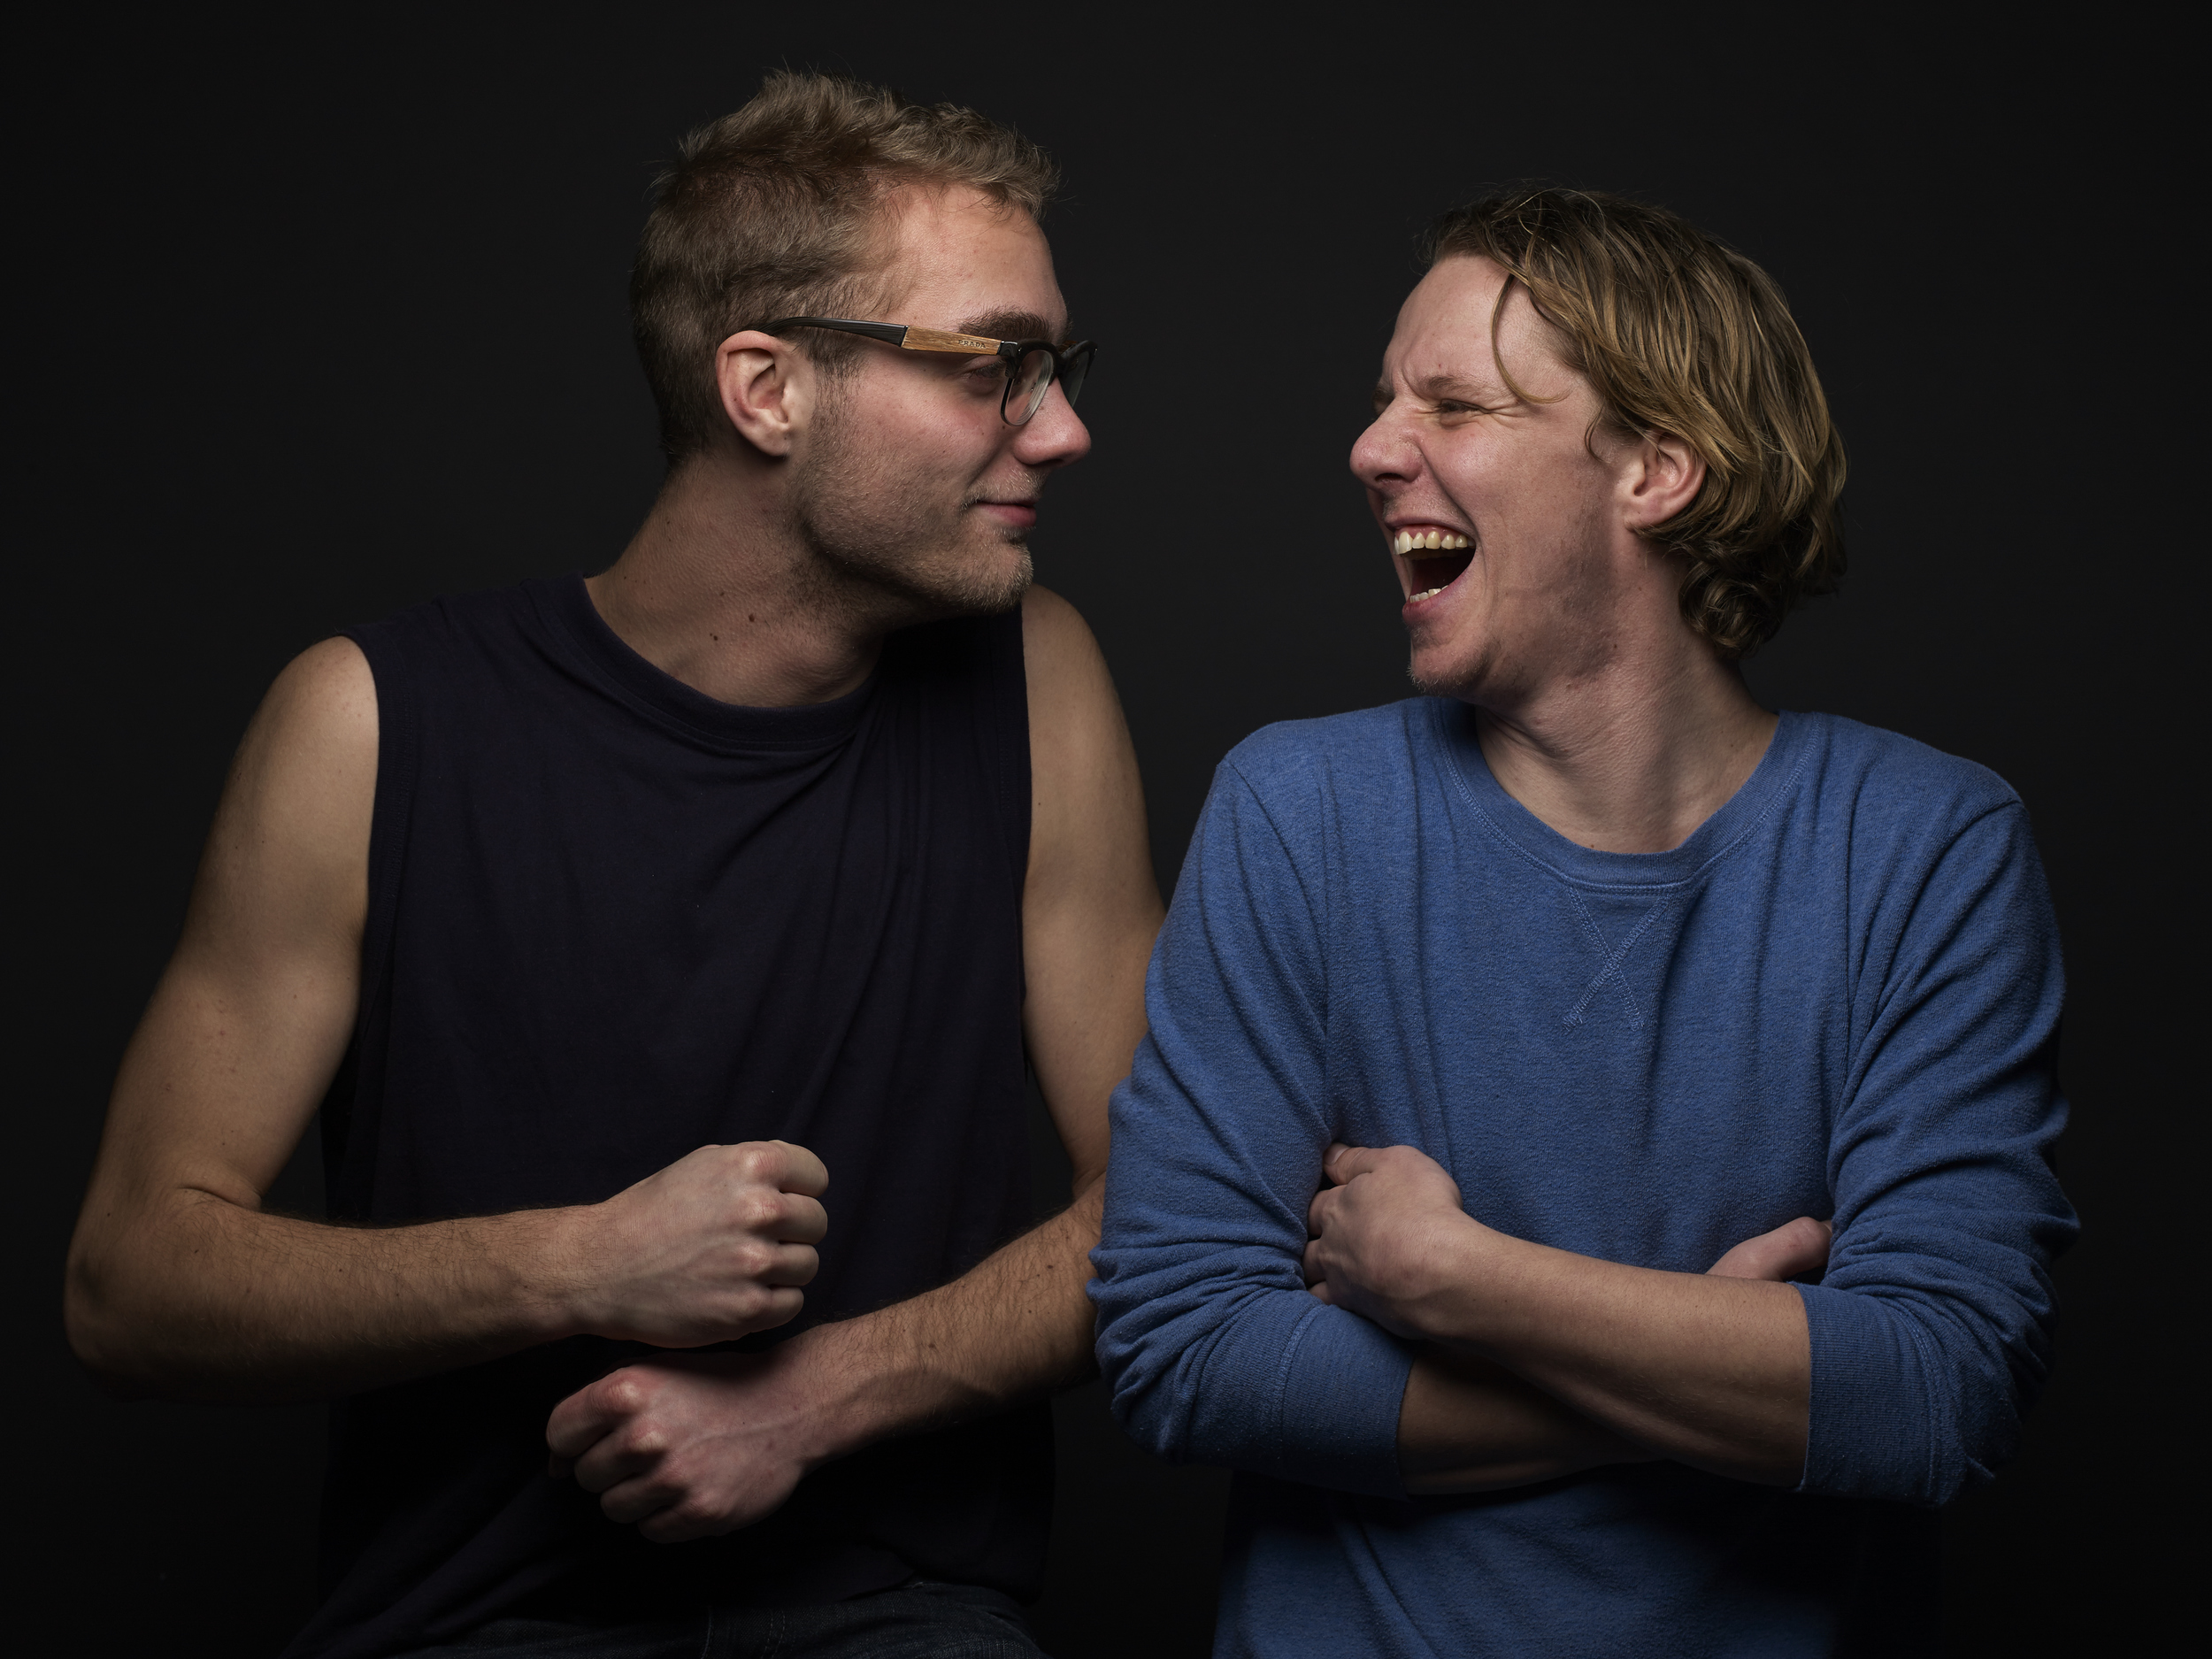
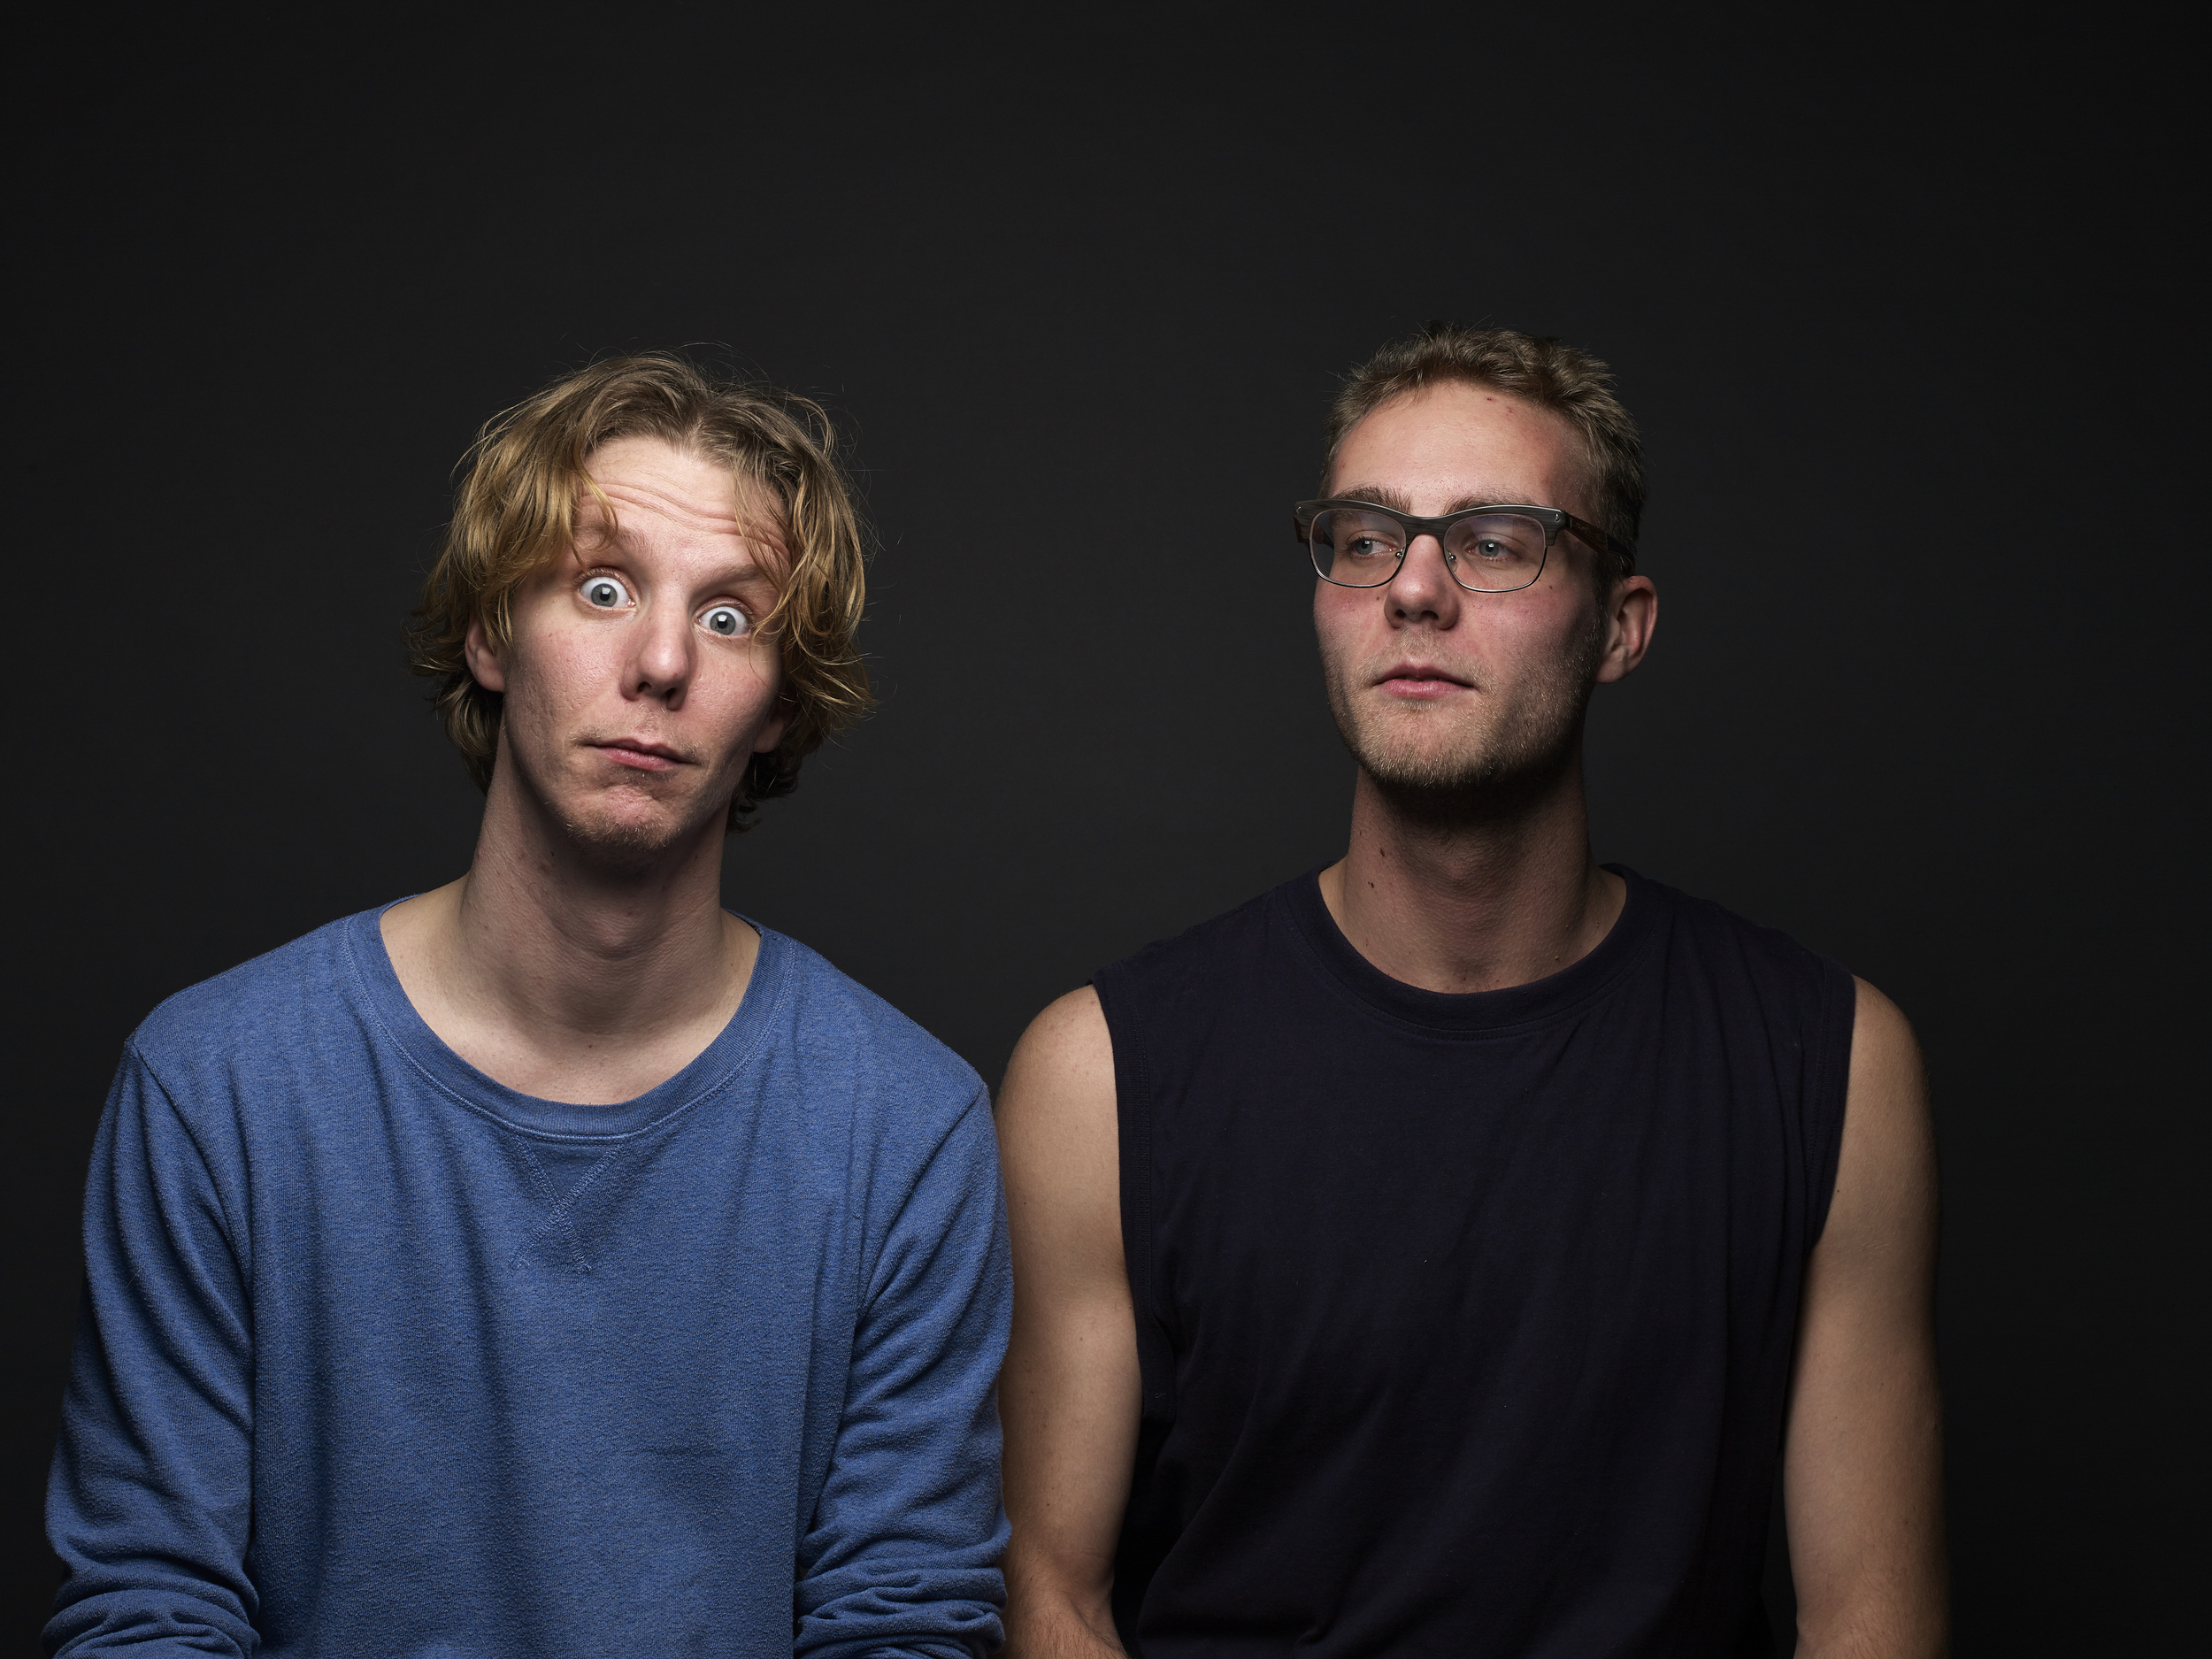
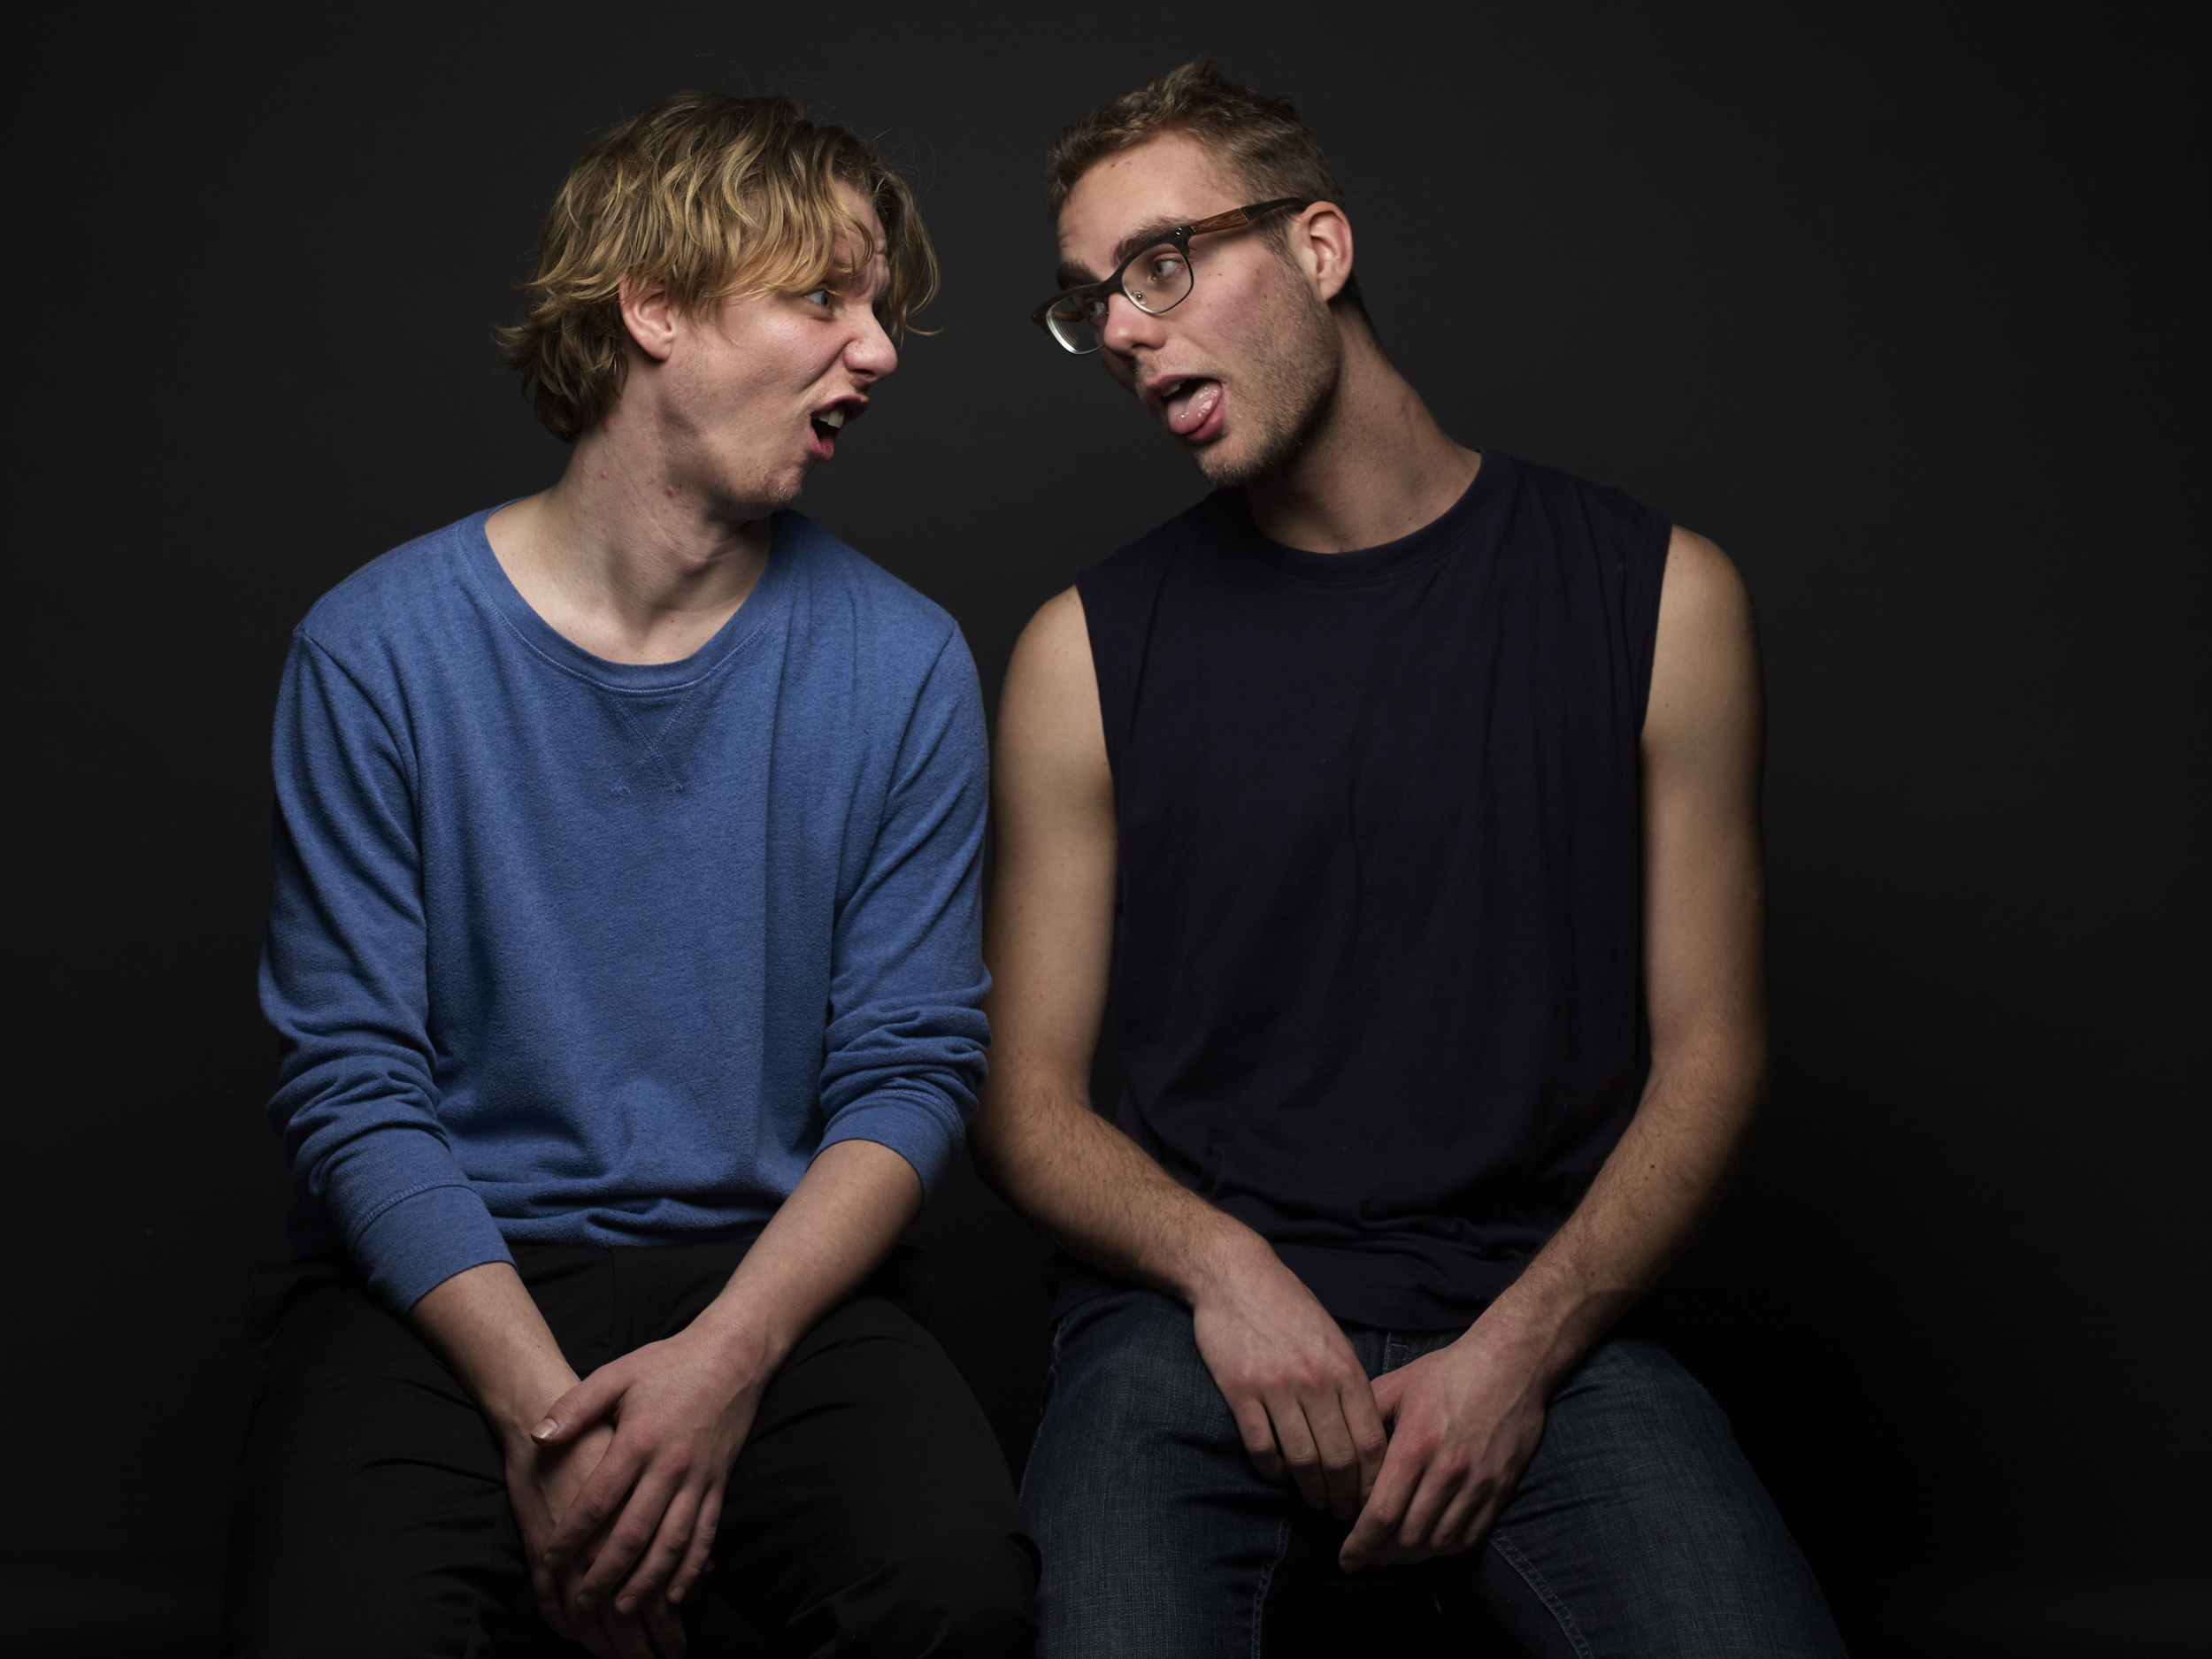
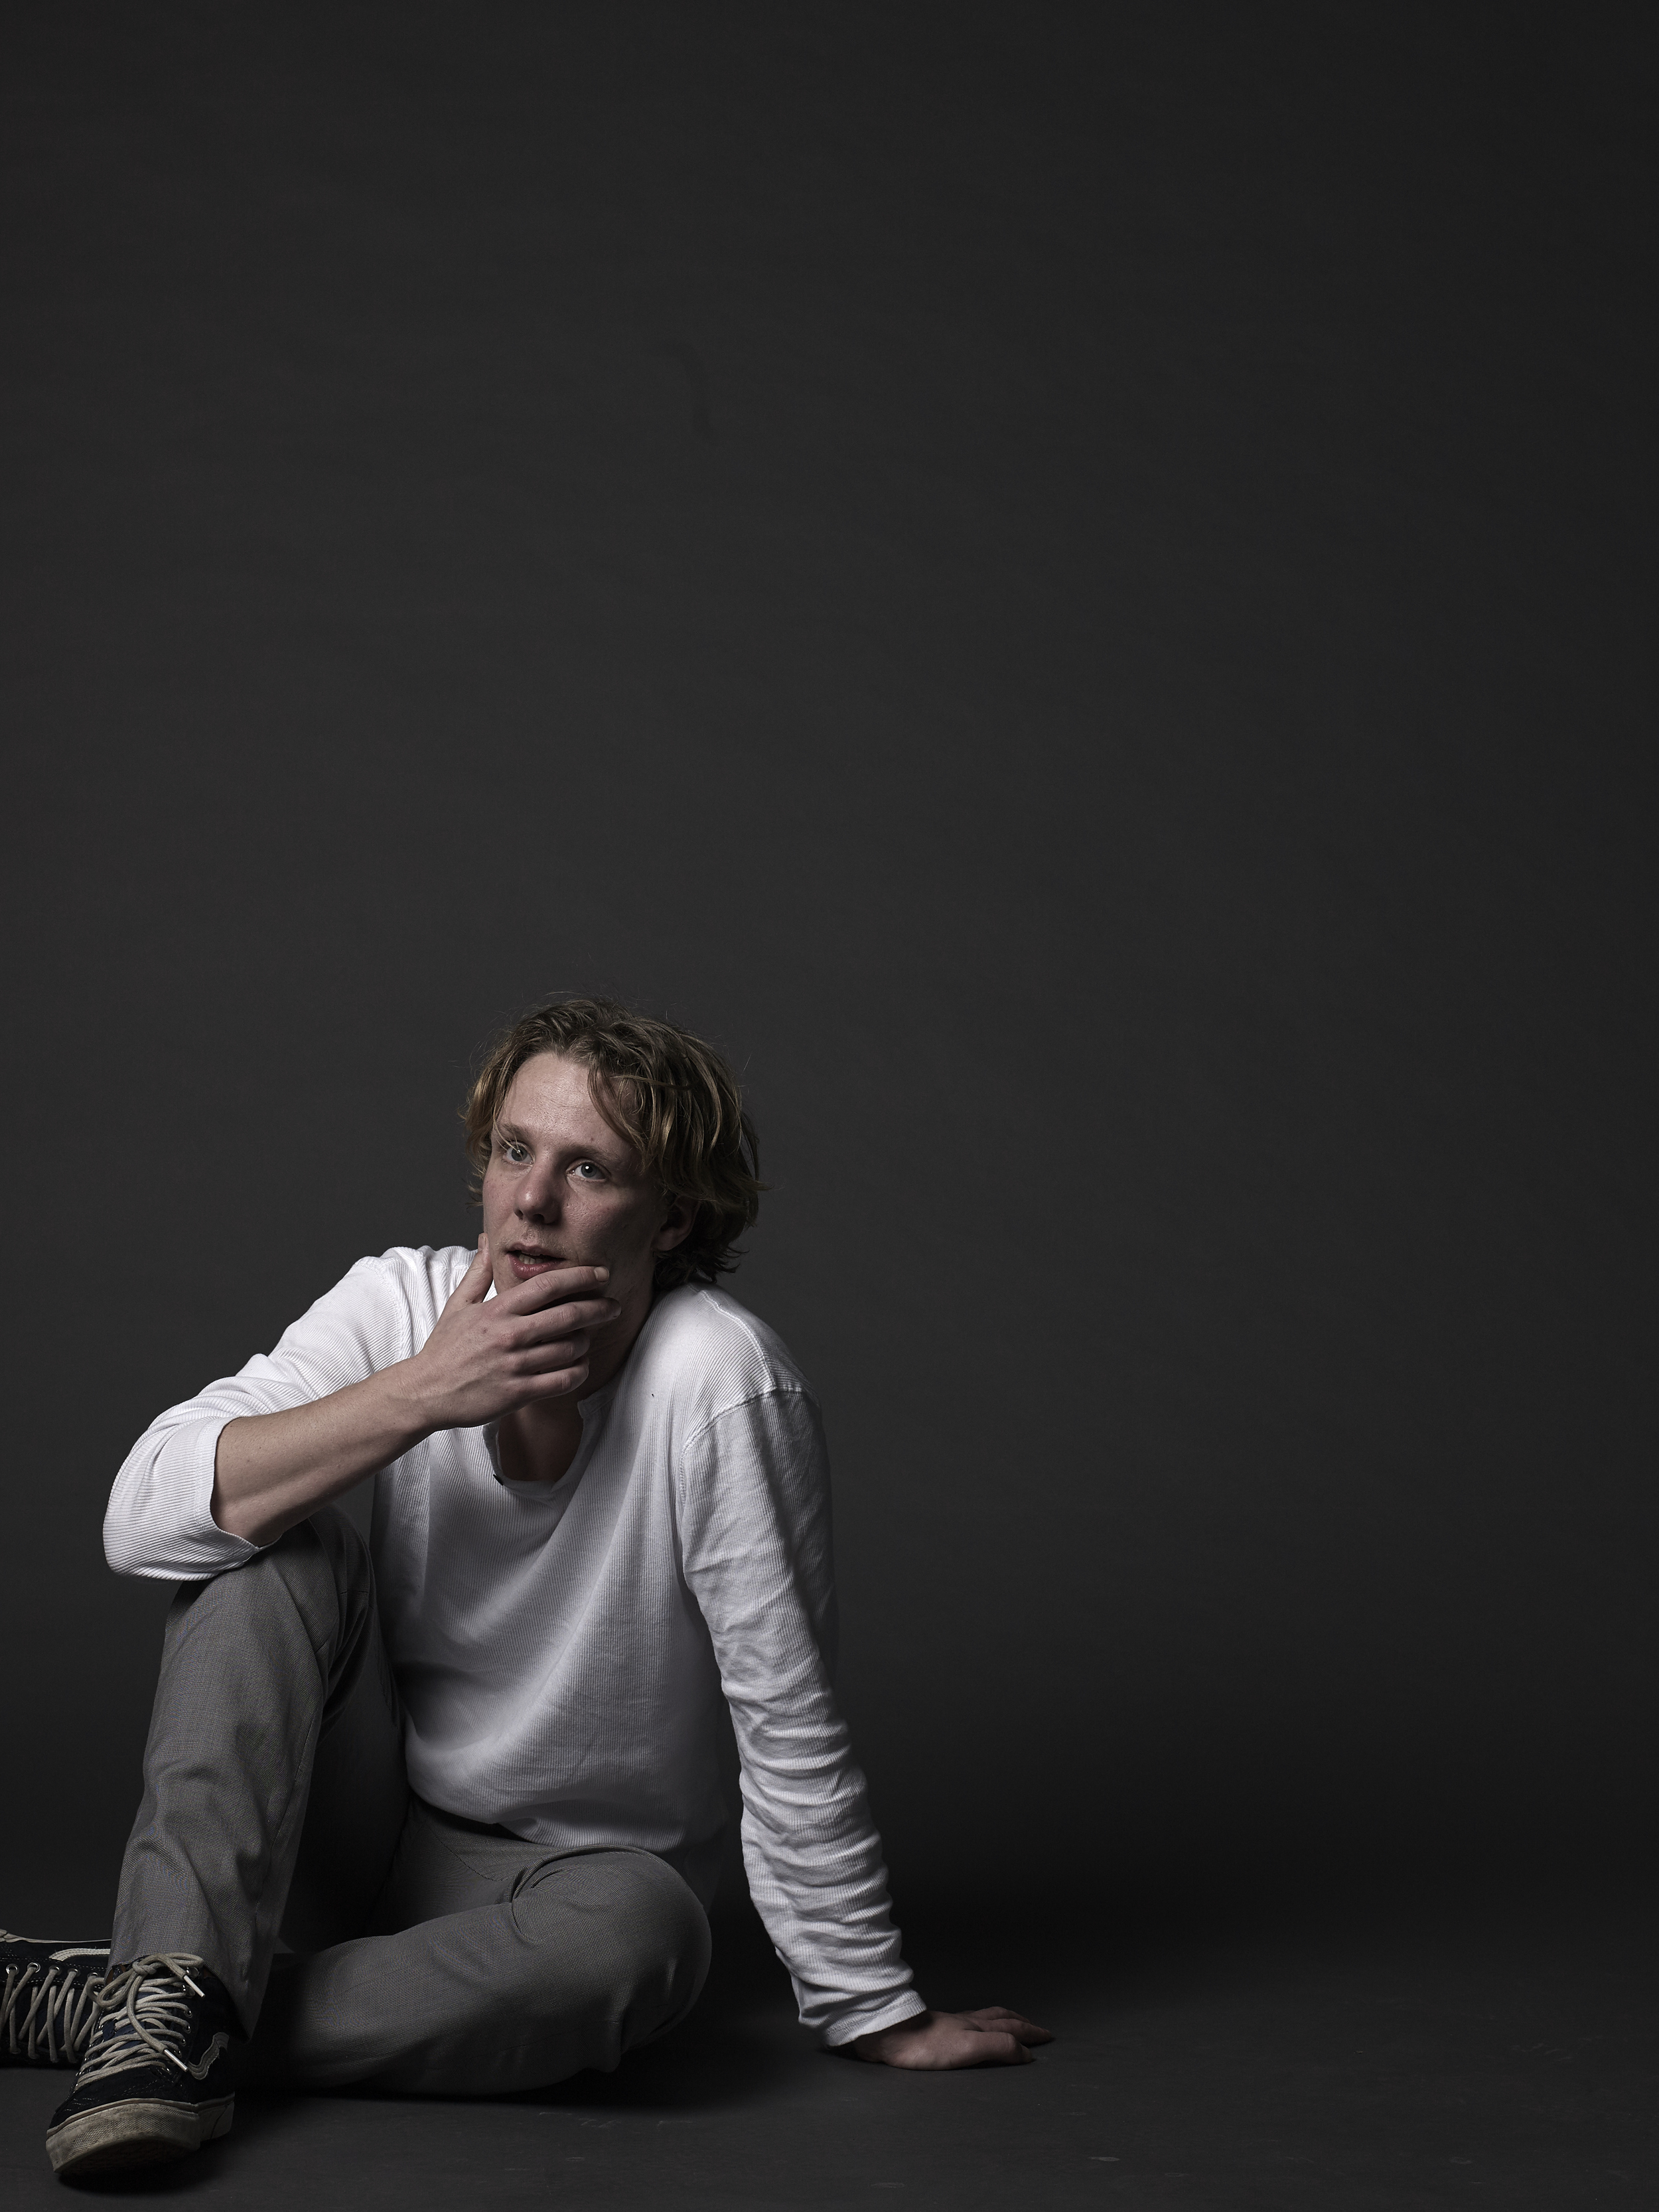
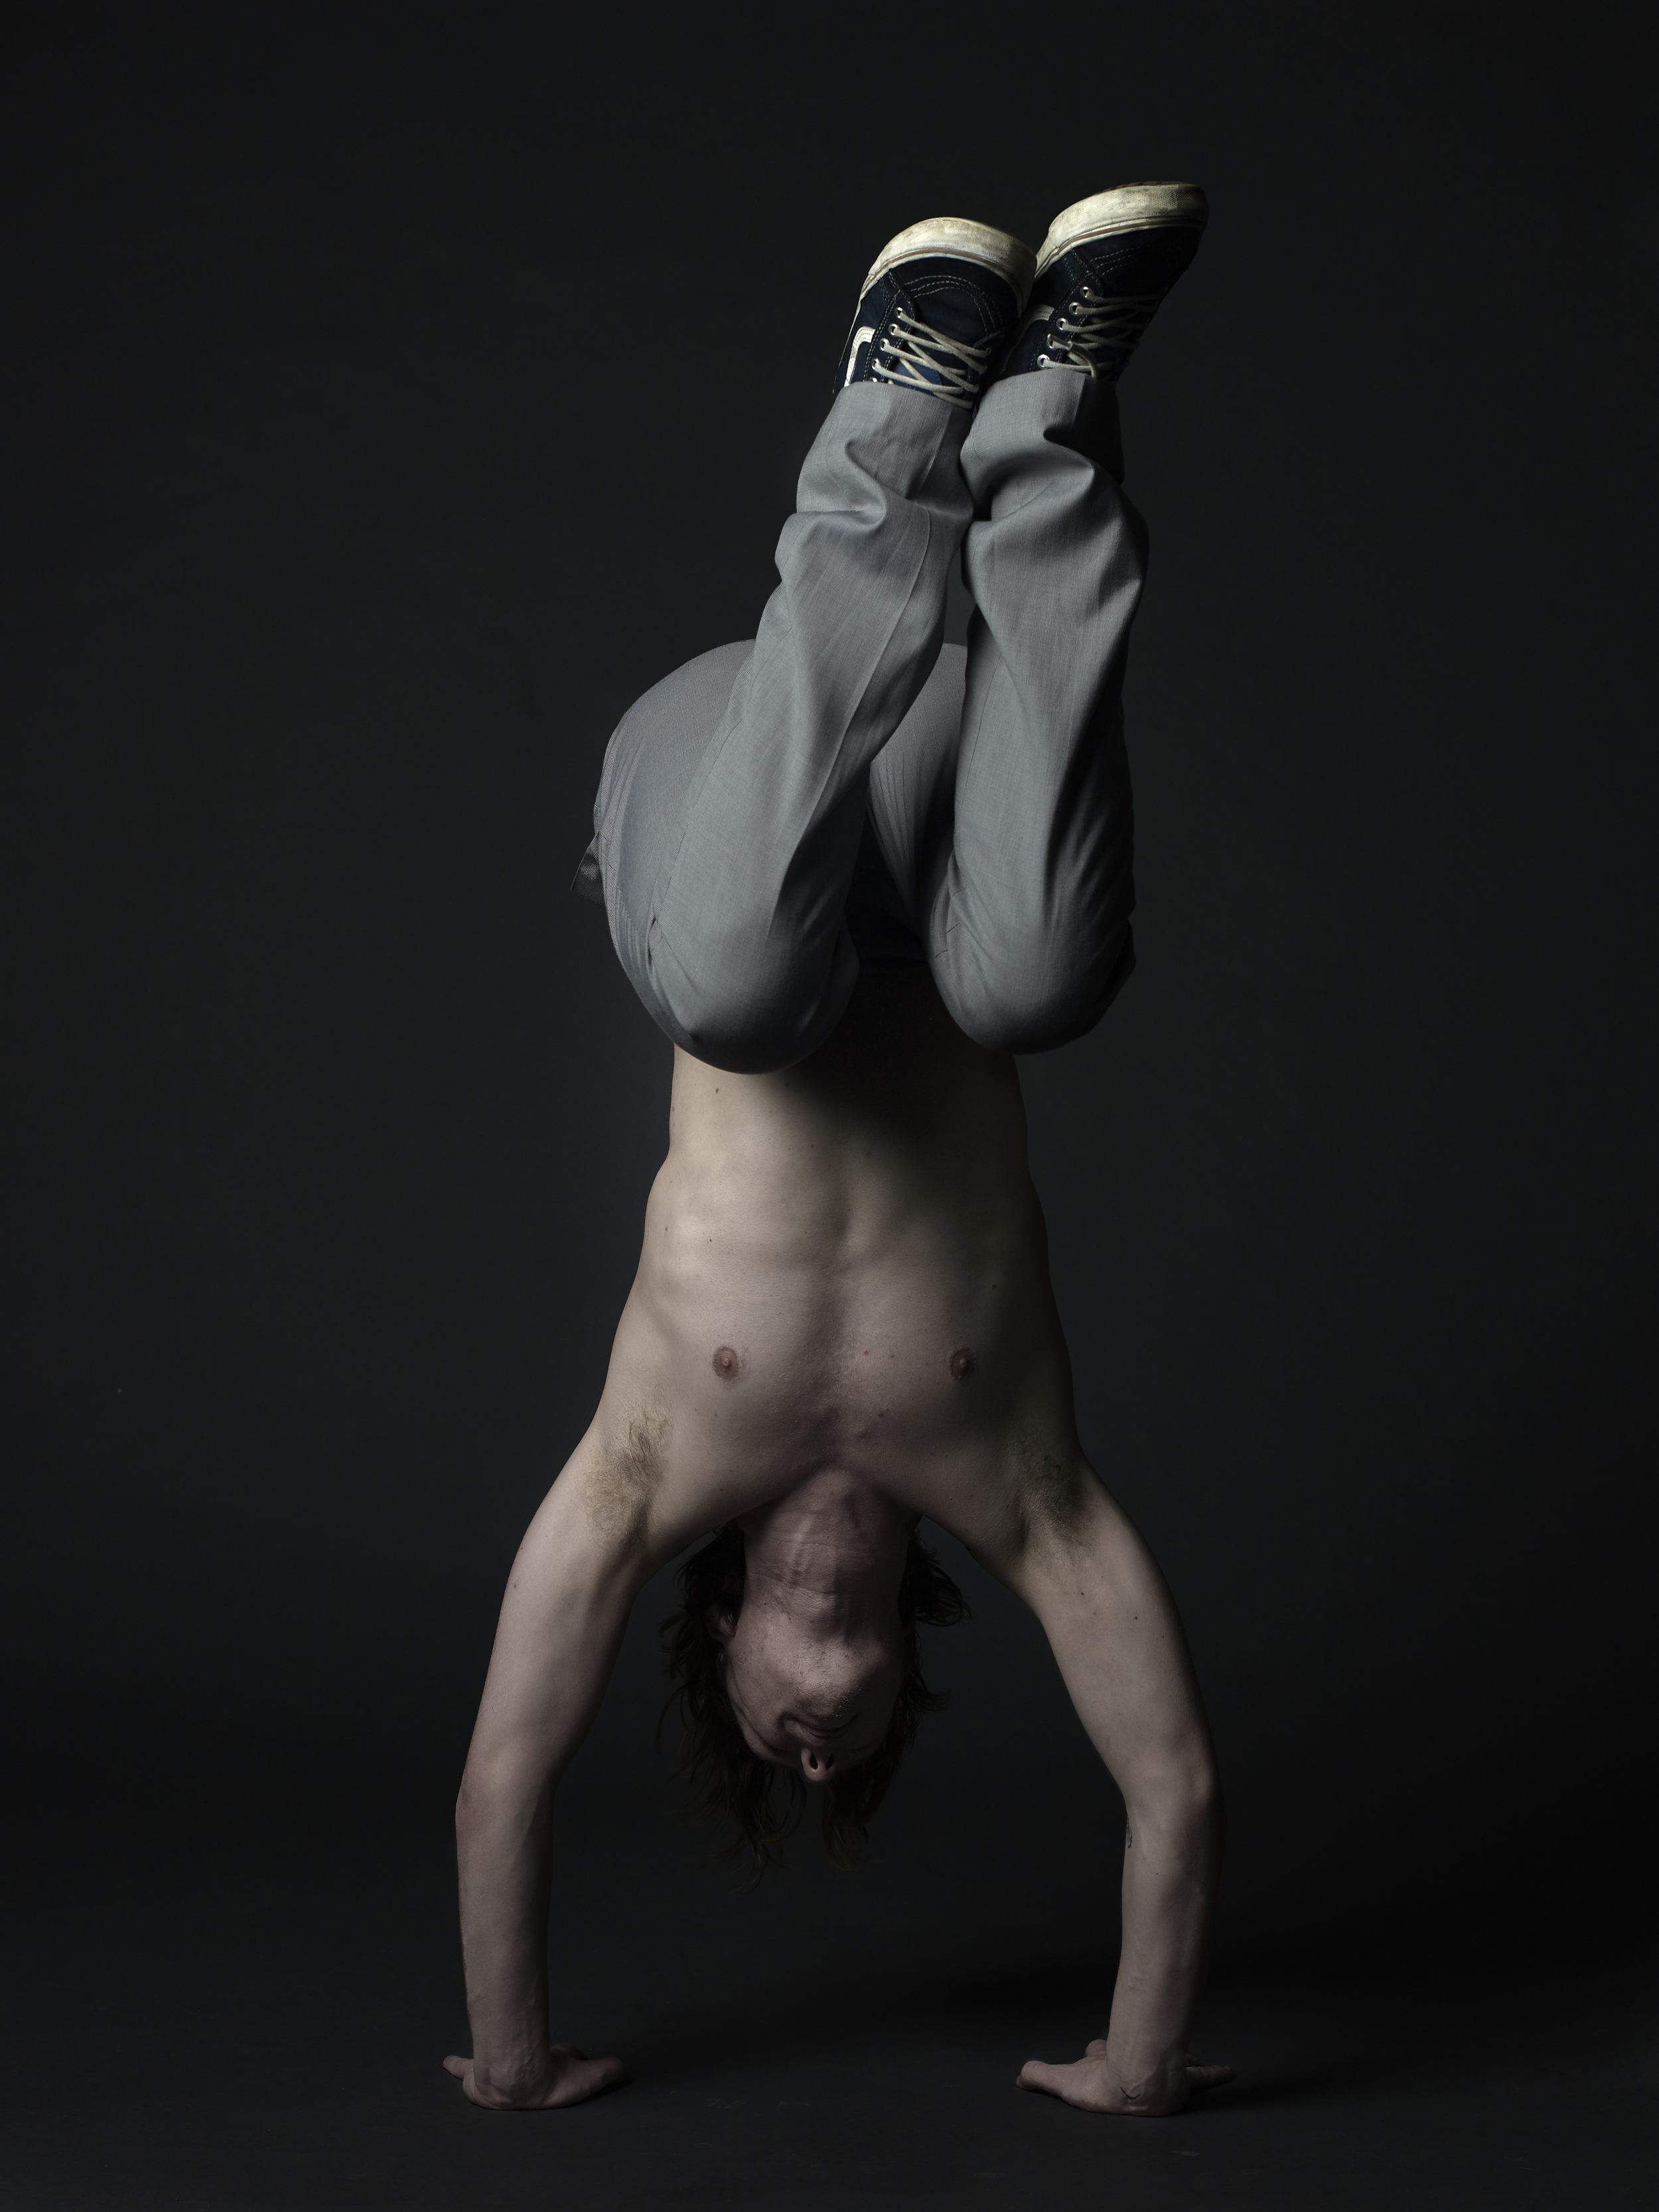
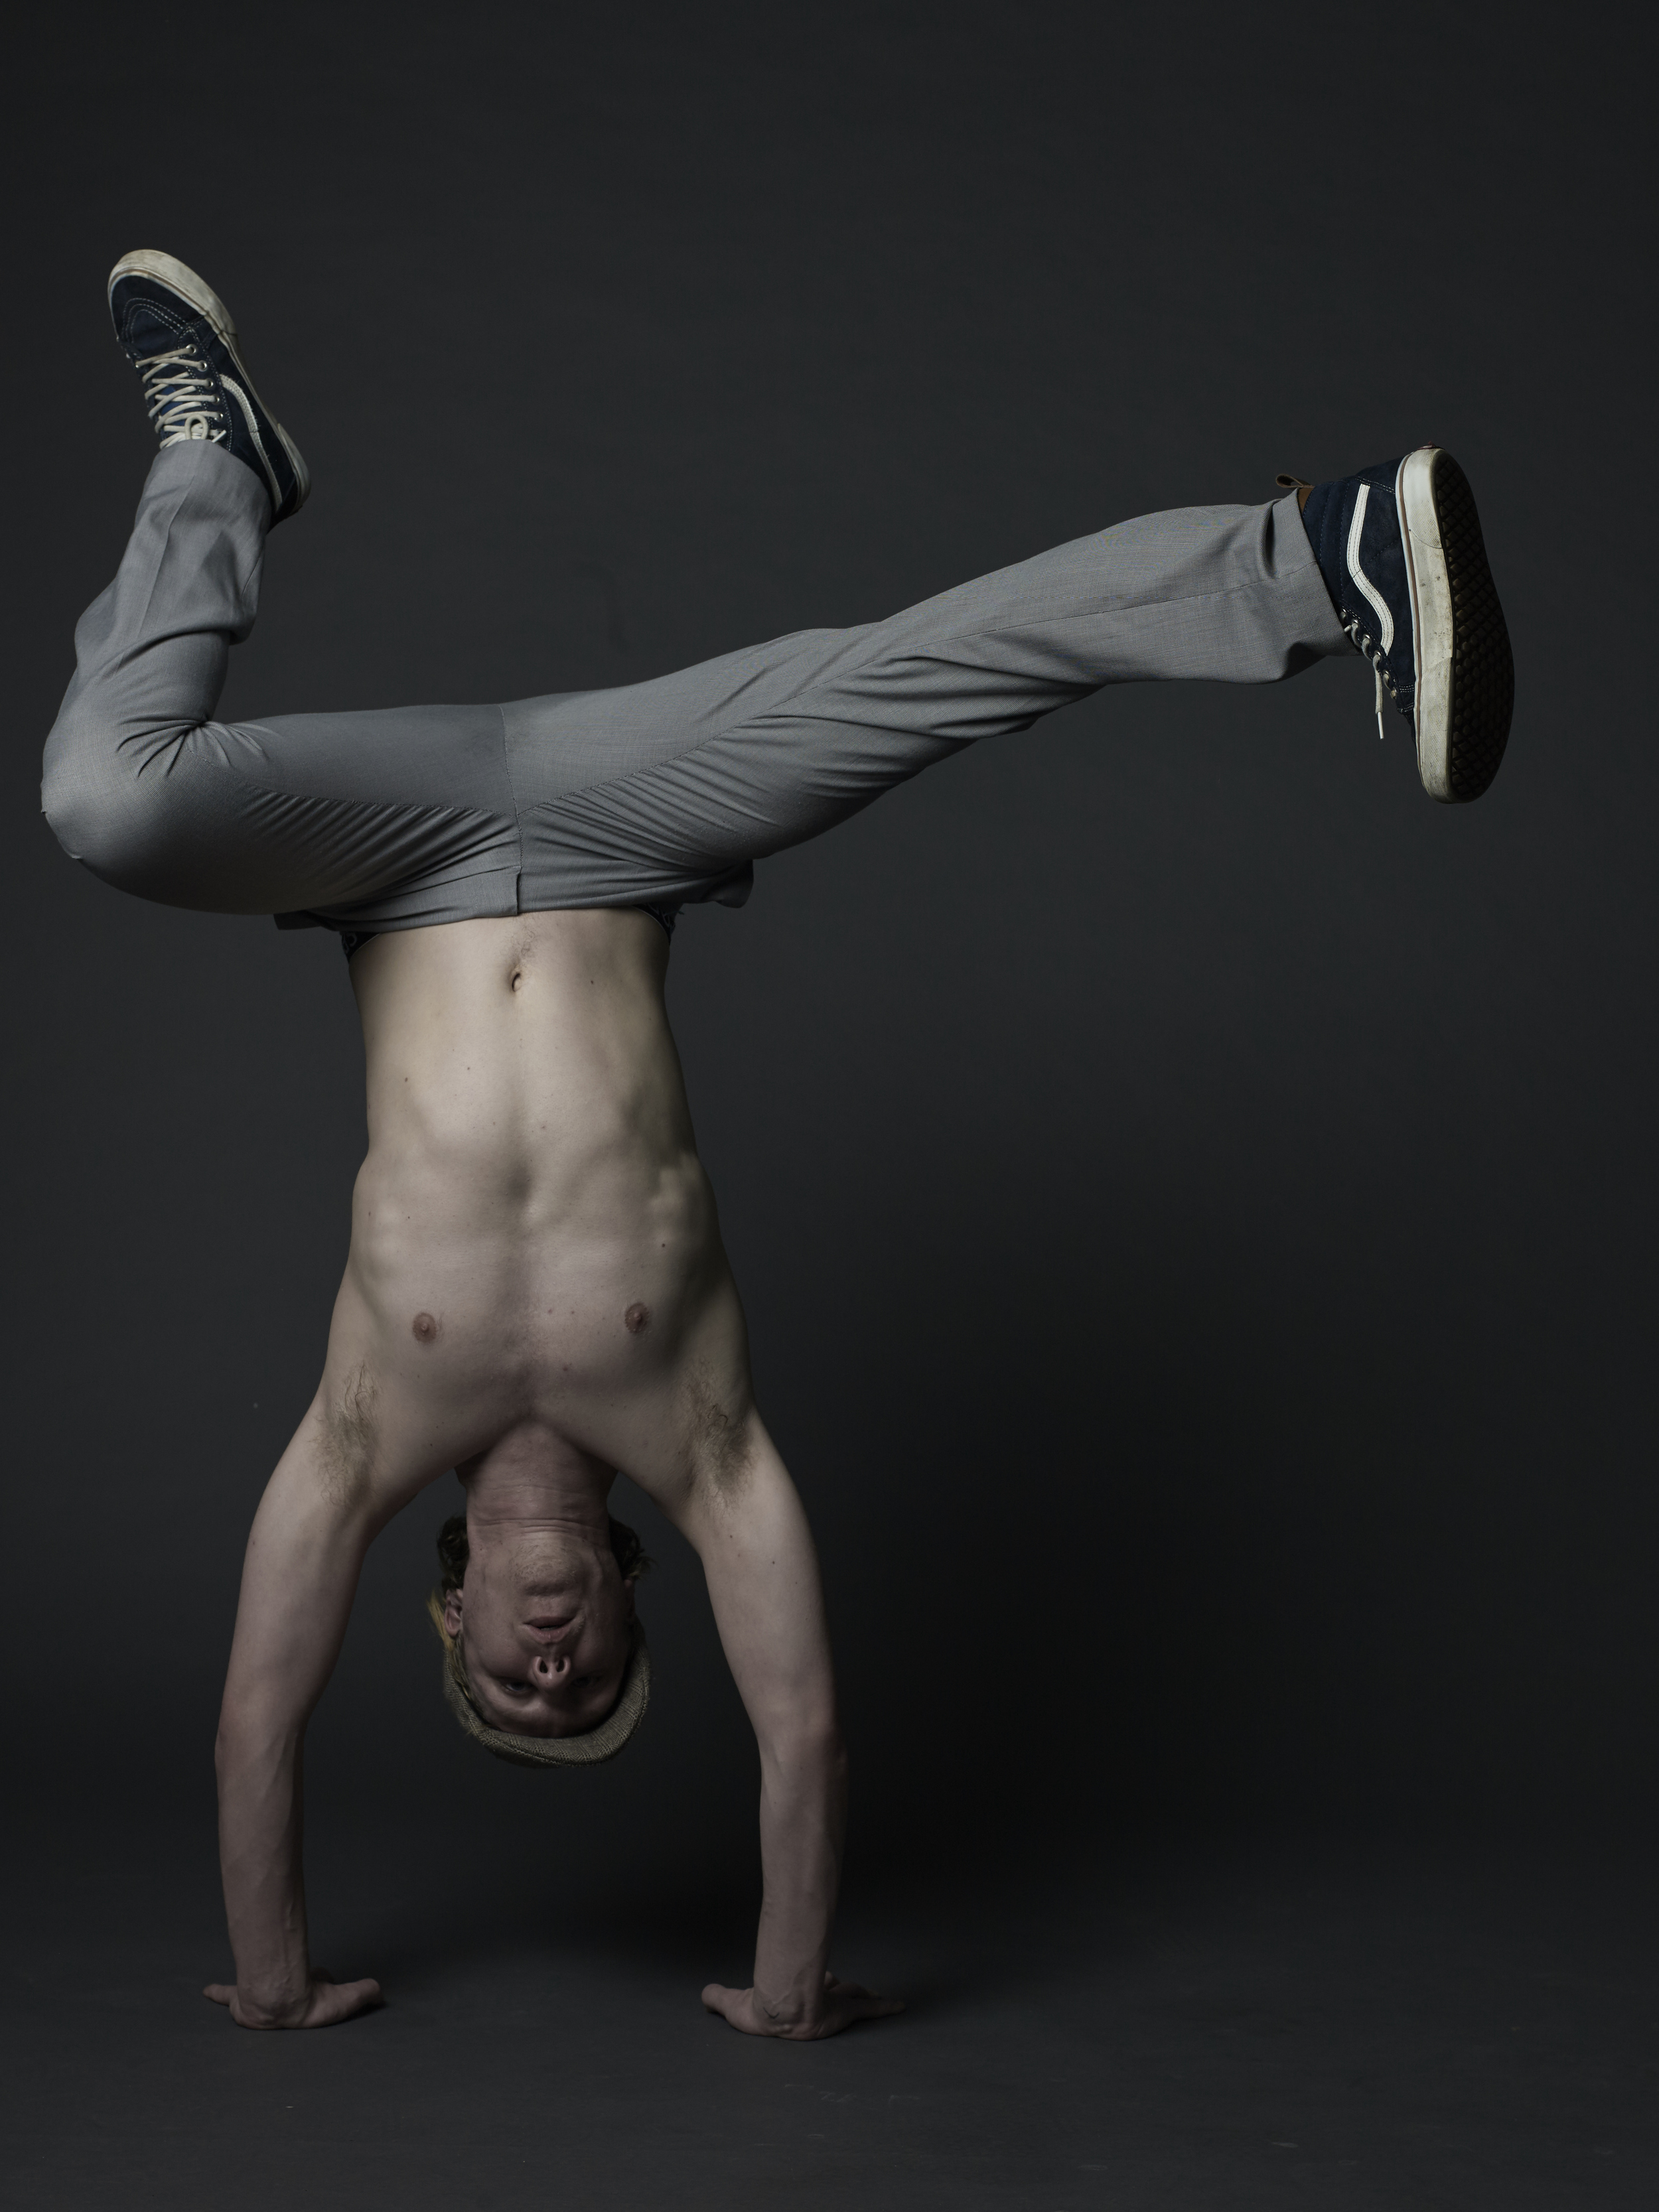
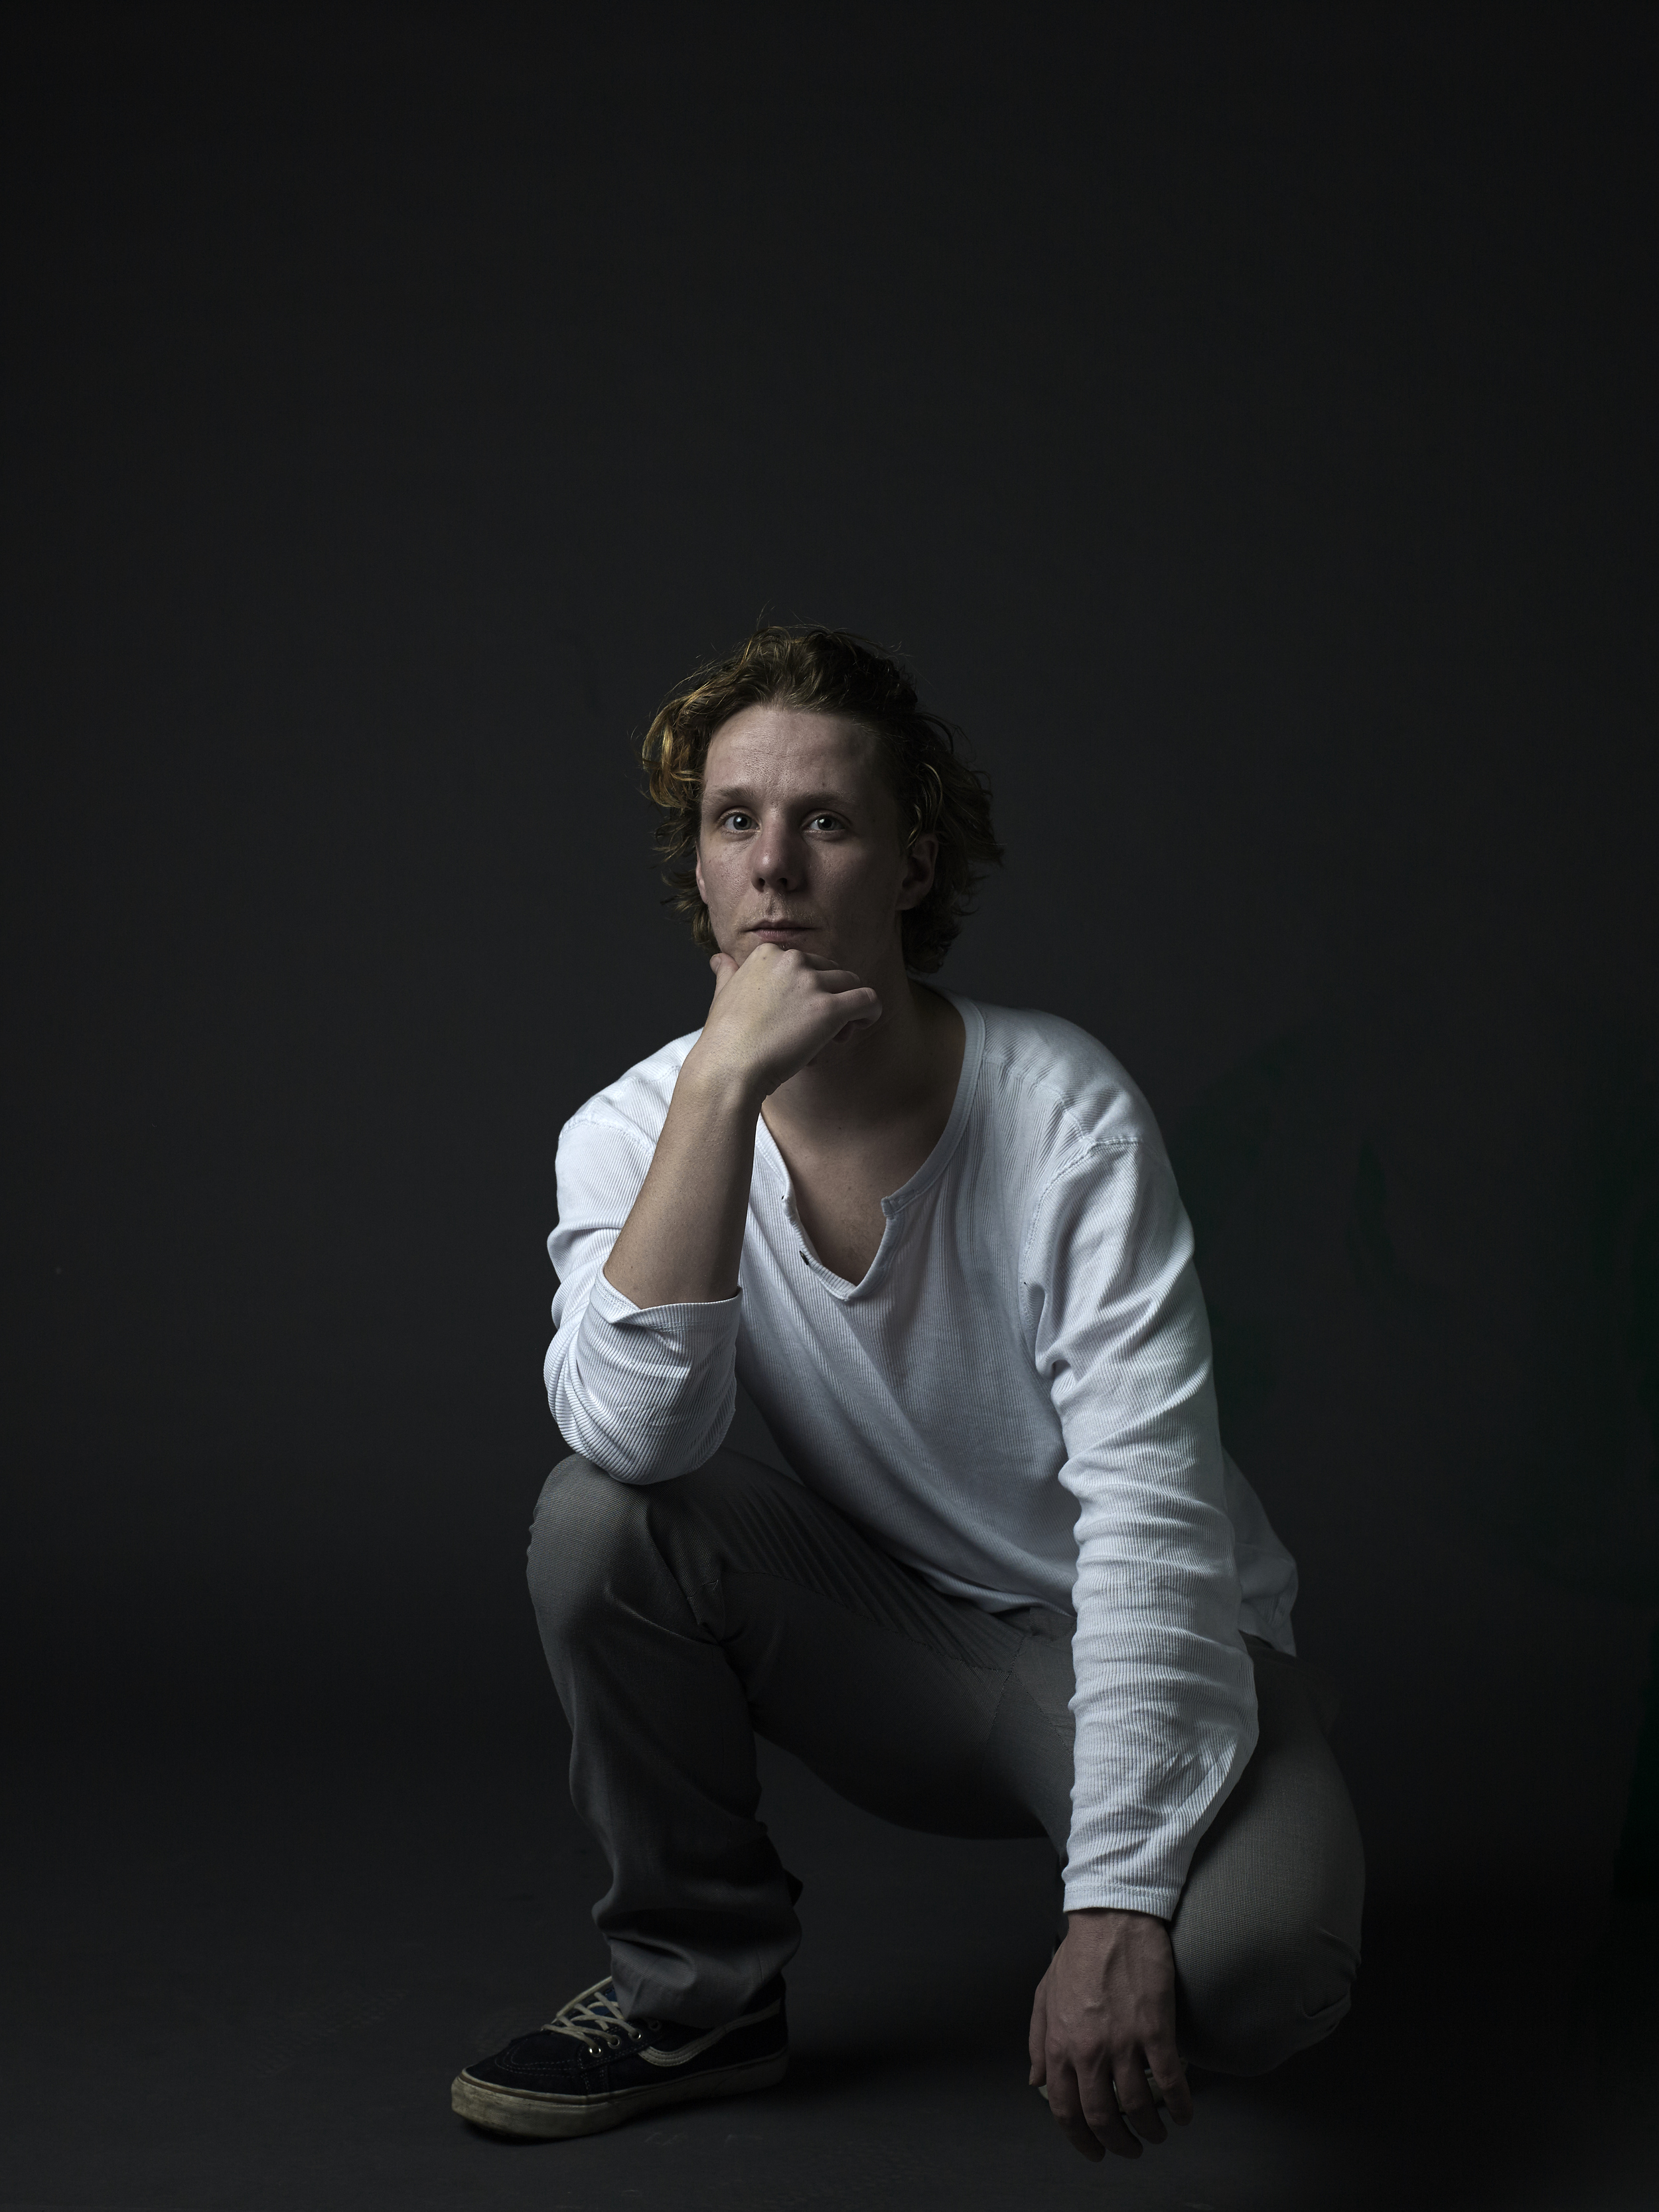
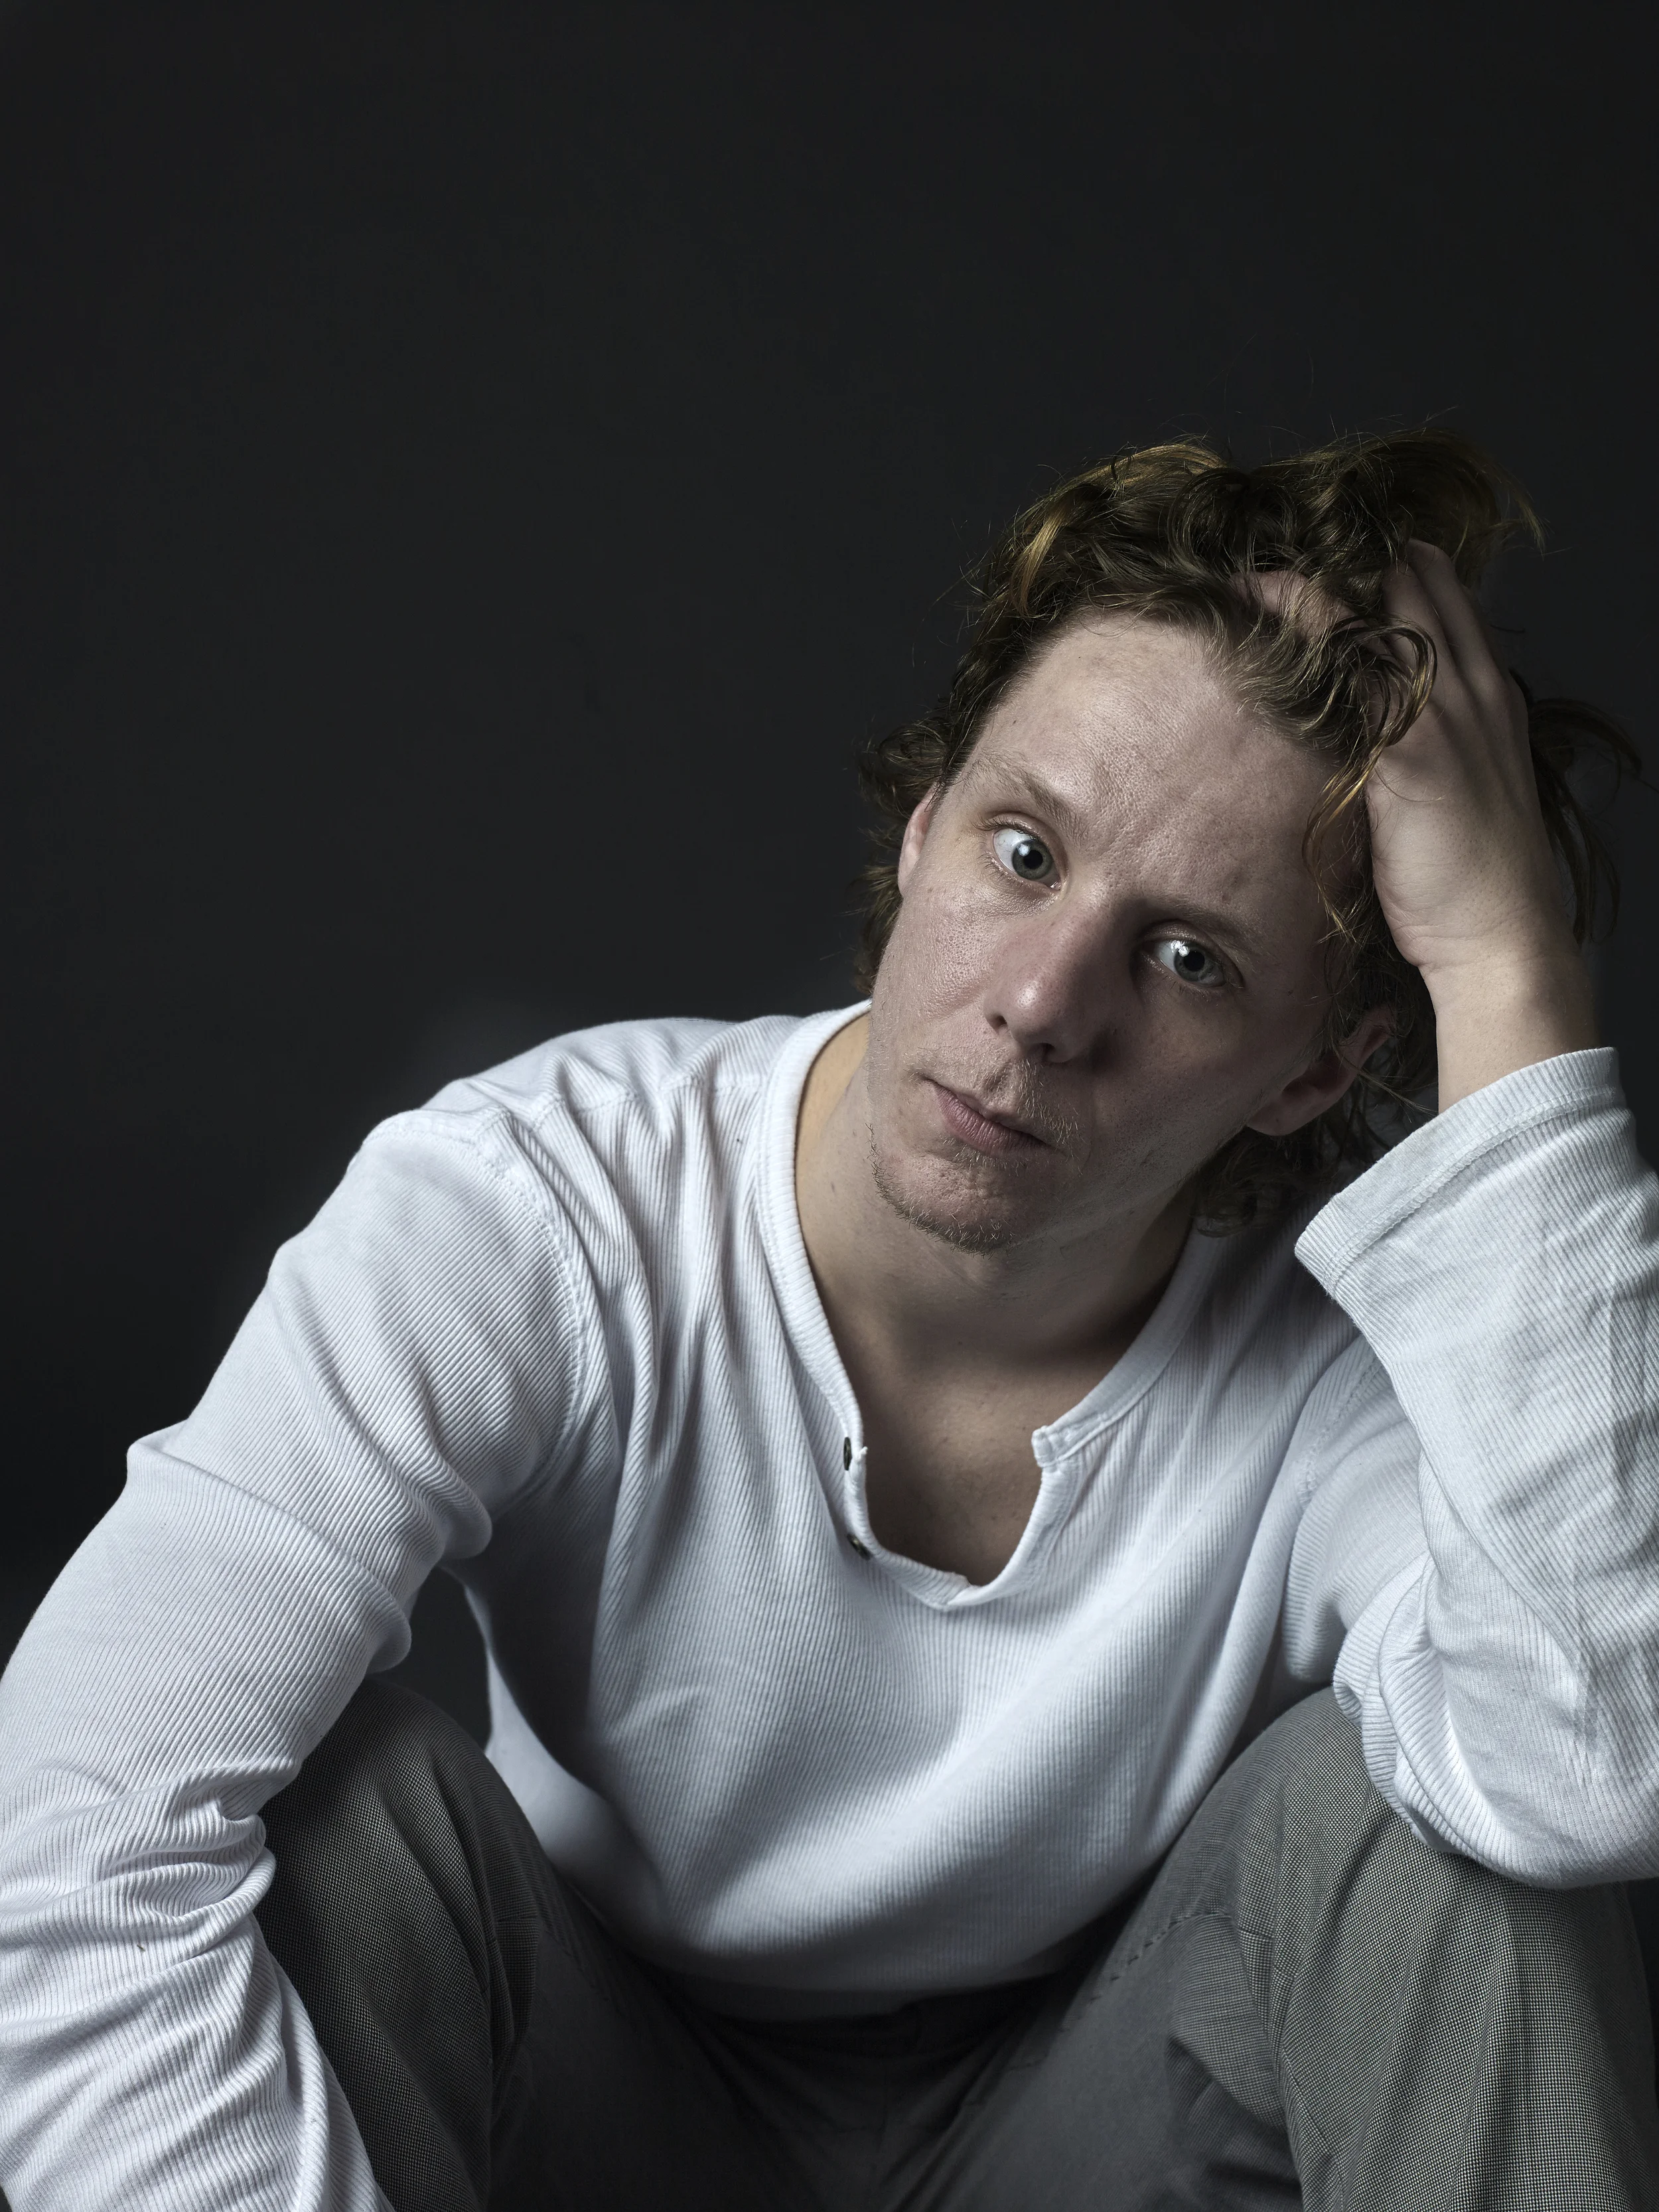
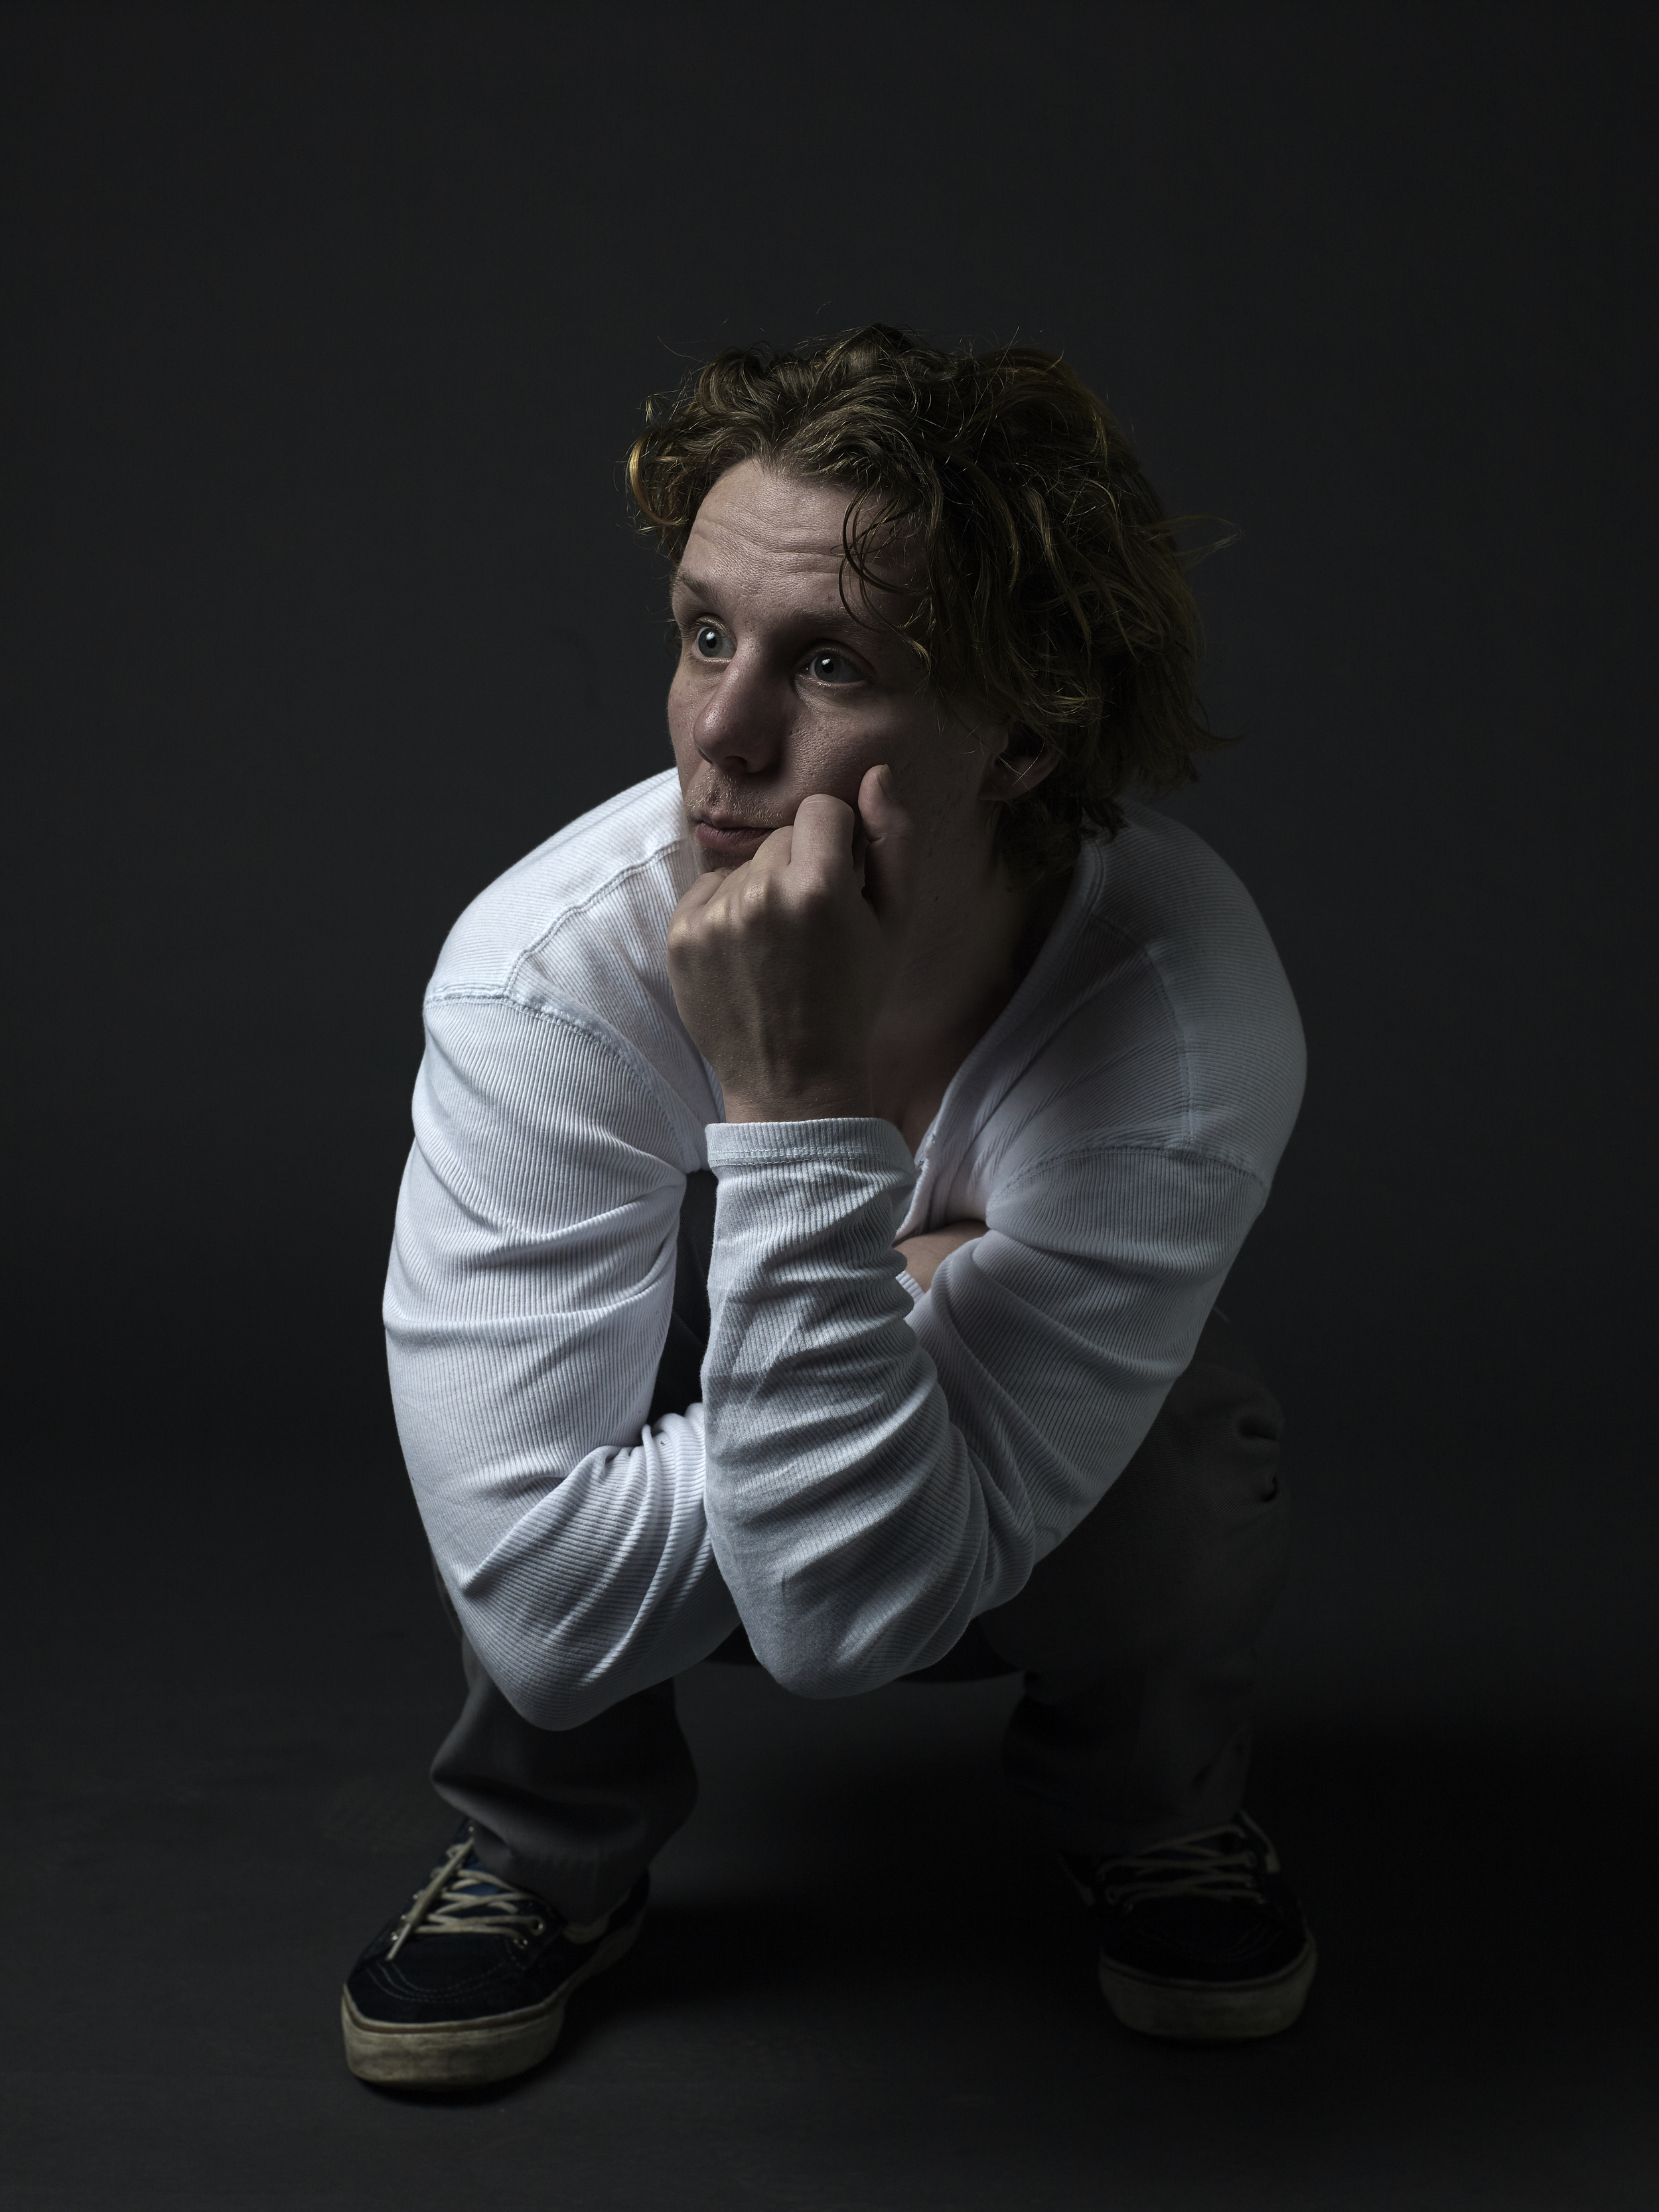
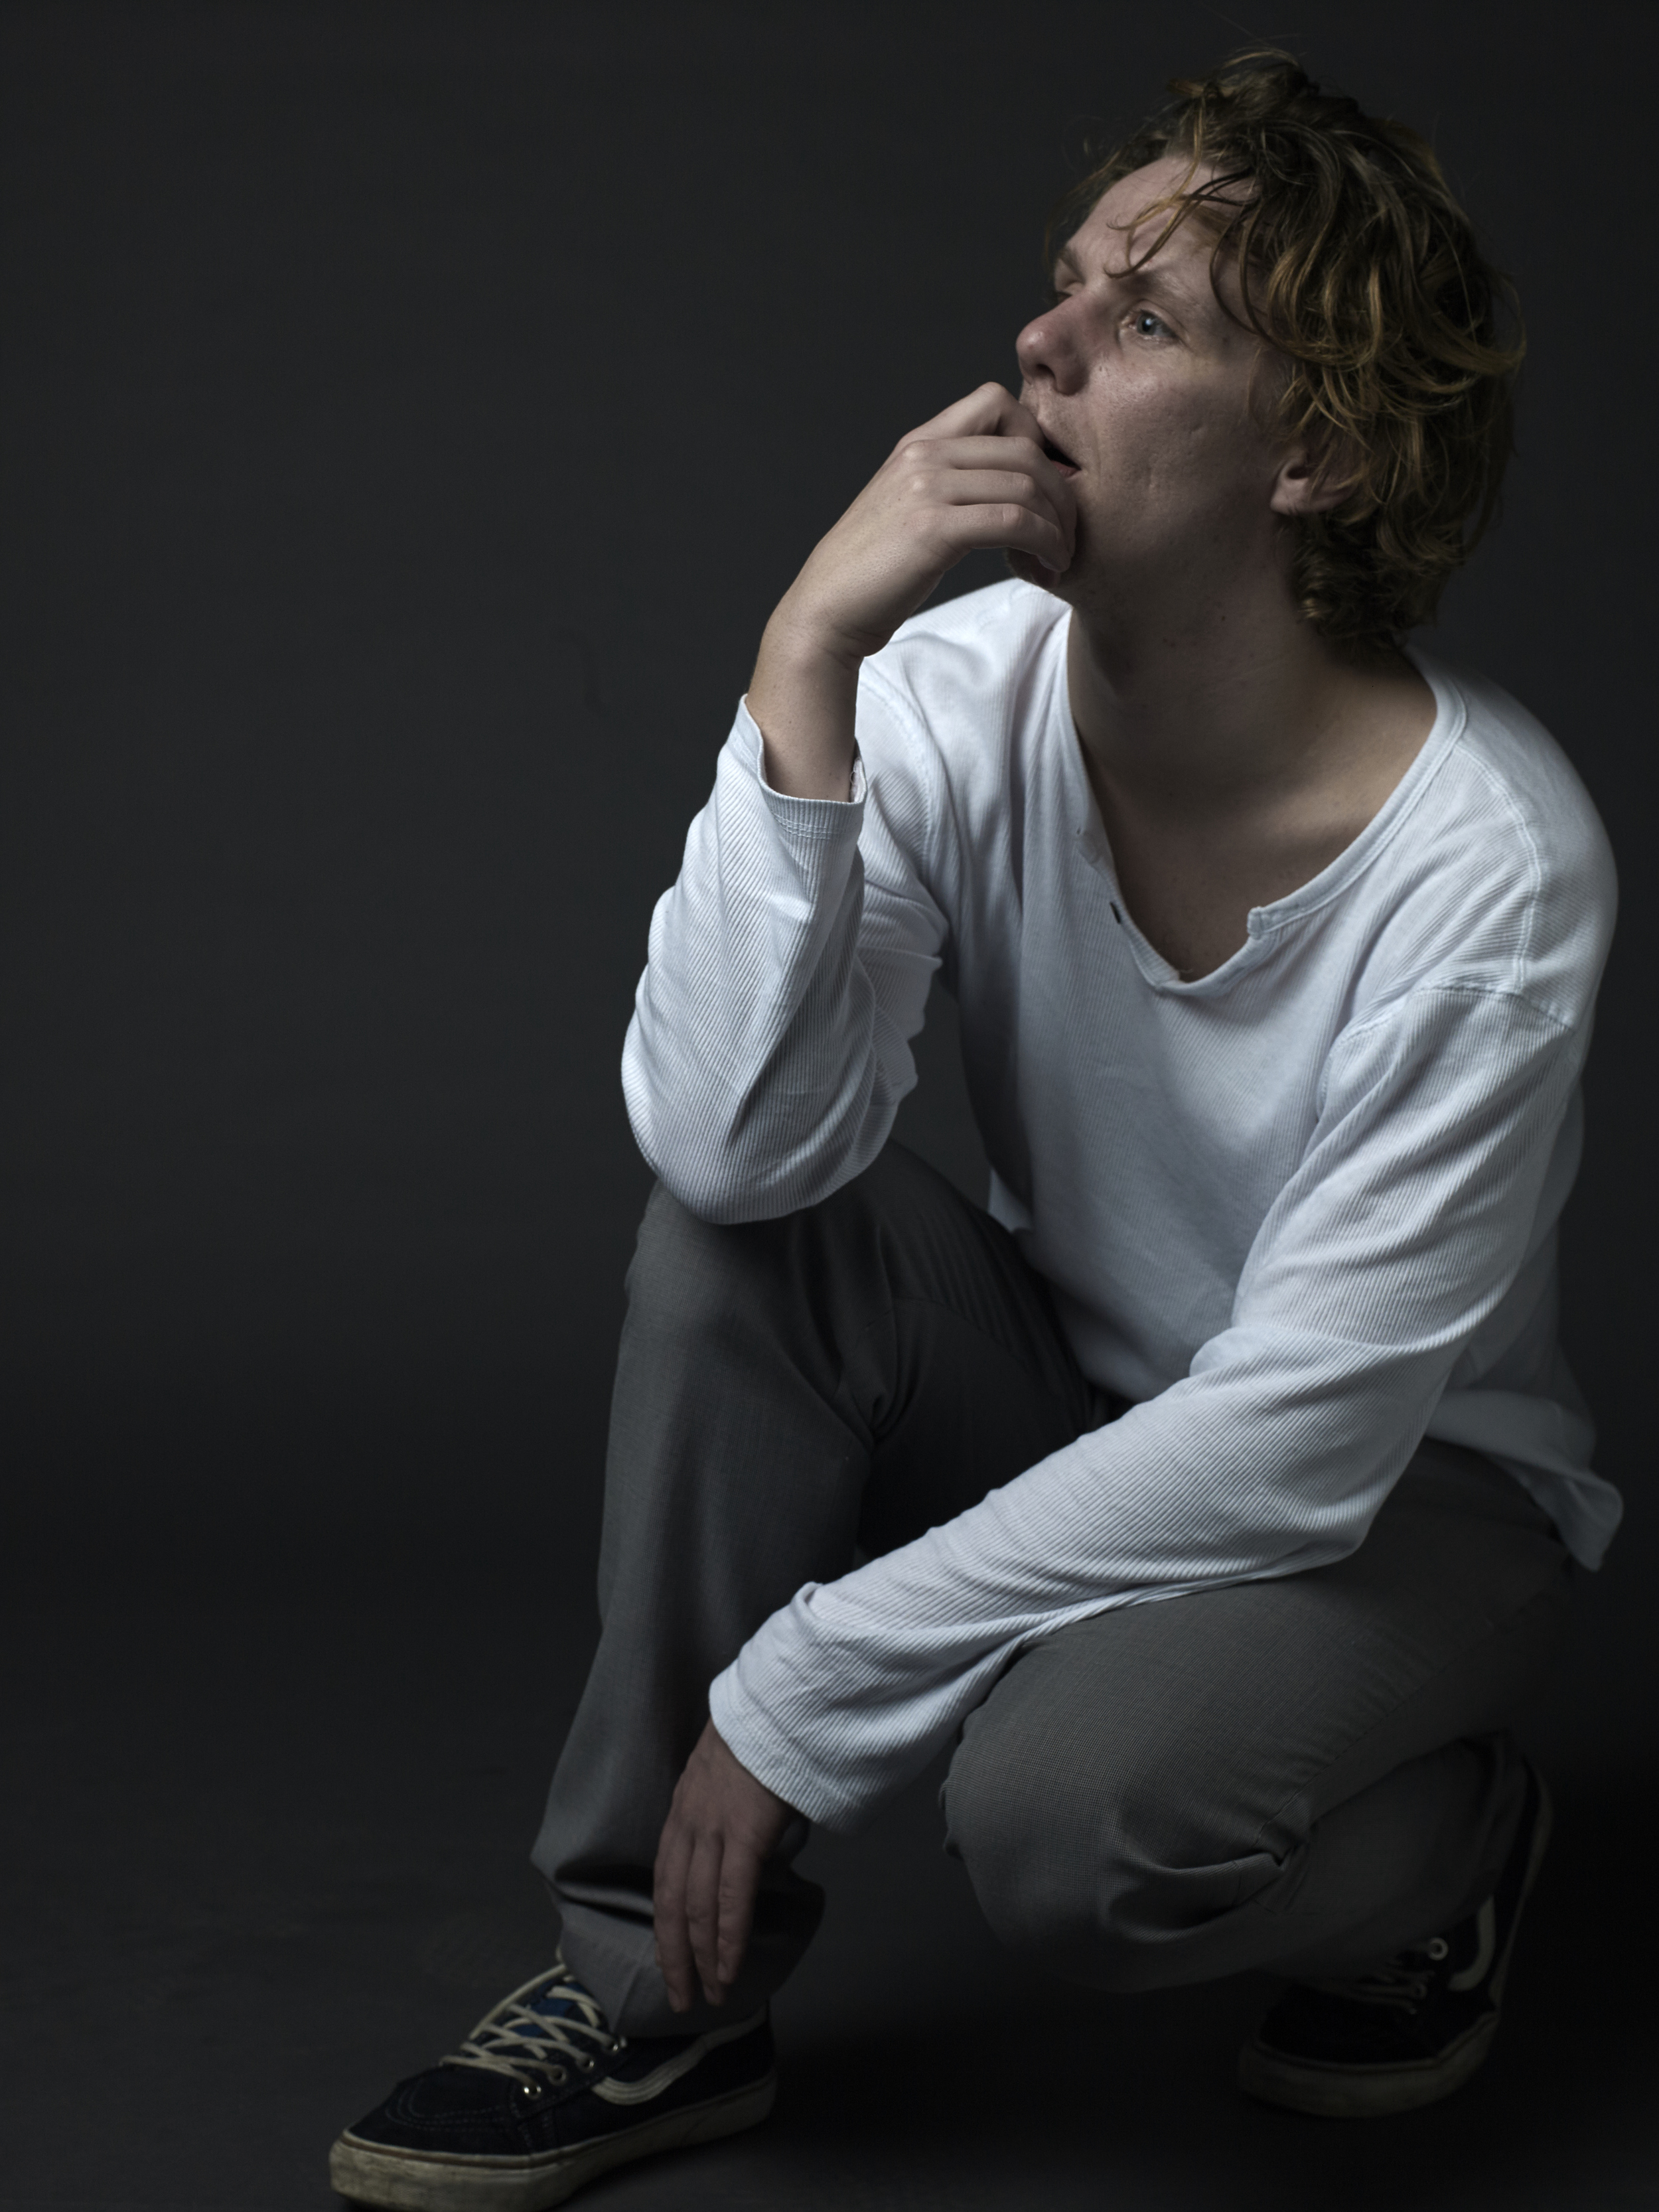
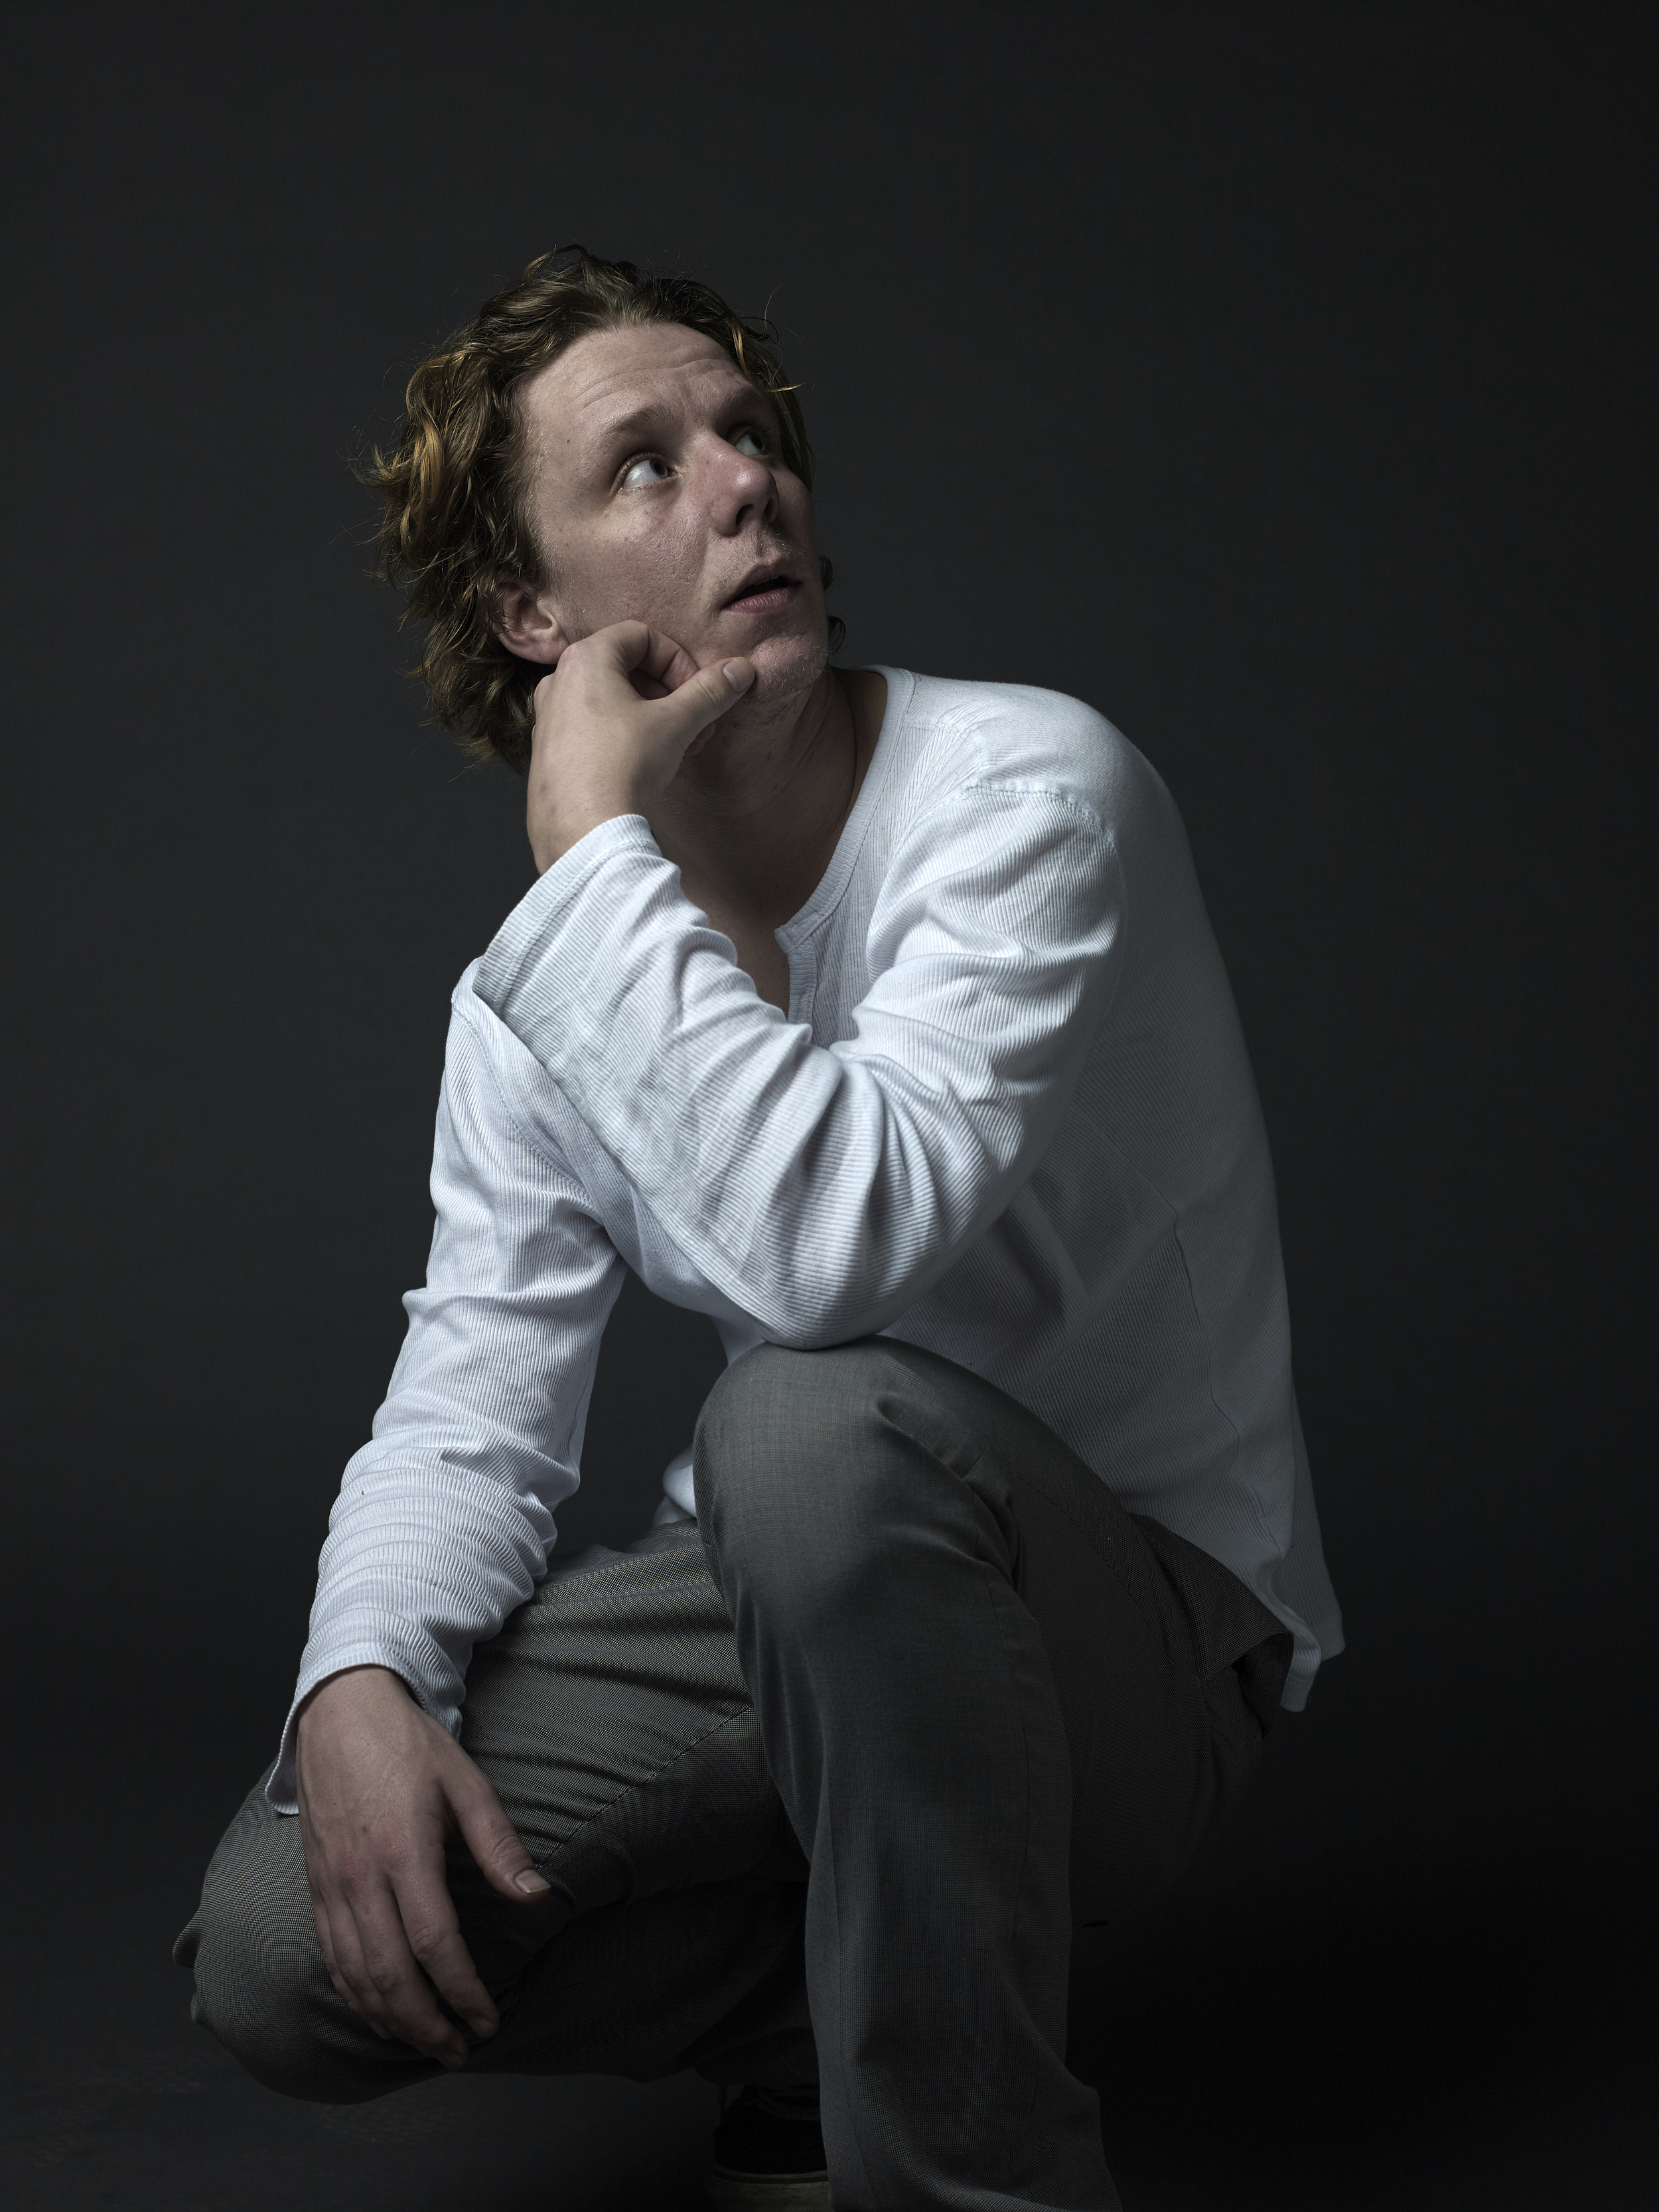
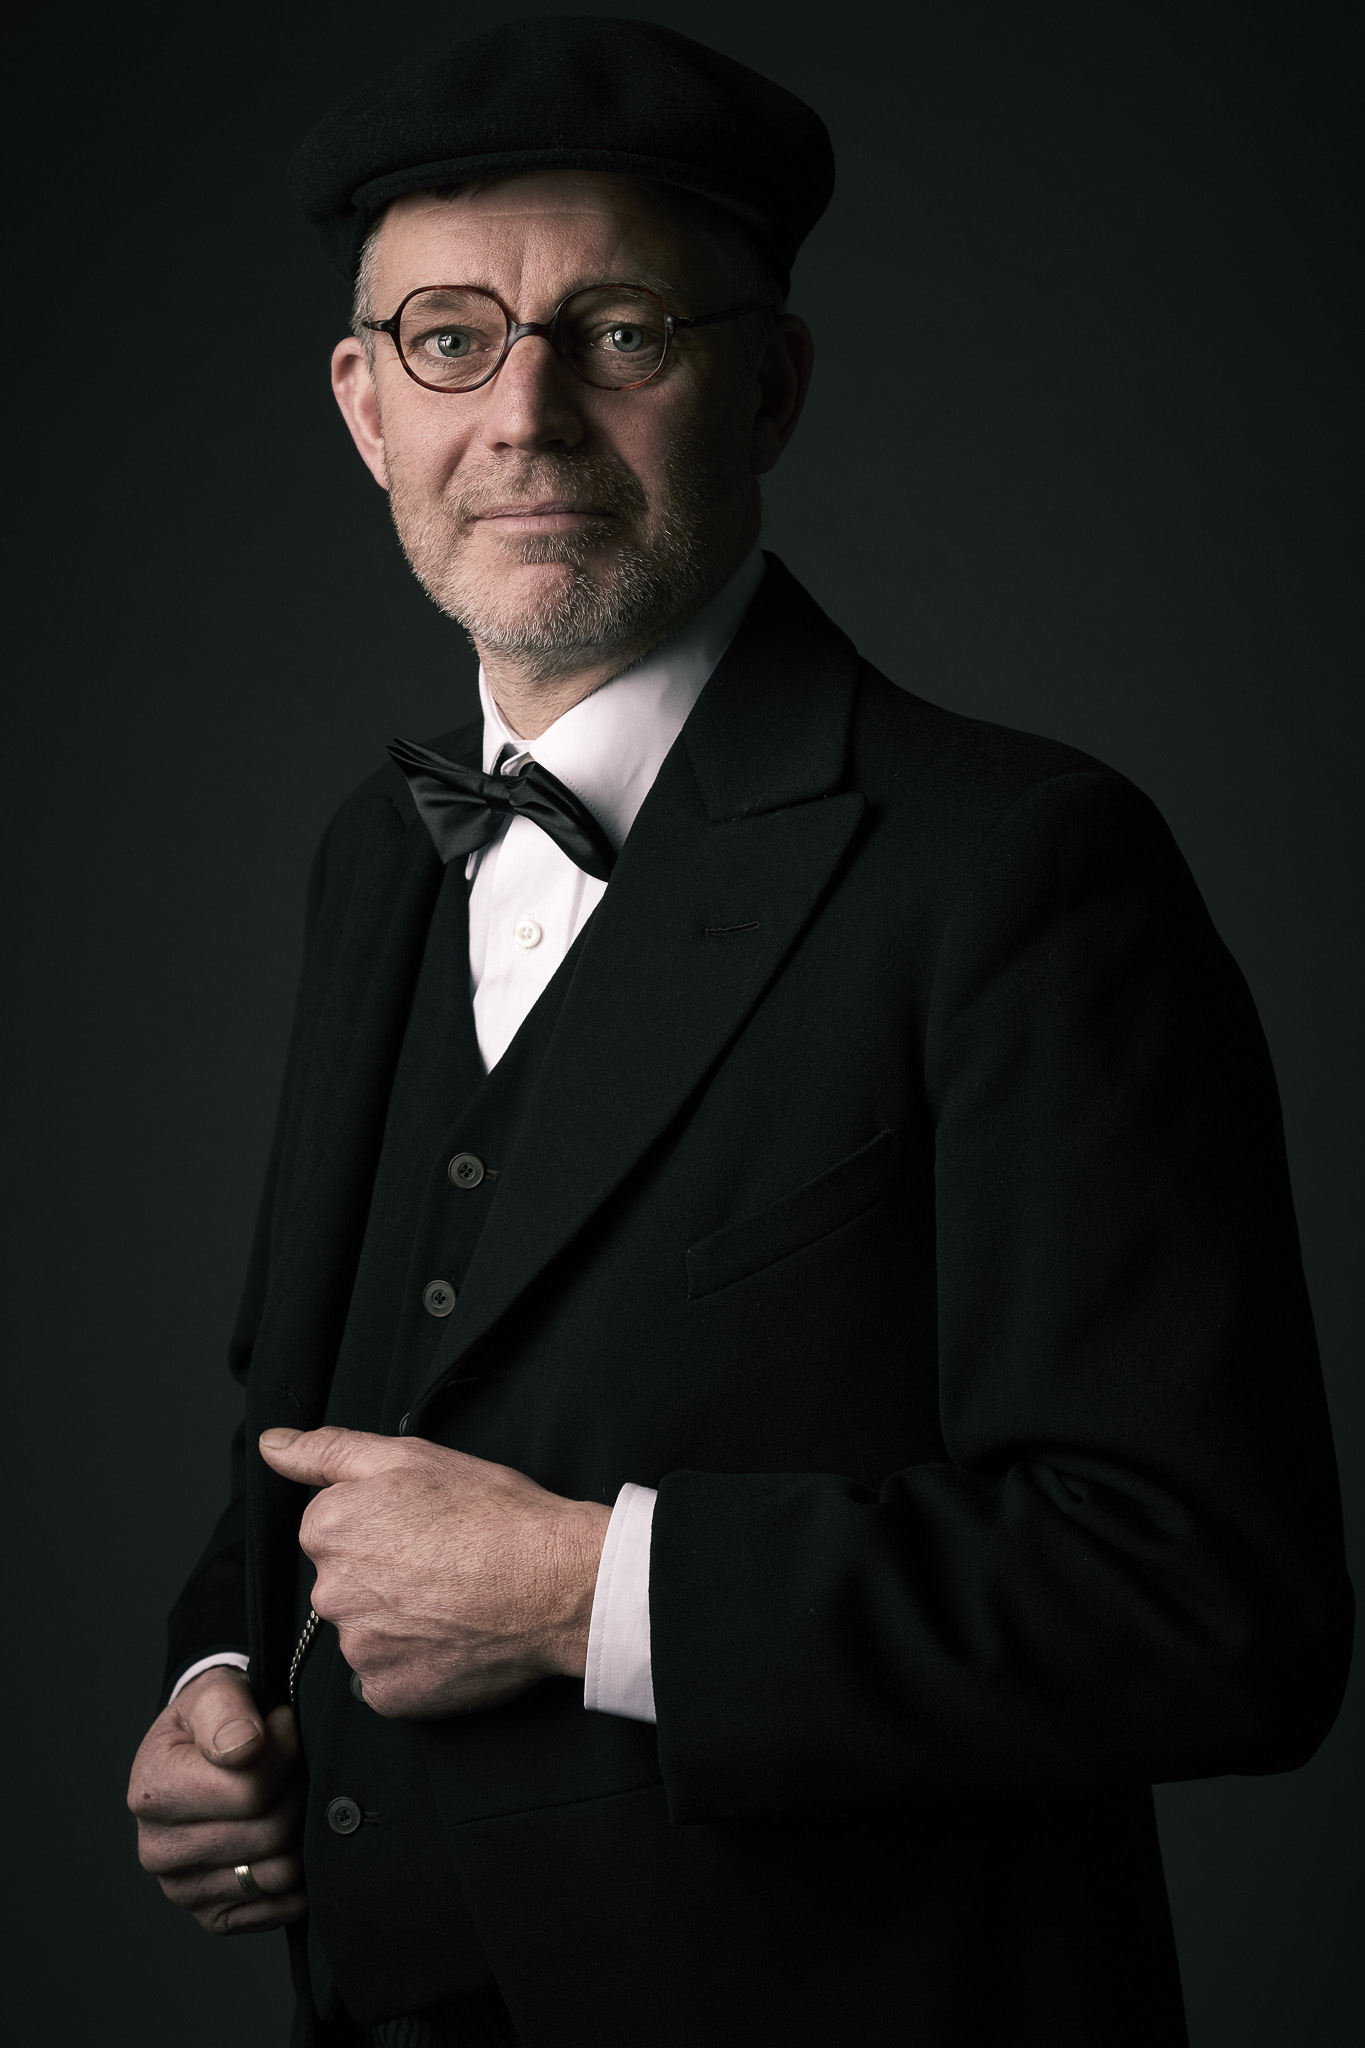
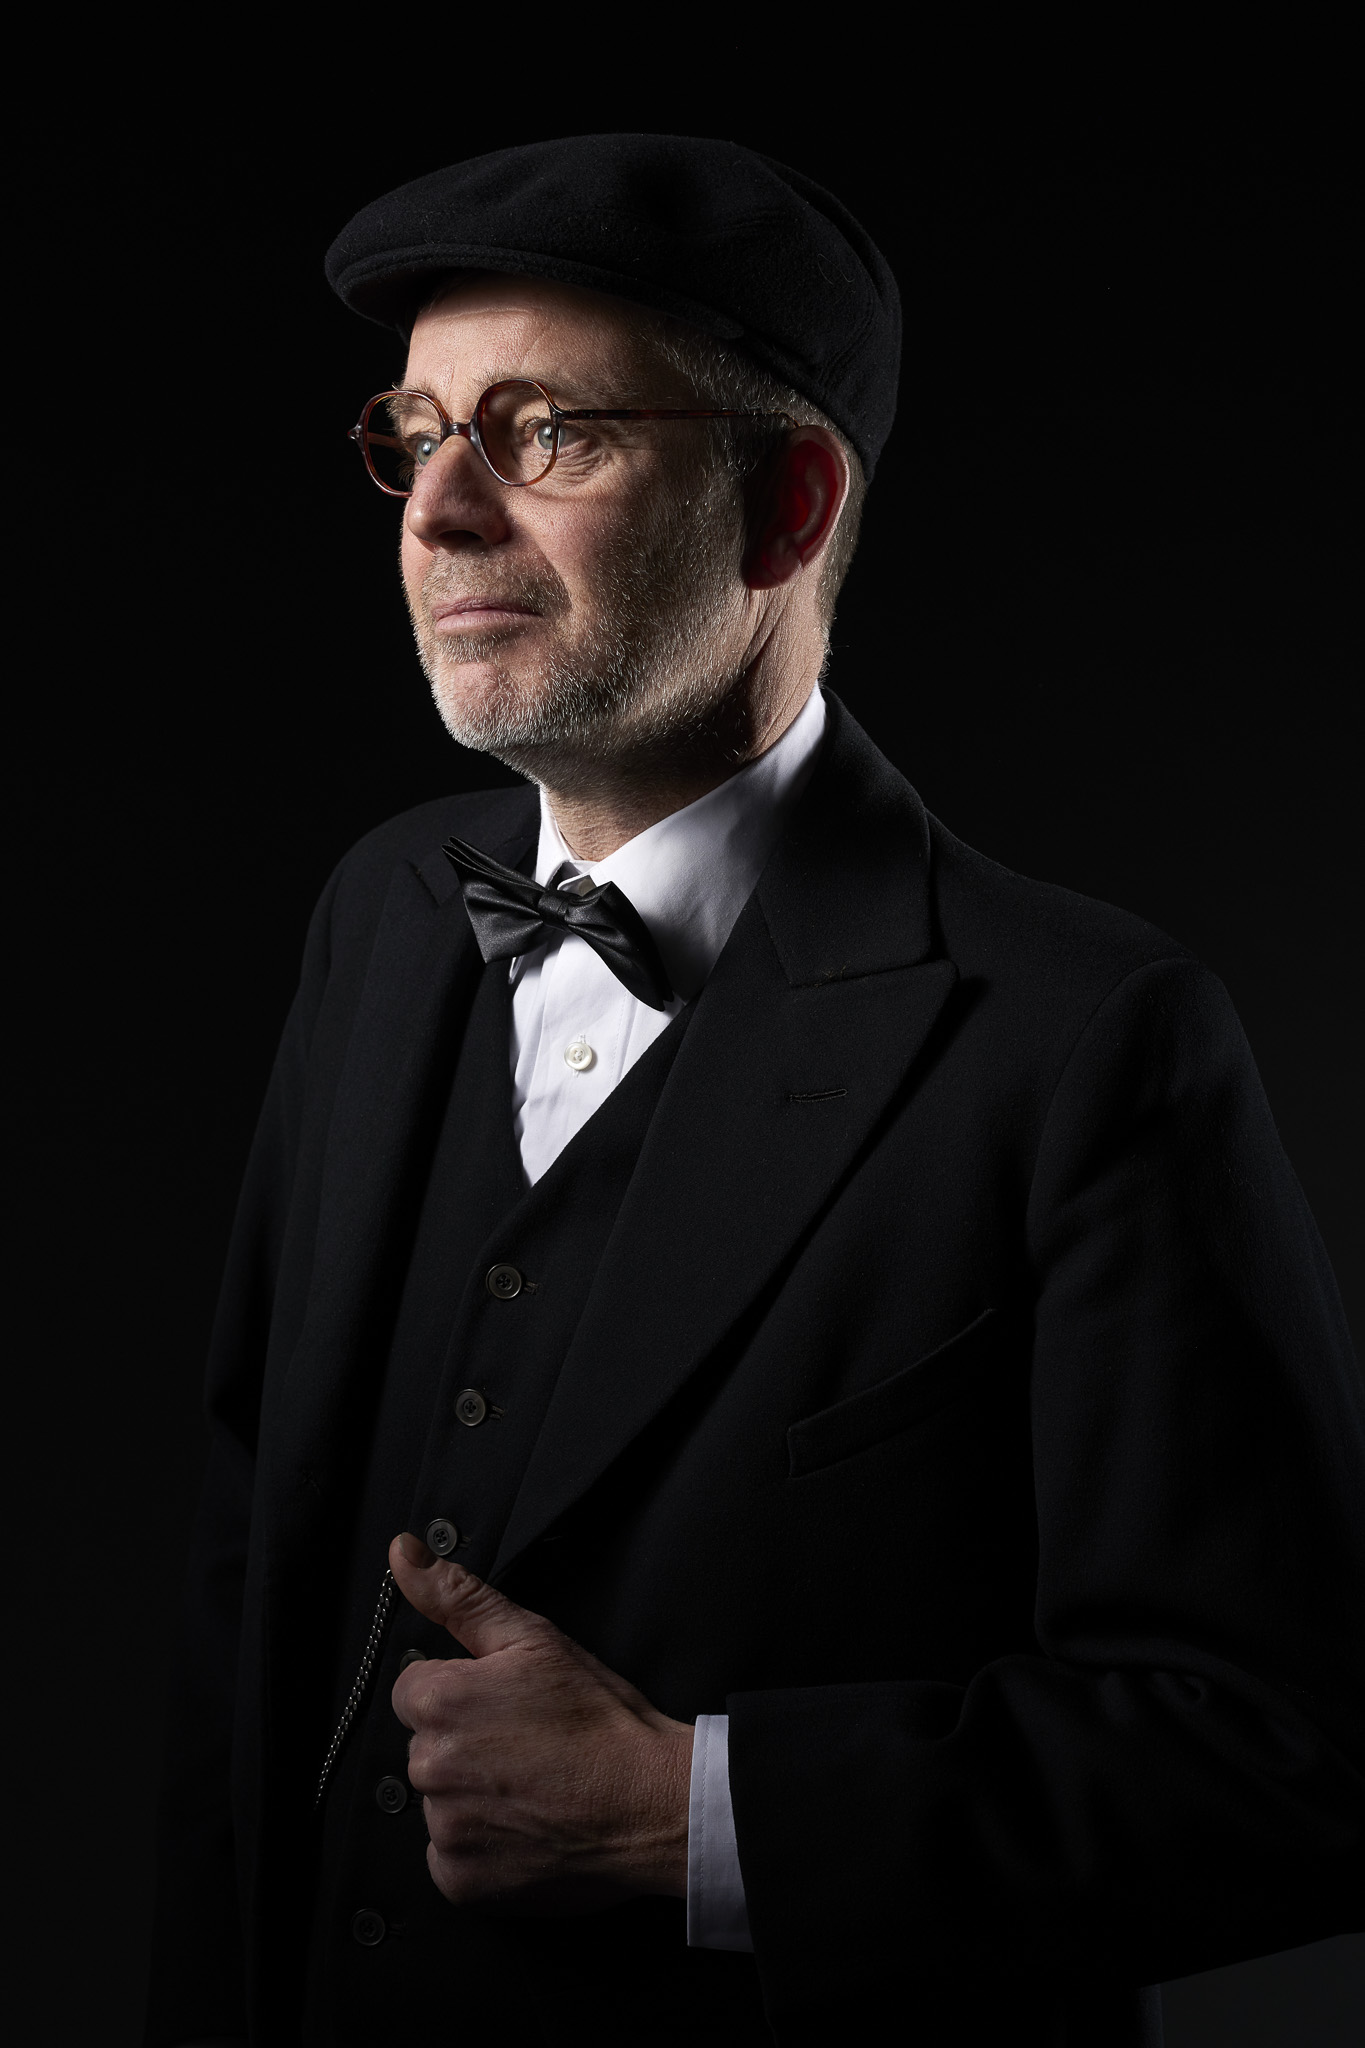
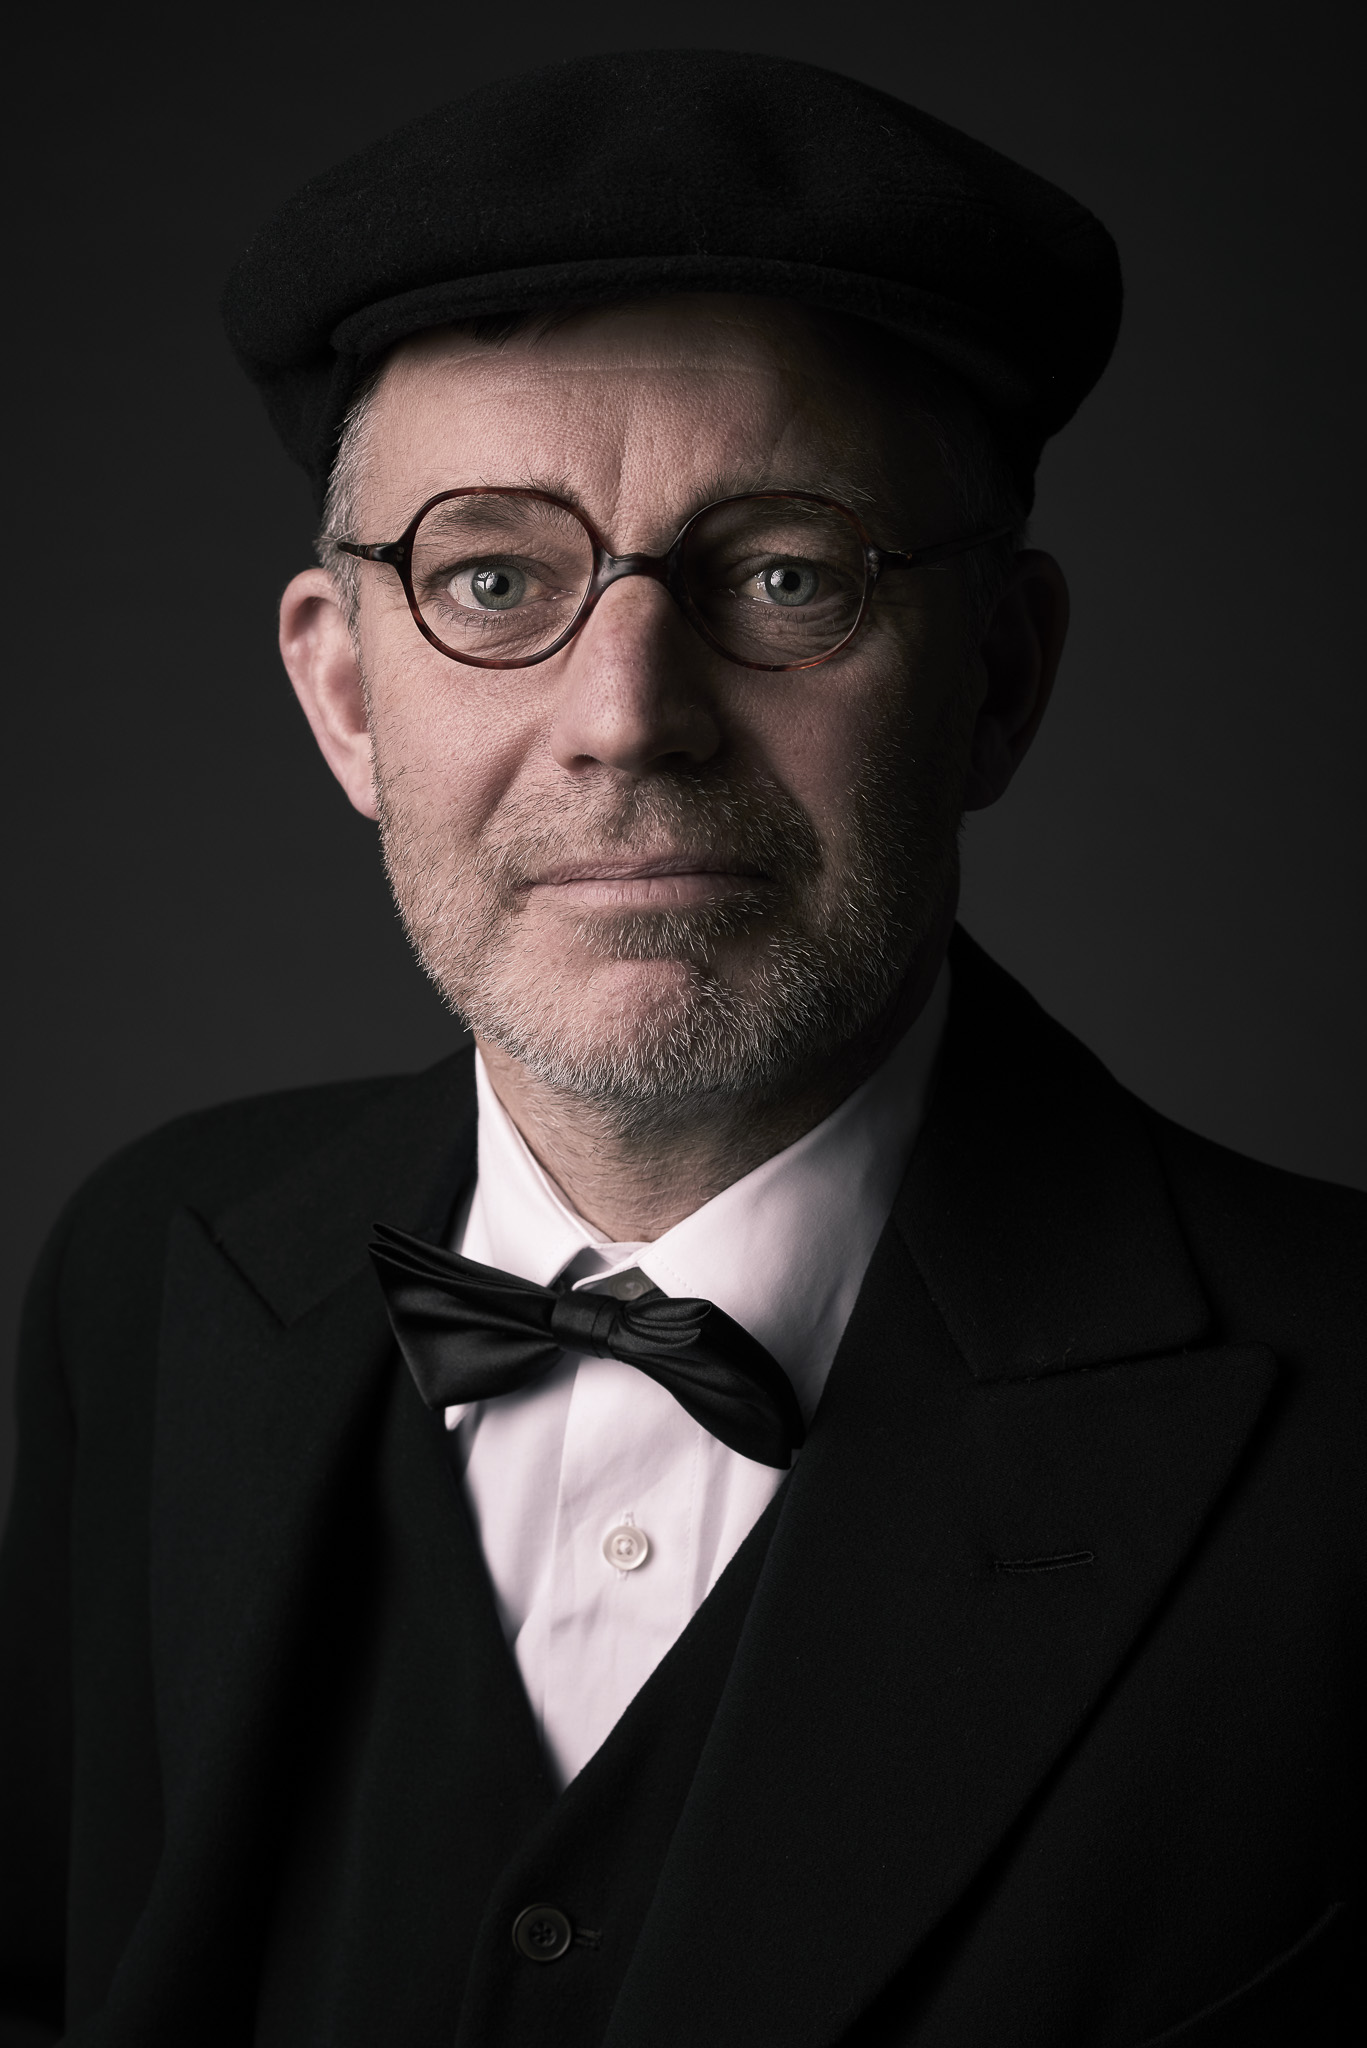
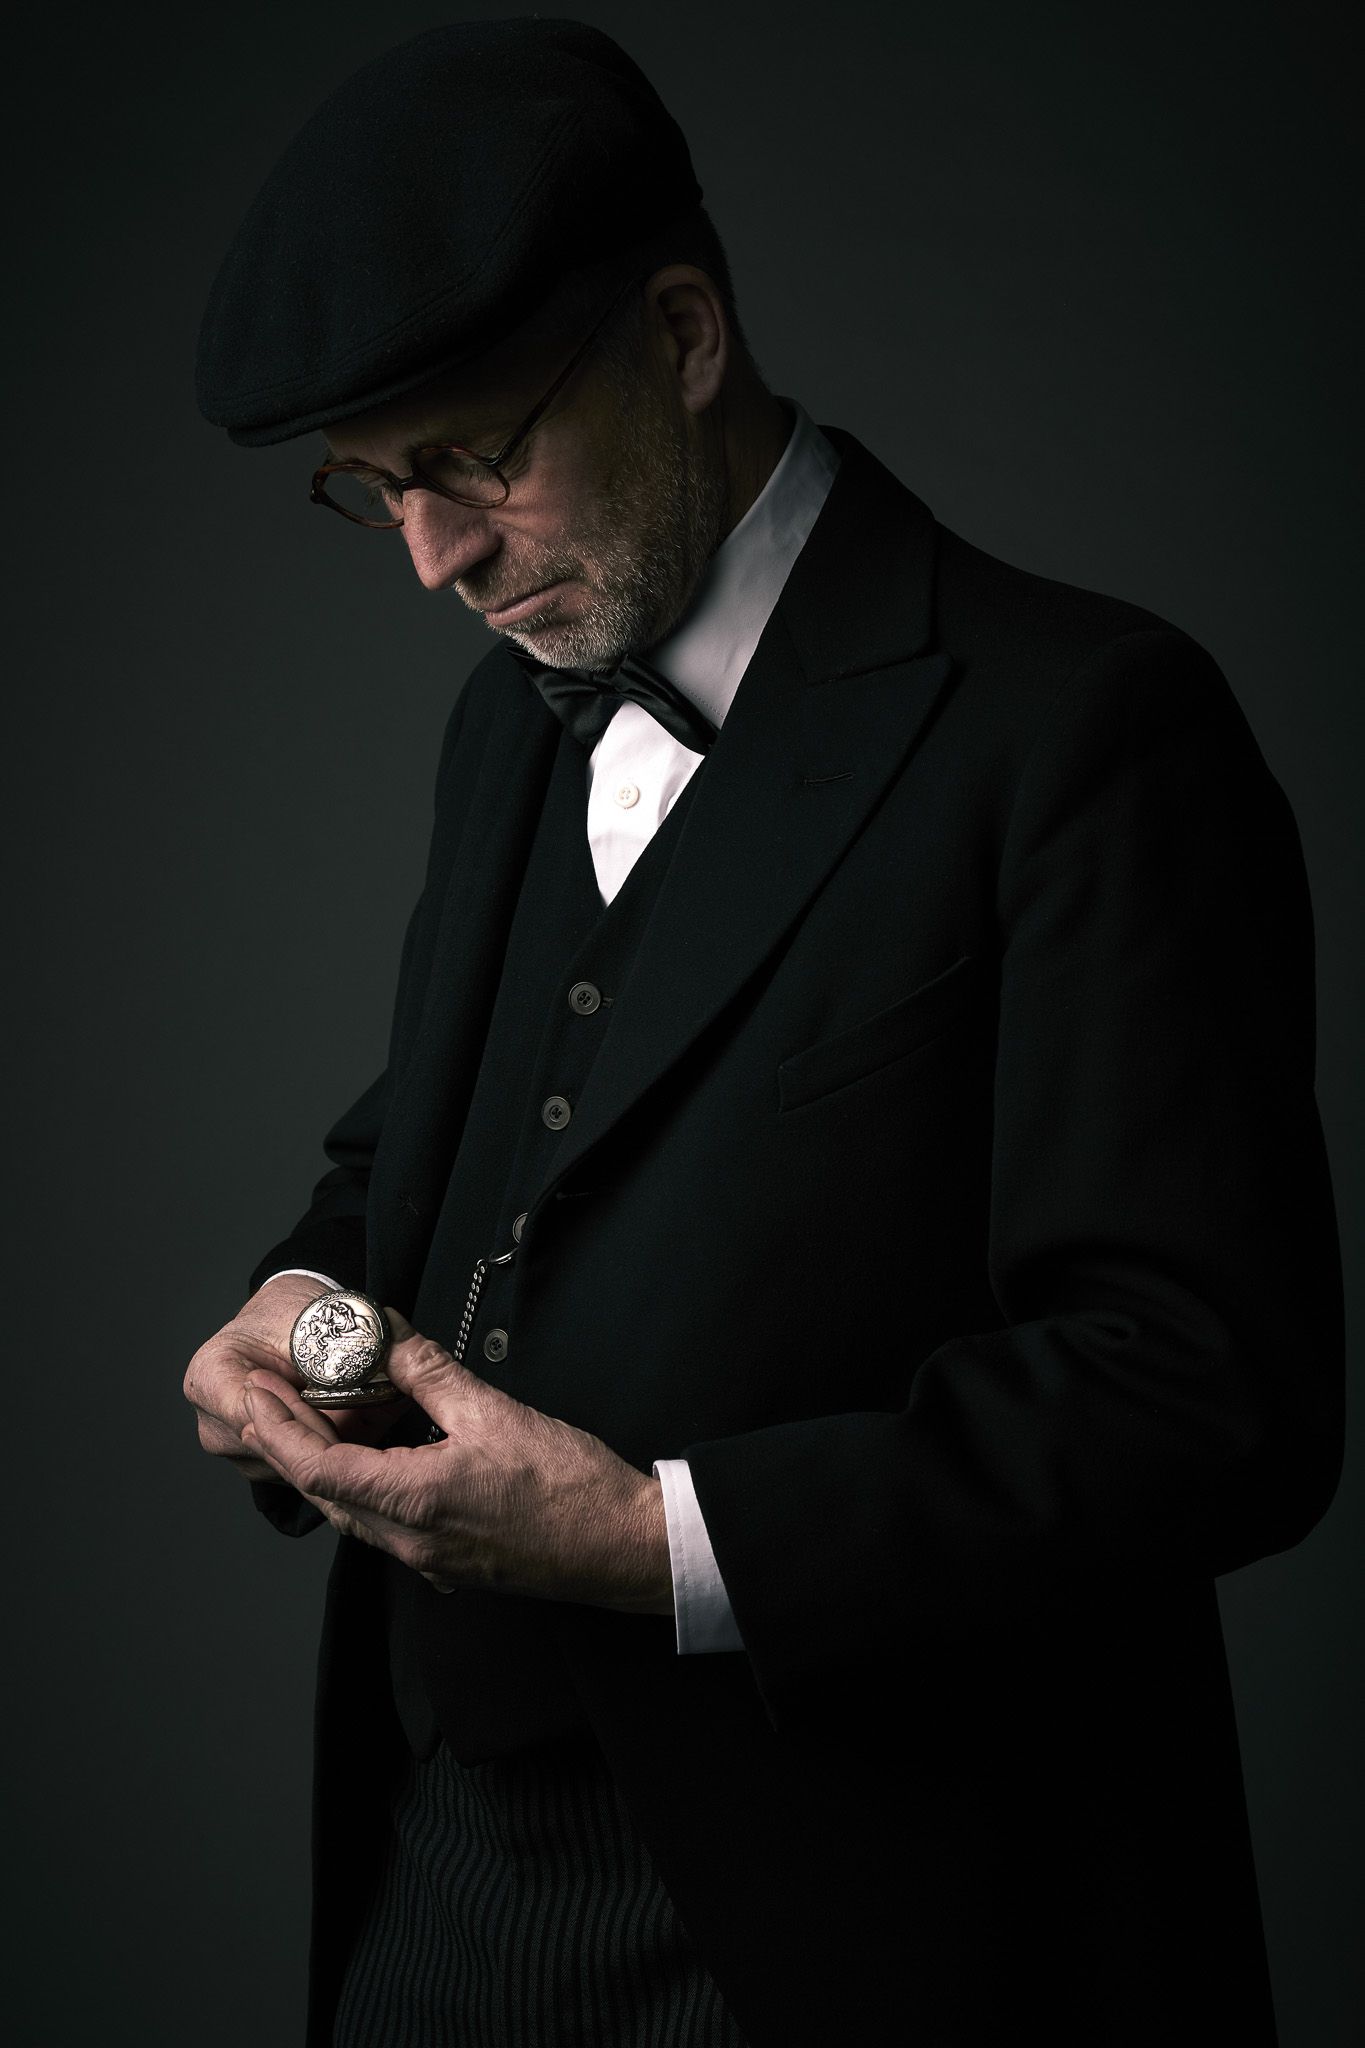
Portrait Session: Kees Visser
Yesterday I did a studio portrait sessions with comedian Kees Visser. For an assignment I am working on I asked Kees Visser to model, but more on the assignment later...
The set up
For the lighting I mainly used my big friend the Elinchrom Rotalux 150 indirect Deep Octa. On some Images I used the 35x90 Strip soft box with a 30x50 grid in it. But somehow this looked a little to modern. So I removed it and used just the white side of the 5-in-1 reflector handheld by my assistent. The background was just used a roll of grey seamless.
For camera I used the Nikon D800 with the Nikon 85mm 1.8g or 50mm 1.8g. The settings where around ISO200, 1/250 f5.6 or f8.
Post processing
During the shoot I shot straight into Capture One Pro 8. Normally I just do basic RAW-editing in Capture One Pro 8 and all the rest in Photoshop CC. But this time I wanted to do all my editing in Capture One Pro 8. And I must say, Capture One pro 8 is great for RAW-editing, but some how for the complete editing workflow I don't know... Masking and working with curves keeps feeling easier in Photoshop. Also the dodge and burning stuff is easier in Photoshop.
But for sharpening and correct lighting Capture Pro 8 rules! I think Capture Pro 8 is great for full workflow on like weddings or landscape. but for commercial and portrait jobs I will keep Photoshop on the side!
Please keep in mind that I am still learning Capture Pro 8, so my opinion may chance in the feature.

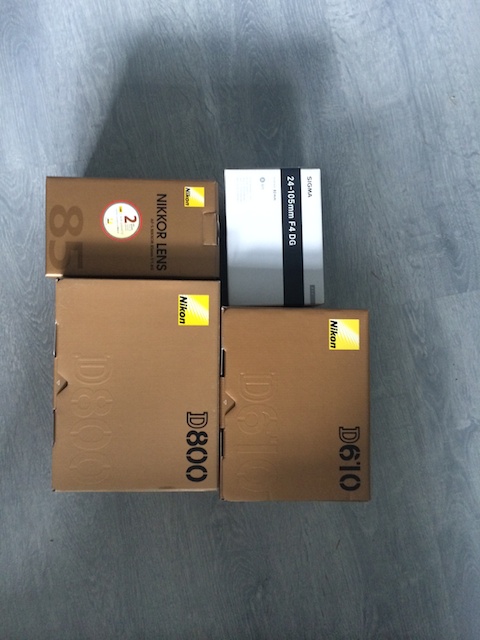
WHAT'S IN THE CAMERA BAG PART 2 THE NIKON BAG
This week part 2 in the series "What's in the bag", the Think Tank Airpot Airstream Nikon Bag! For the people who mist the last one about the Fuji Kit. You can read it here: WHAT'S IN THE CAMERA BAG PART 1: THE FUJI KIT.
This is my big production Nikon kit. Which I take with me on bigger productions and studio jobs. I must say I really like my Fuji's, but with no thetering options, only 16 megapixels and the writing speed, I still prefer my DSLR Nikon kit on bigger jobs!
The Think Tank Airport Airstream Bag
Did I all ready said I love Think Tank bags? Well, I do. They are great. In small packages they offer great space. You can easily adjust the lay-out to your needs with nice extra pockets on the outside and offer great protection for you gear. Beside the option to lock your zippers there is also a security cord in it so you can lock it to something else like a desk.
So this is how I configured mine:

My Nikon Gear
As told before I keep all my Nikon gear in it:
- Nikon D800
- Nikon D610
- Nikon 85 1.8G
- Nikon 50 1.8G
- Nikon SB-700
- Sigma 24-105 f4 Art
- Sigma 70-200 2.8
- Hohnle Grid
- Color checker
- Gossen Digisky Lightmeter
In the other pockets are other thing like:
- Business cards
- 8 Sanyo Enelope AA rechargeable batteries
- Extra Batteries for the camera's
- Connection cords
- Cleaning cloth
- Thetering cable
So this is my Nikon Big production kit. Next time I will take you through my Analog bag and my small production Nikon kit.

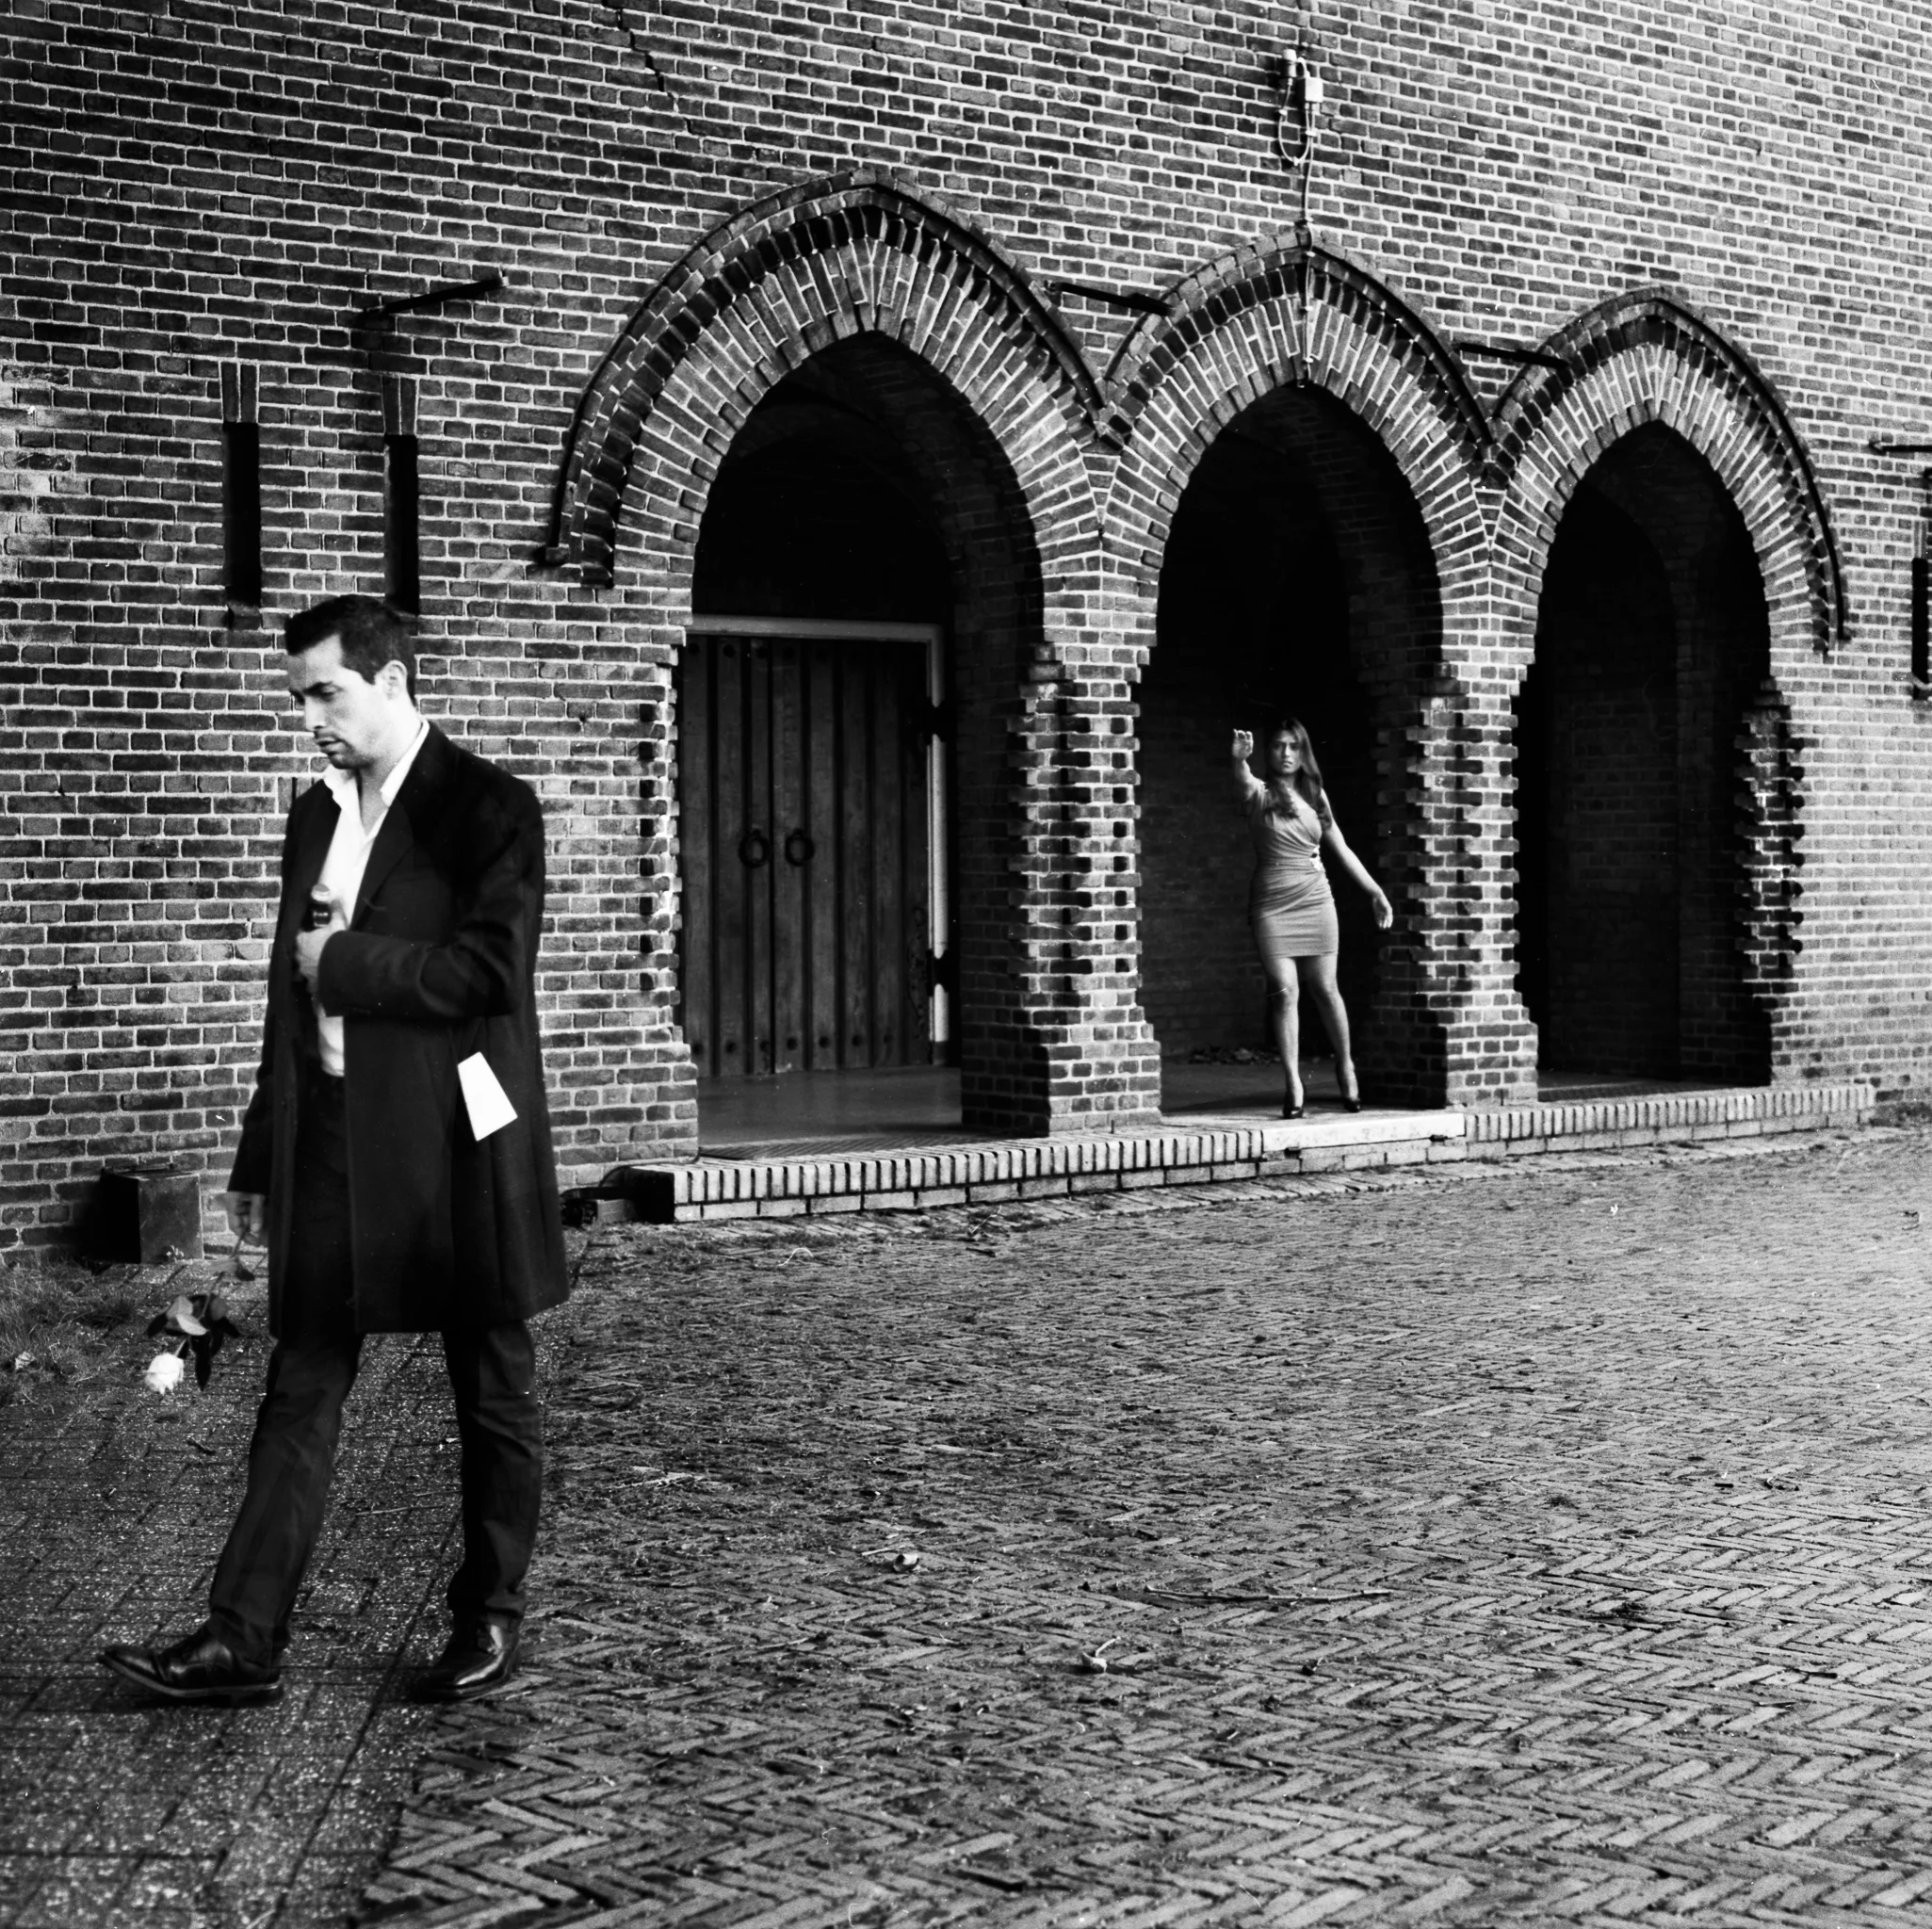
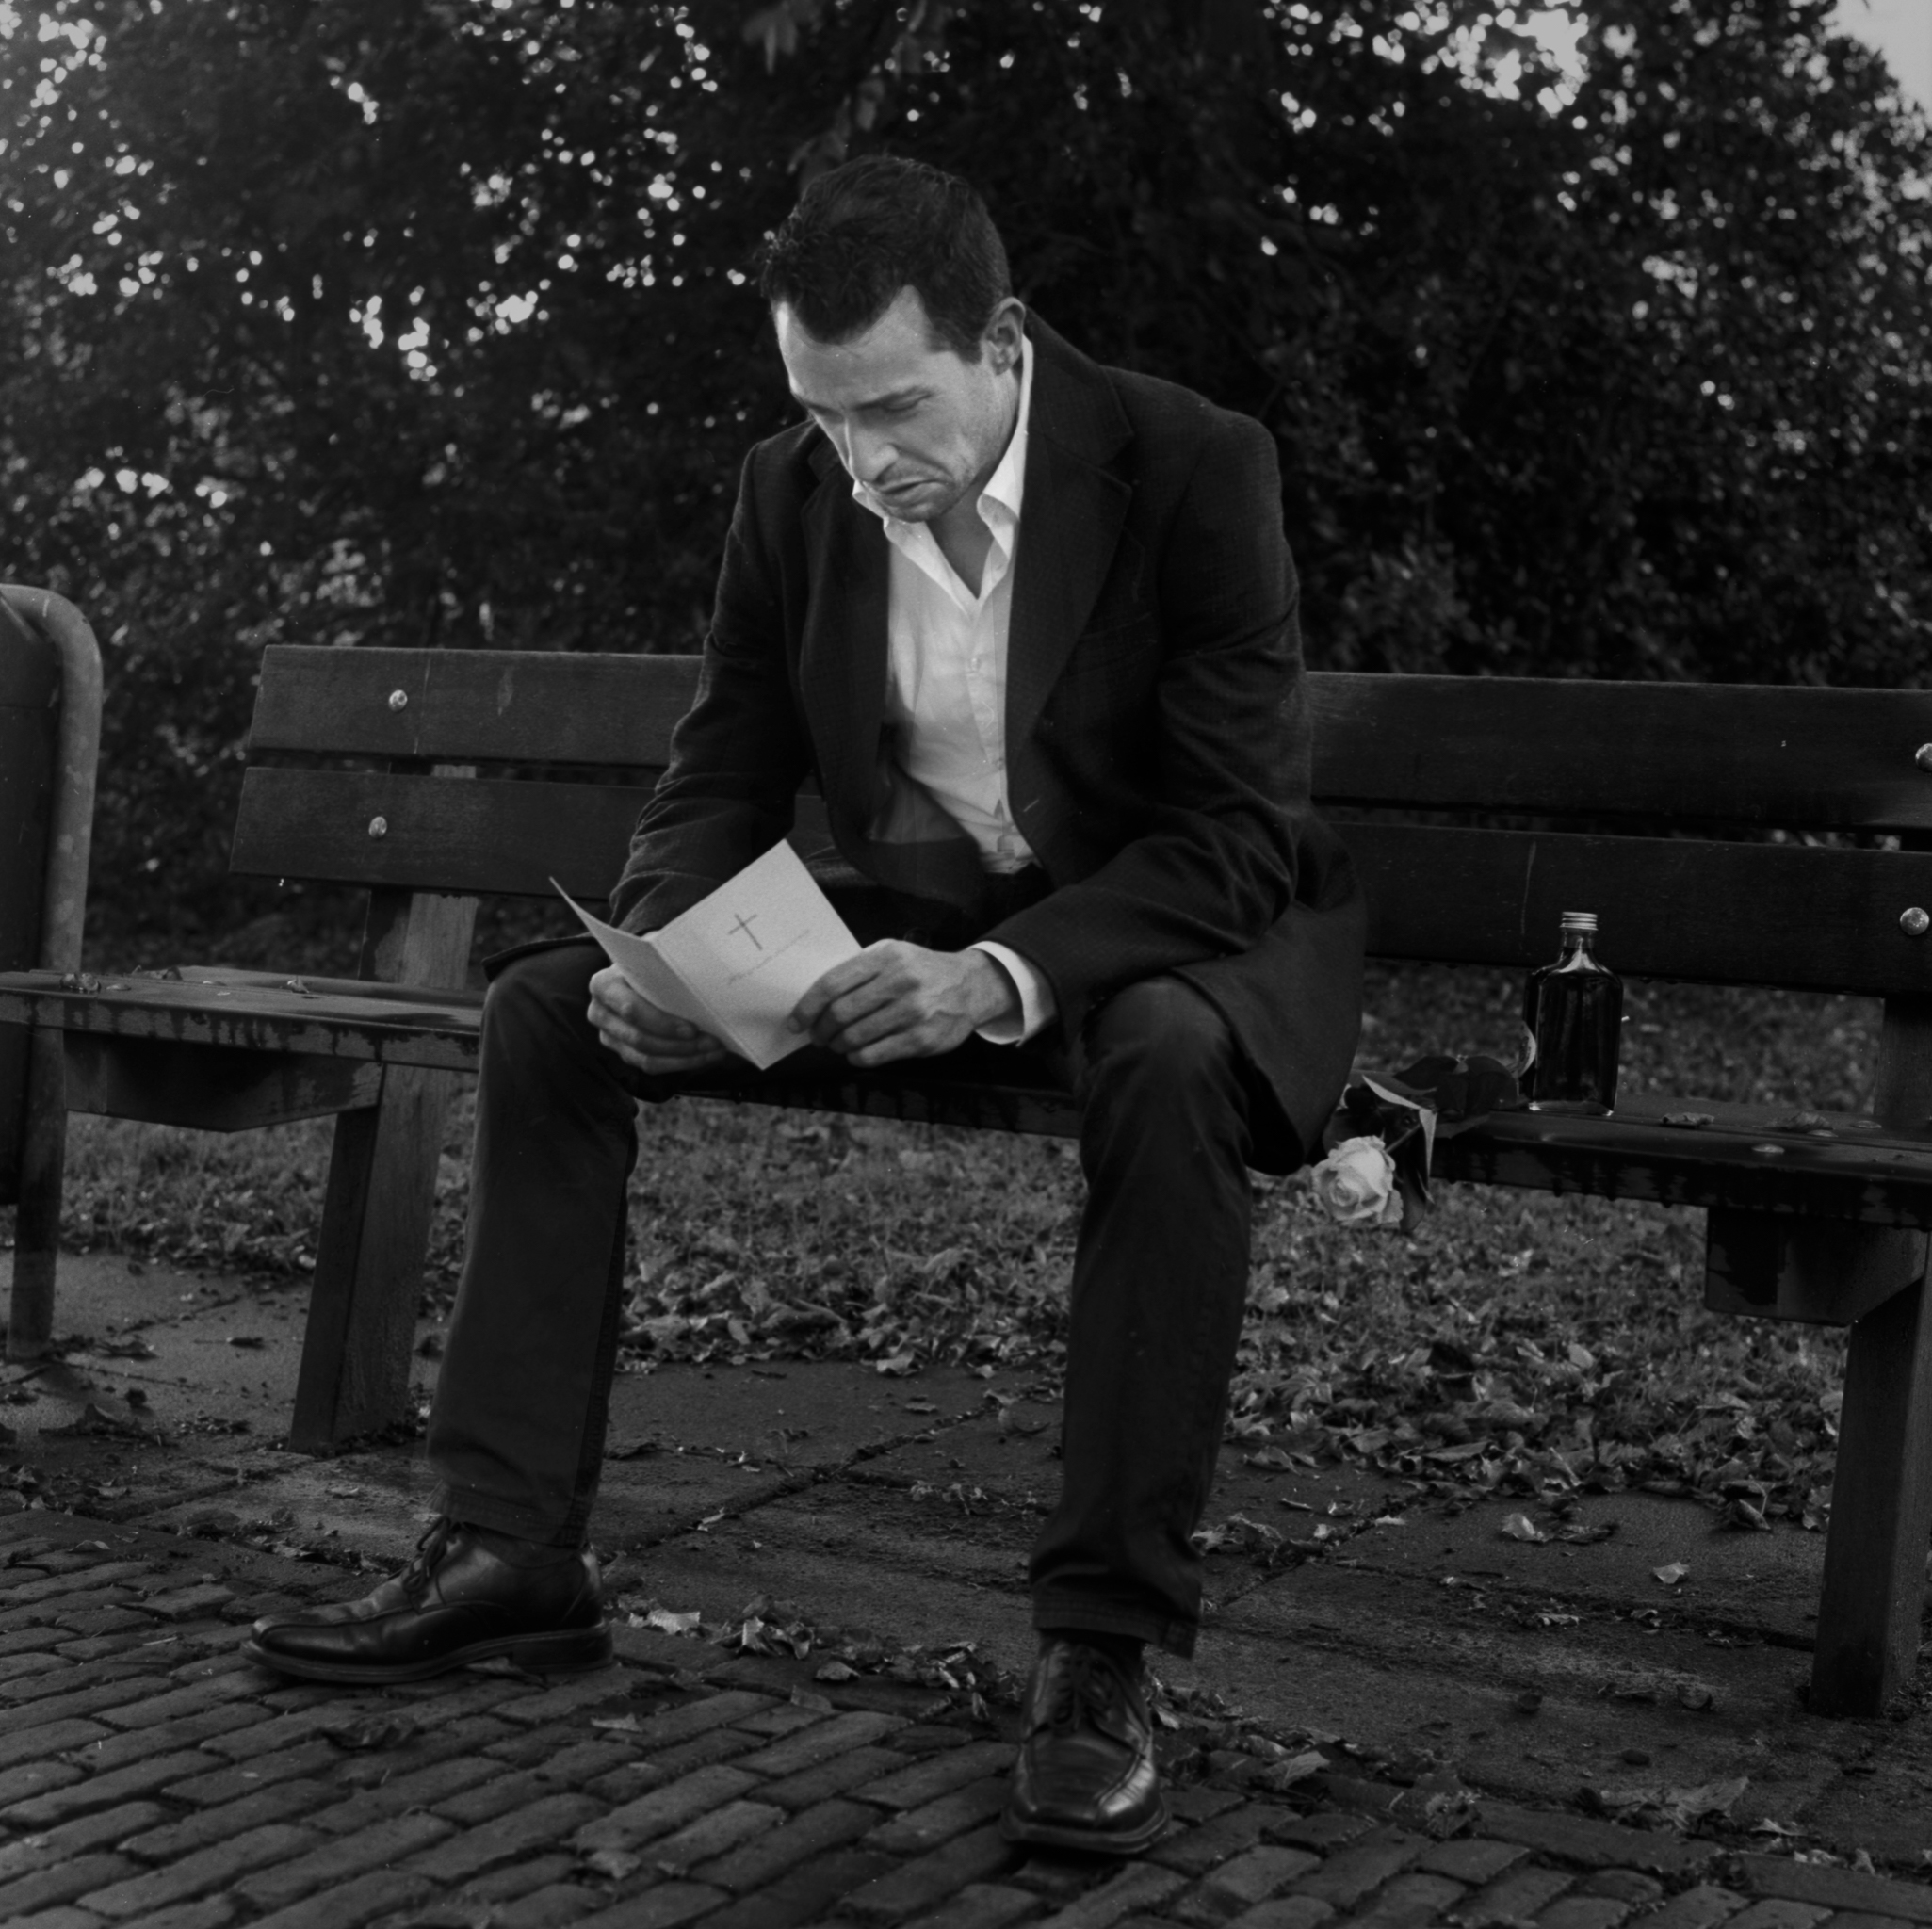
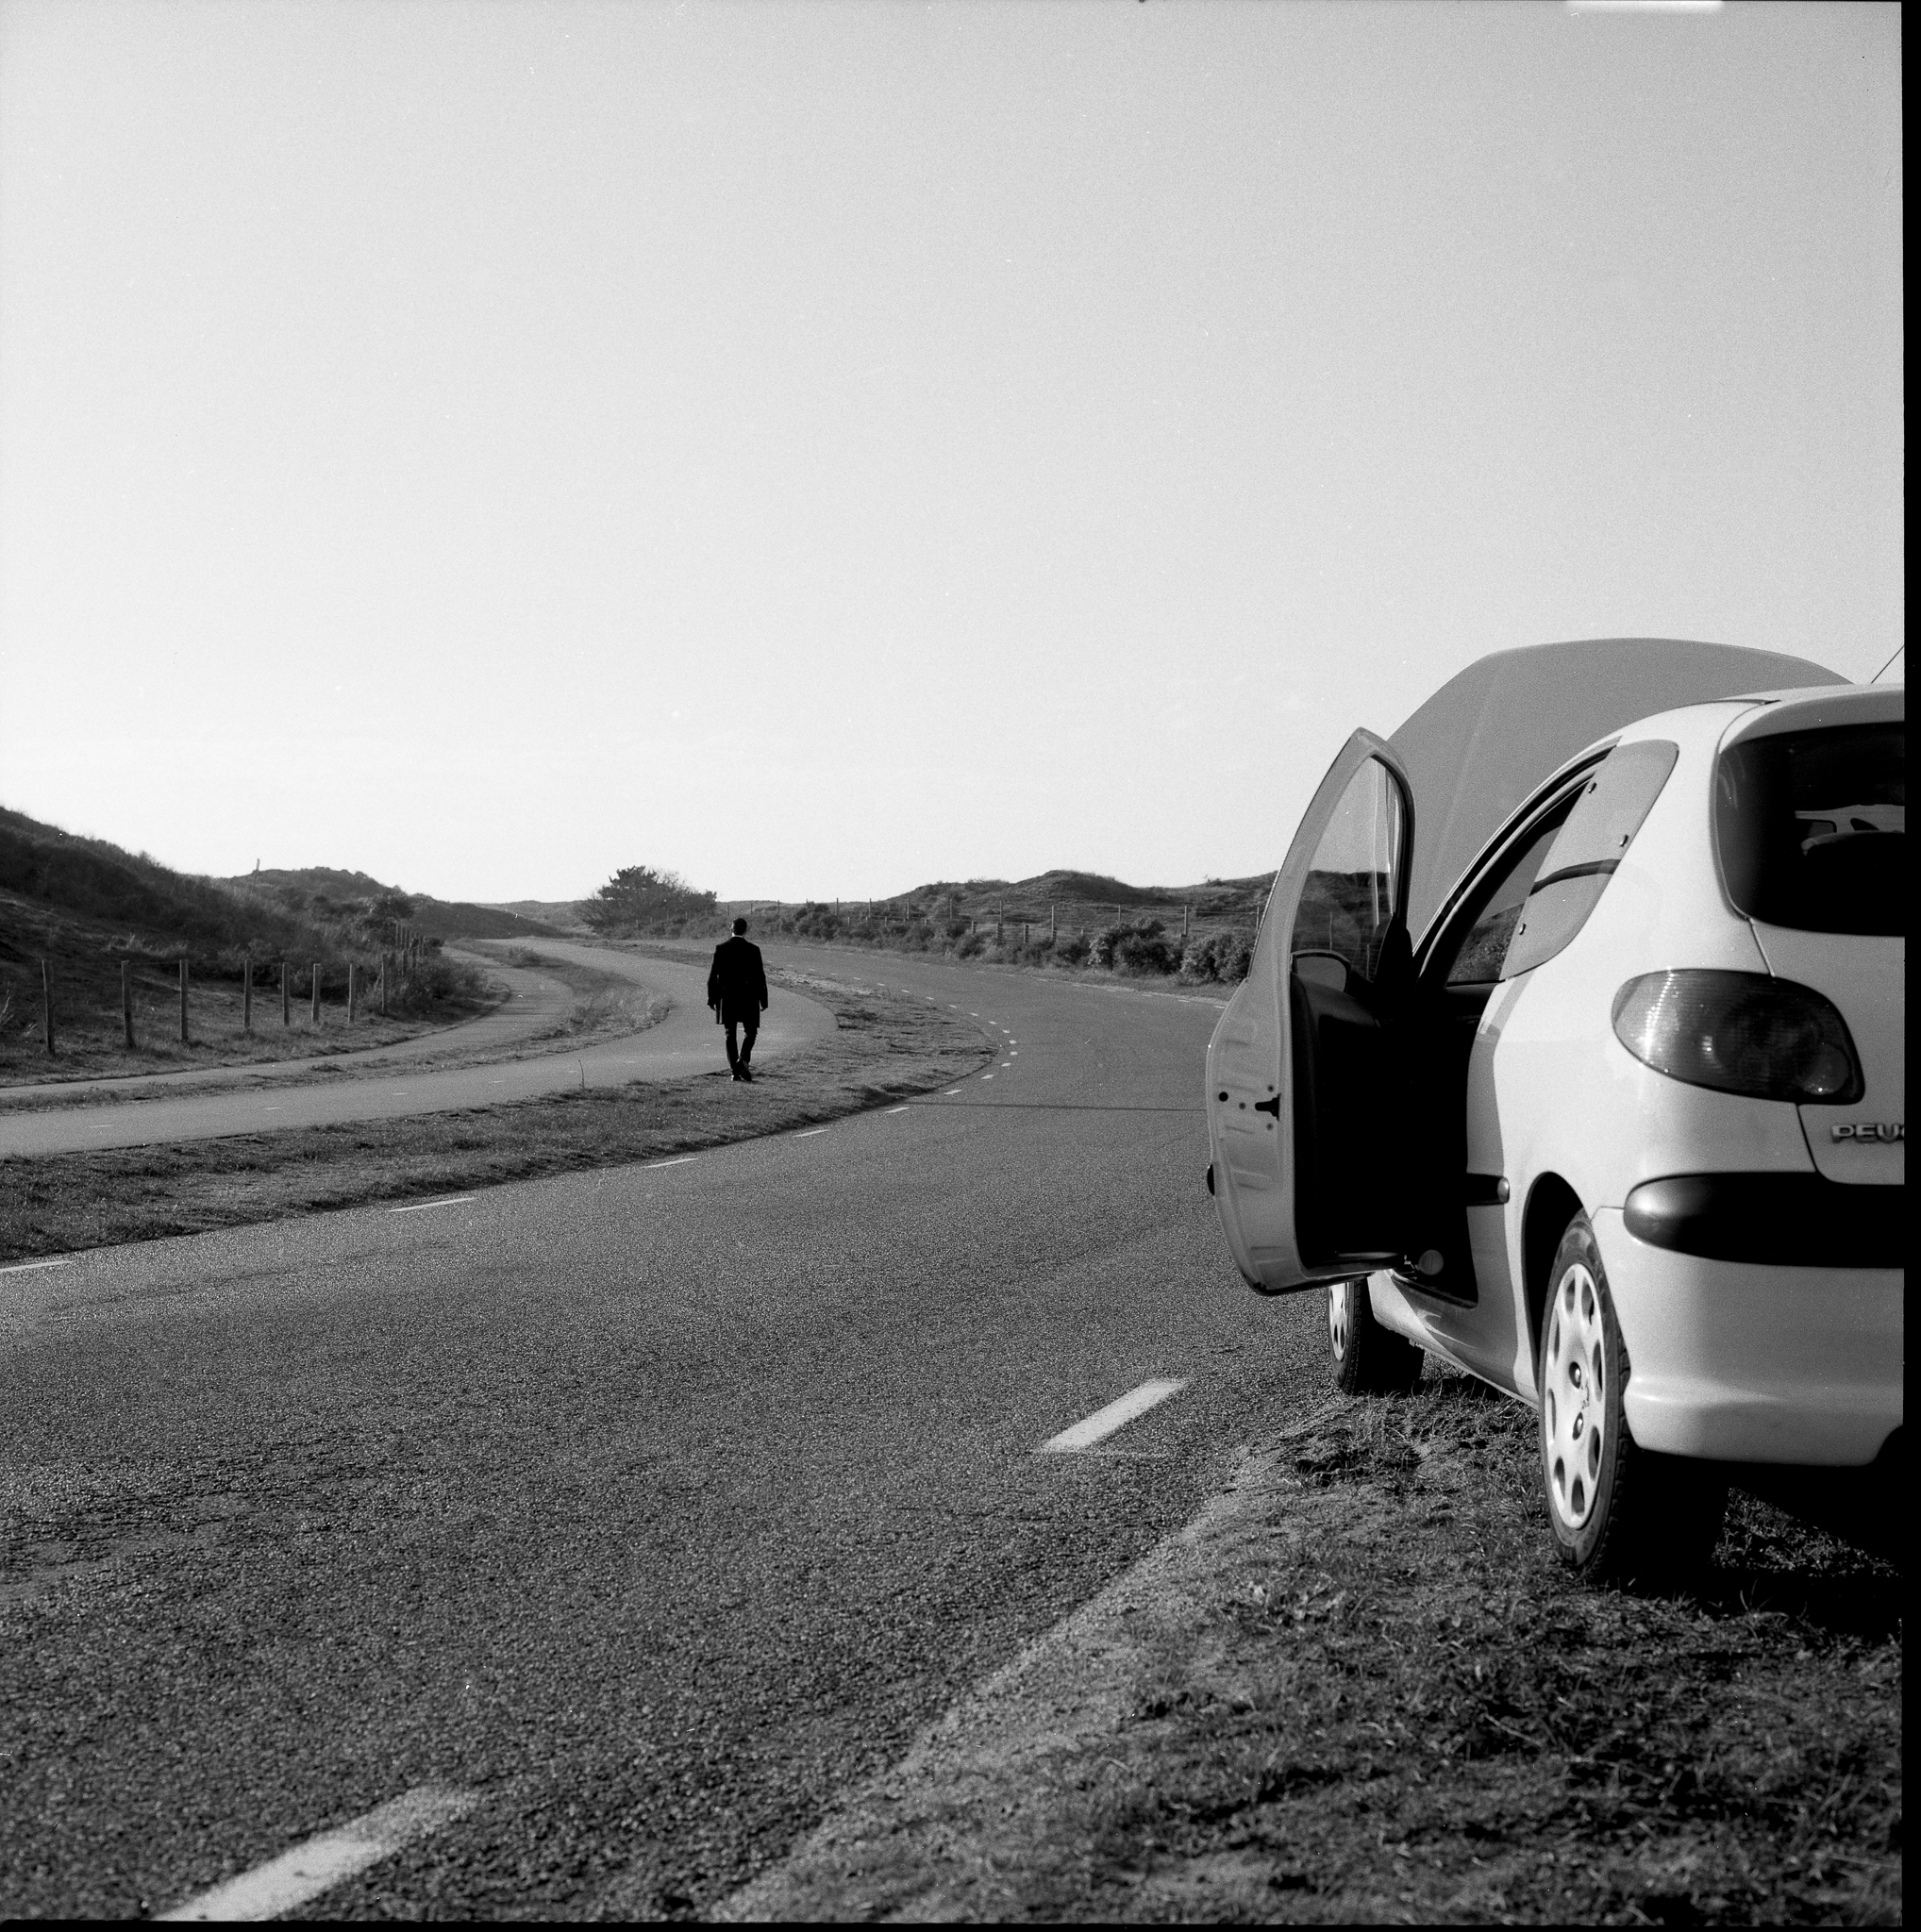
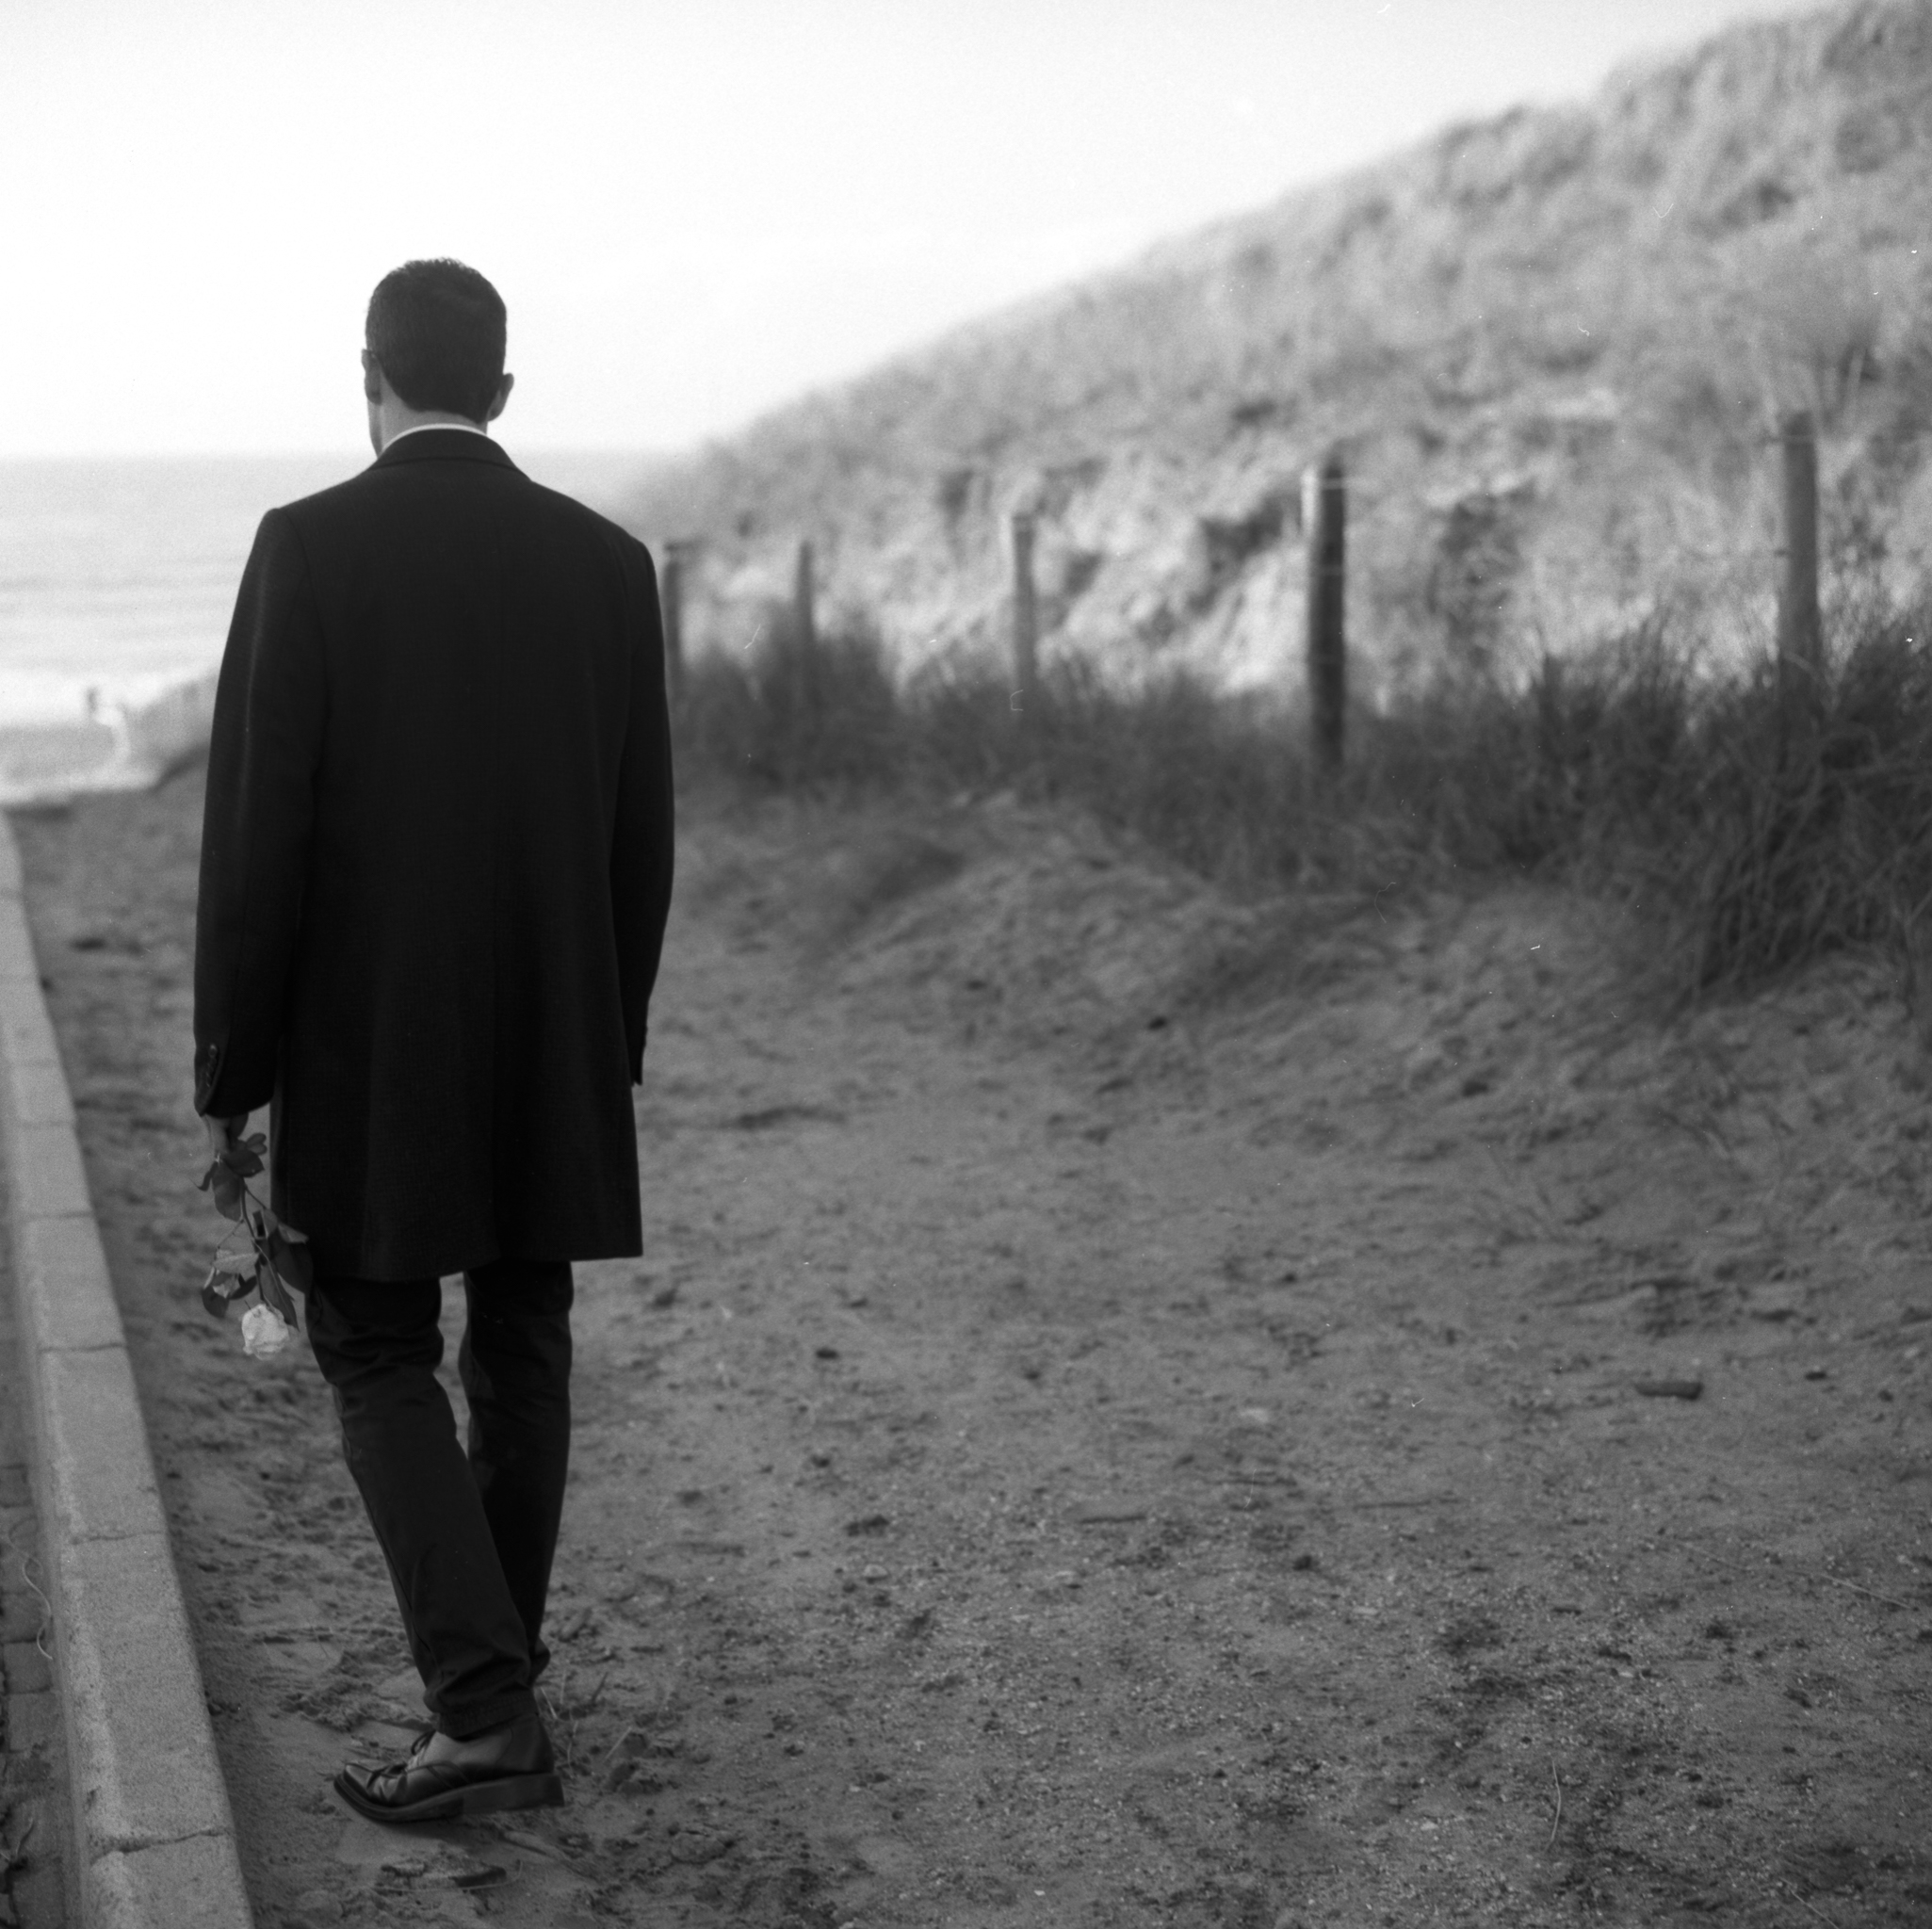
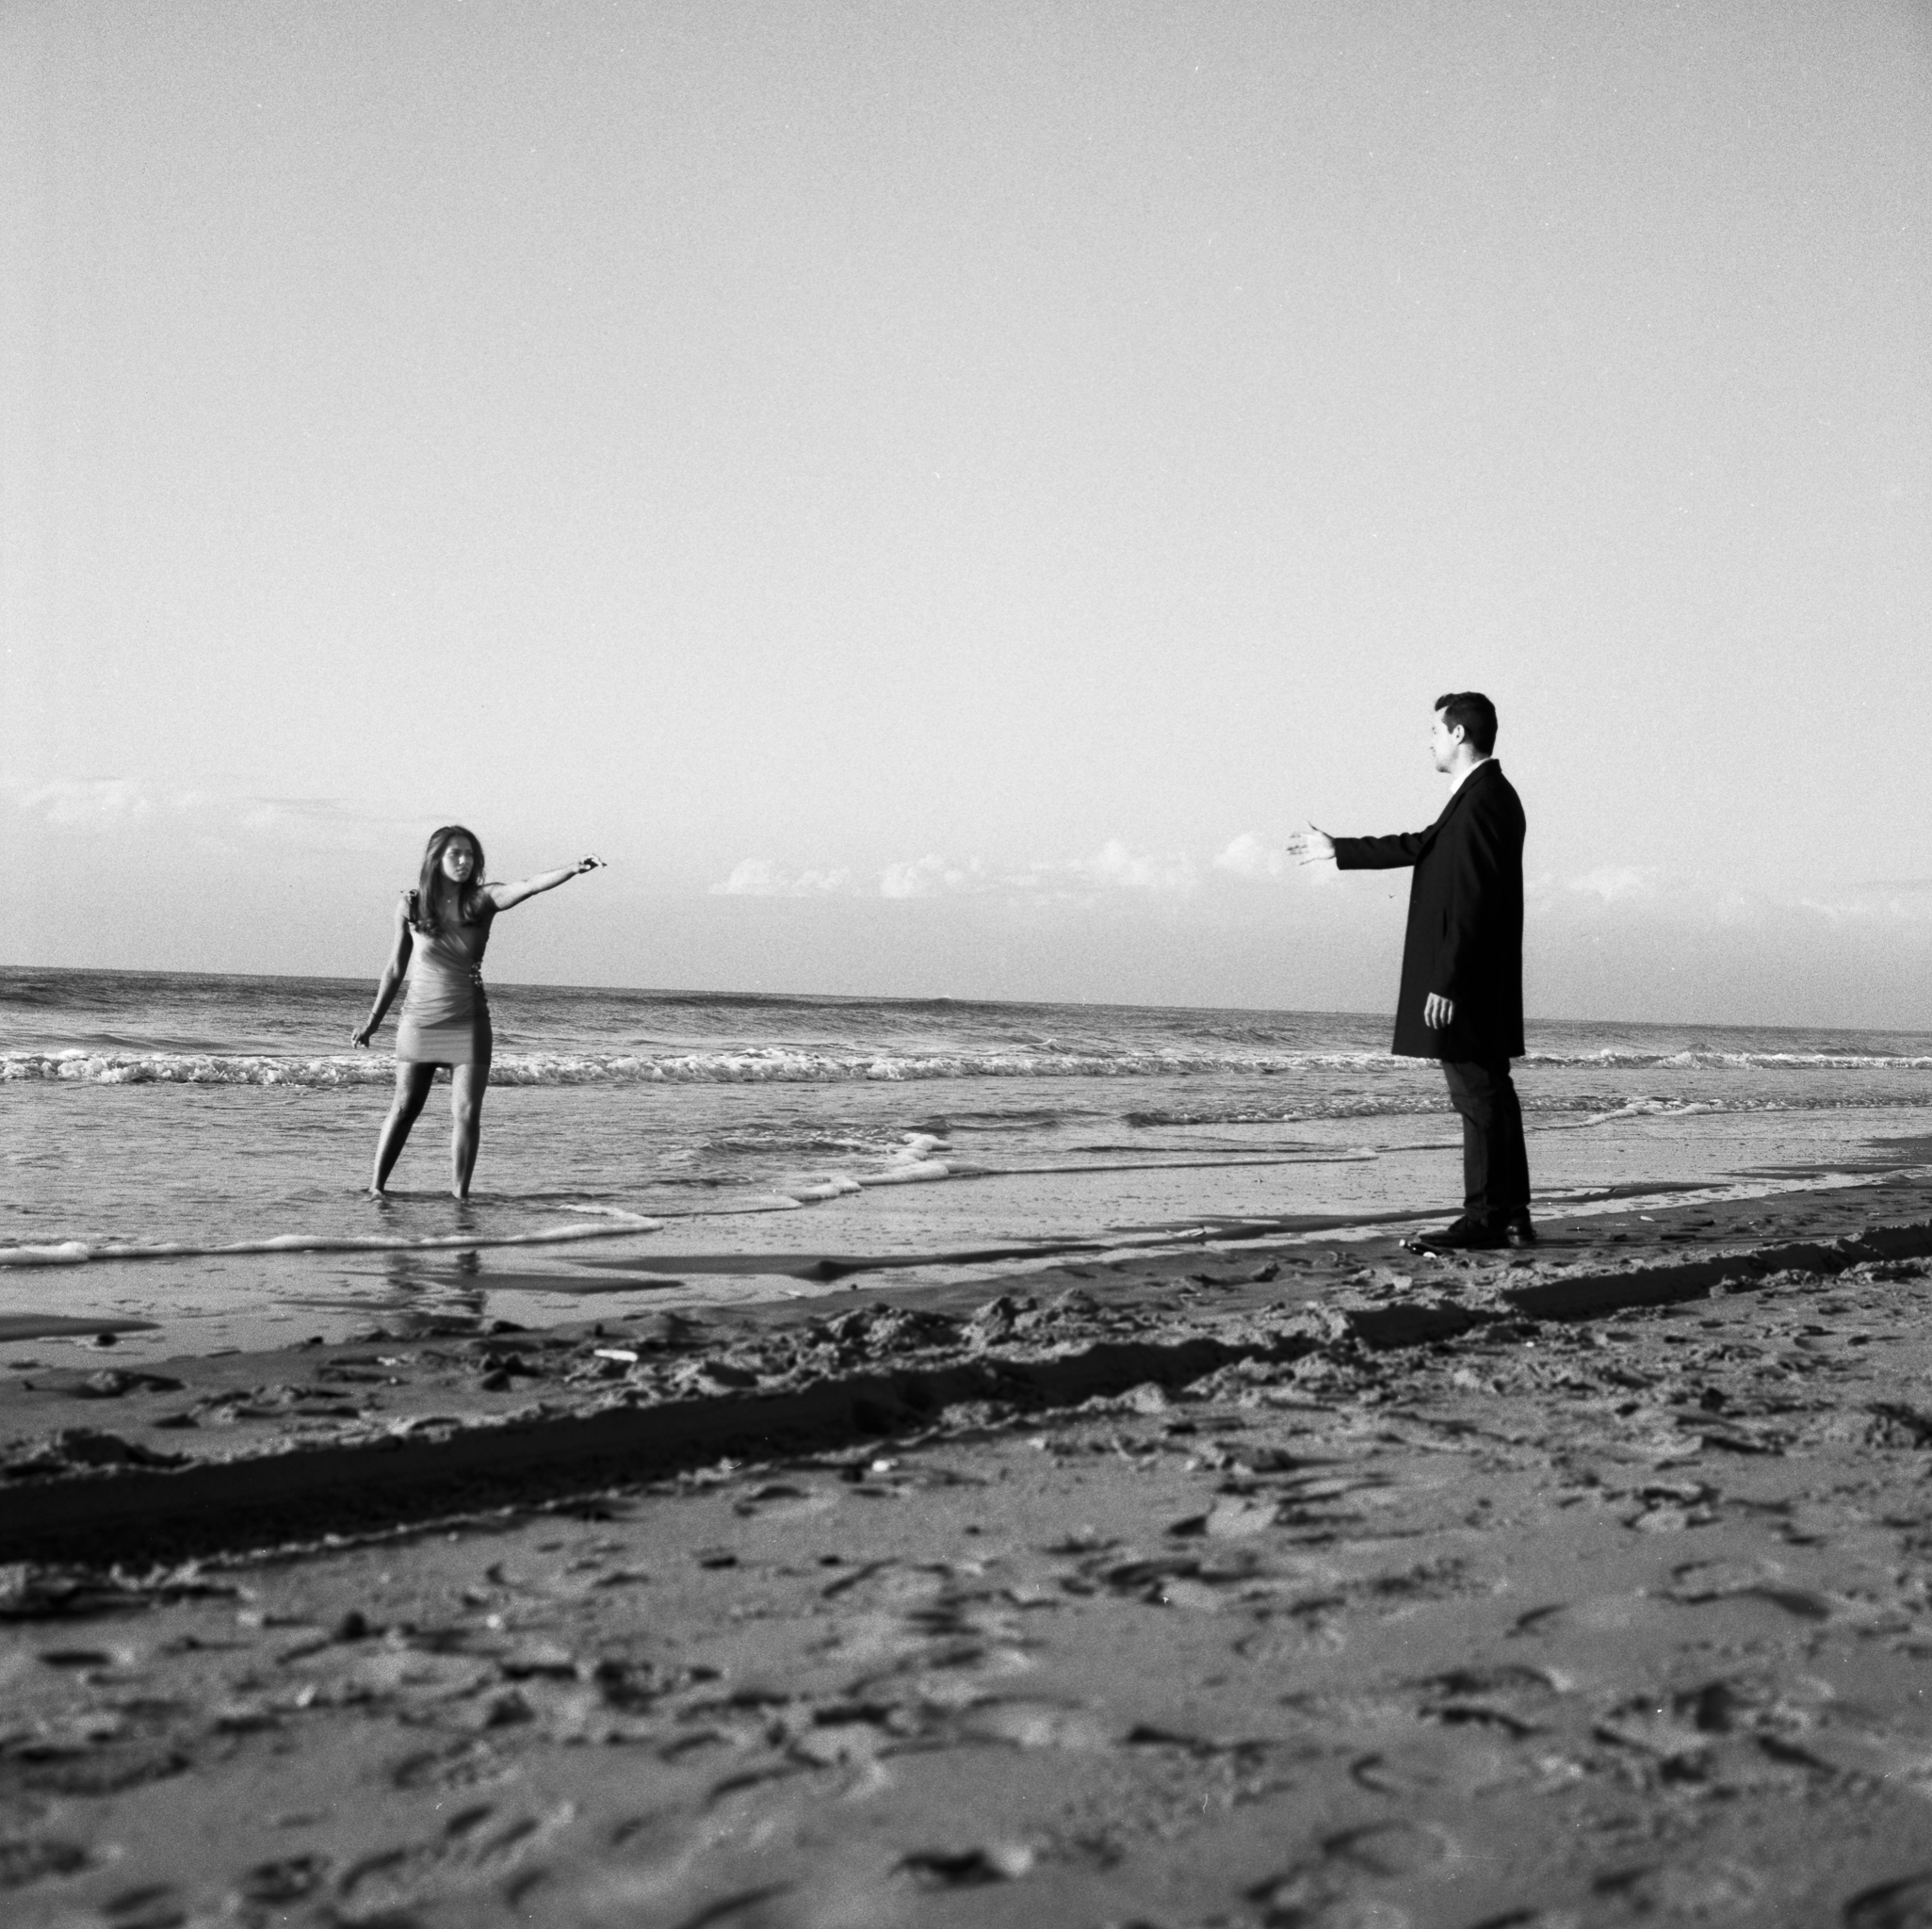
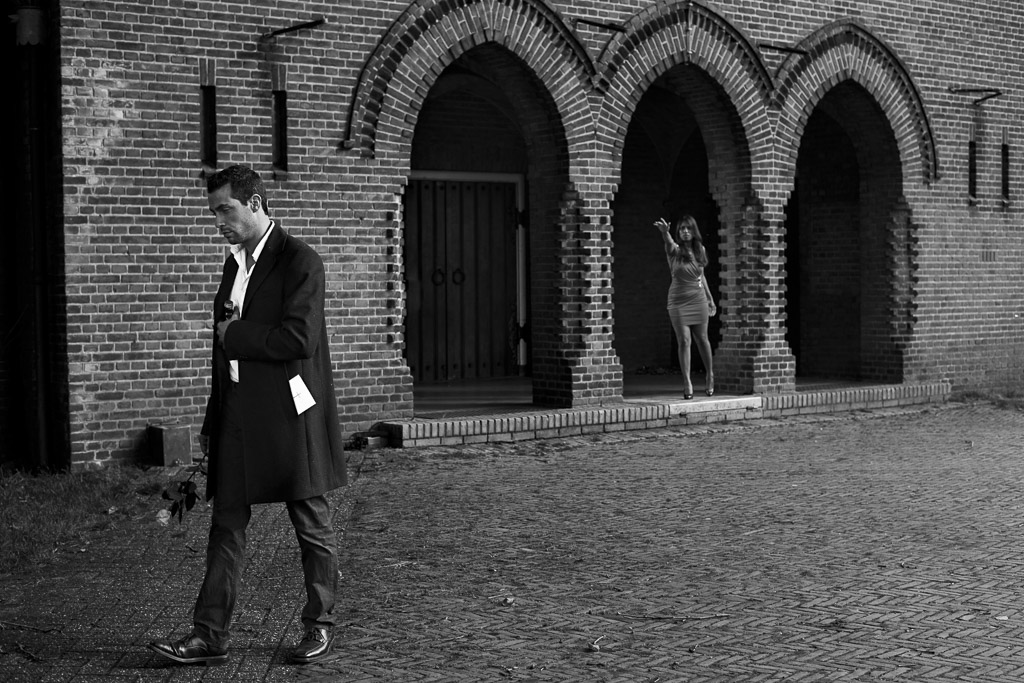
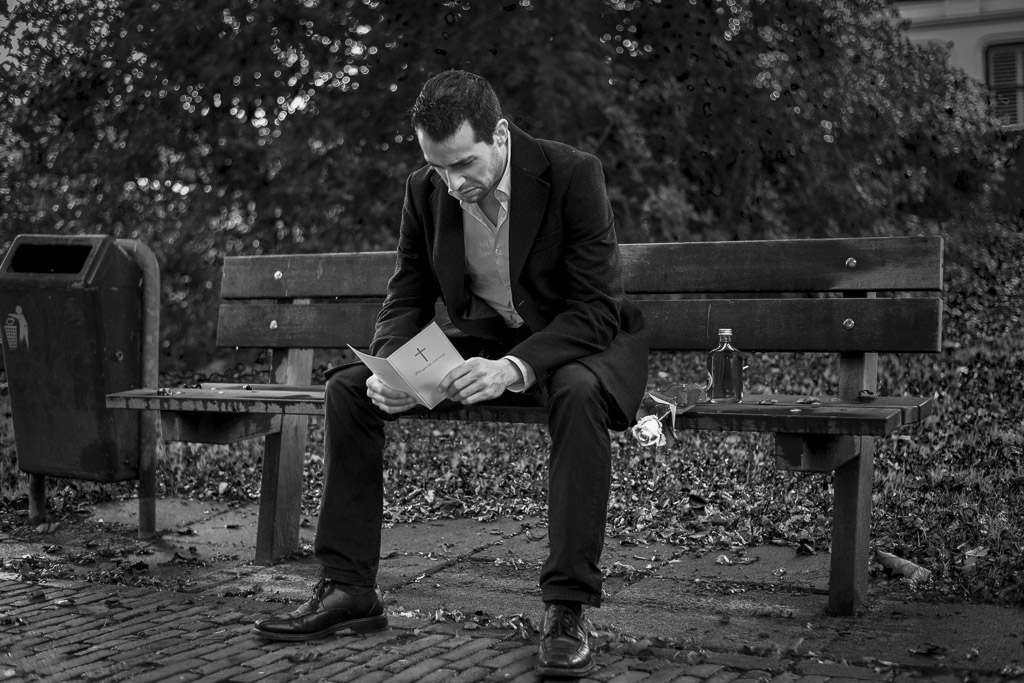
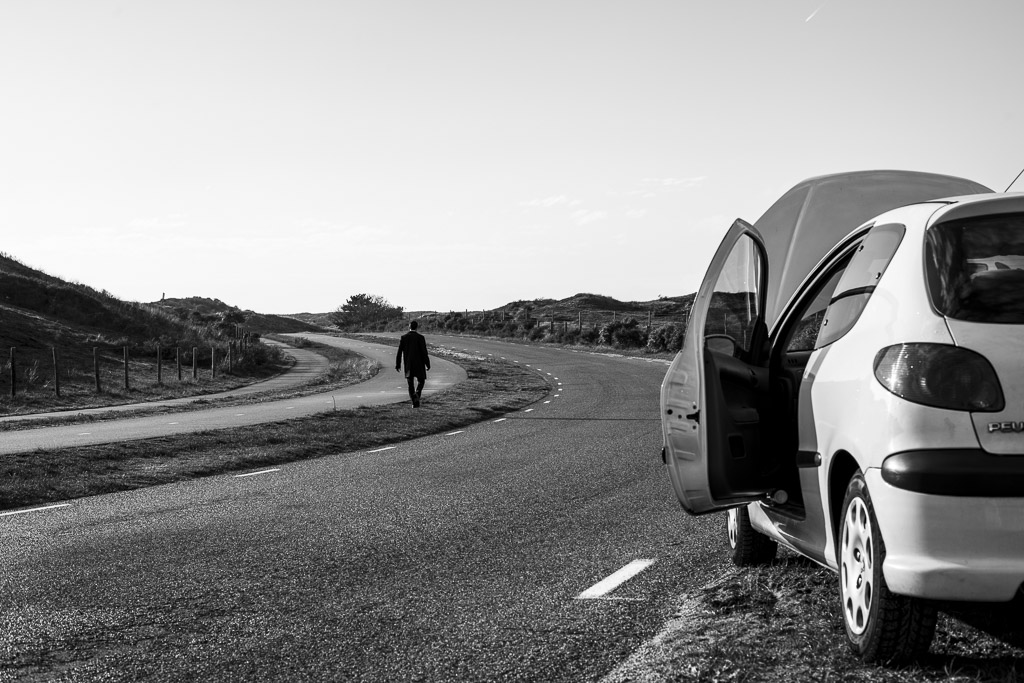
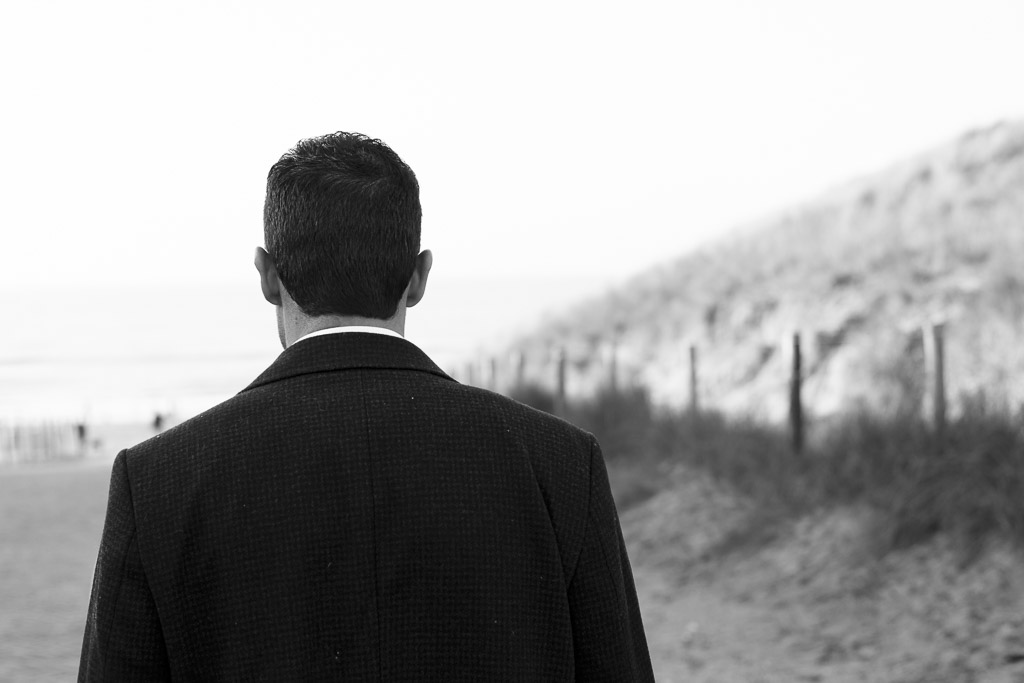
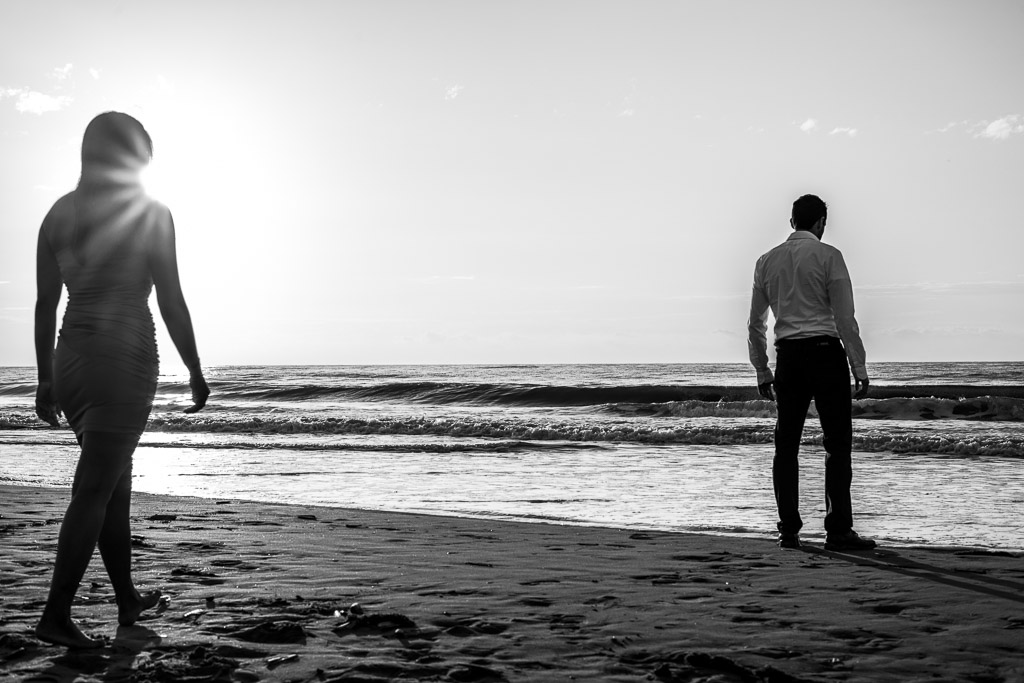
Hasselblad Session: Get Hurt
Since a couple of weeks I have borrowed the Hasselblad 500 c/m with the Planar 80mm, 2.8 lens from Hans van Ommeren. I have always loved the look of the Hasselblad 500 series camera, but never worked with one. So before I'm going to buy one, I wanted to test a 500 series camera to see if it works for me. So I set up a session to test it out
The concept
For this shot I wanted to photograph it as a small six story picture telling a story. In the end It became two stories. I only wanted to do it with one roll off Kodak T-Max100 Black and white film.The Analog one shot with the Hasselblad 500c/m and the one shot with the Nikon D800, more on this later.
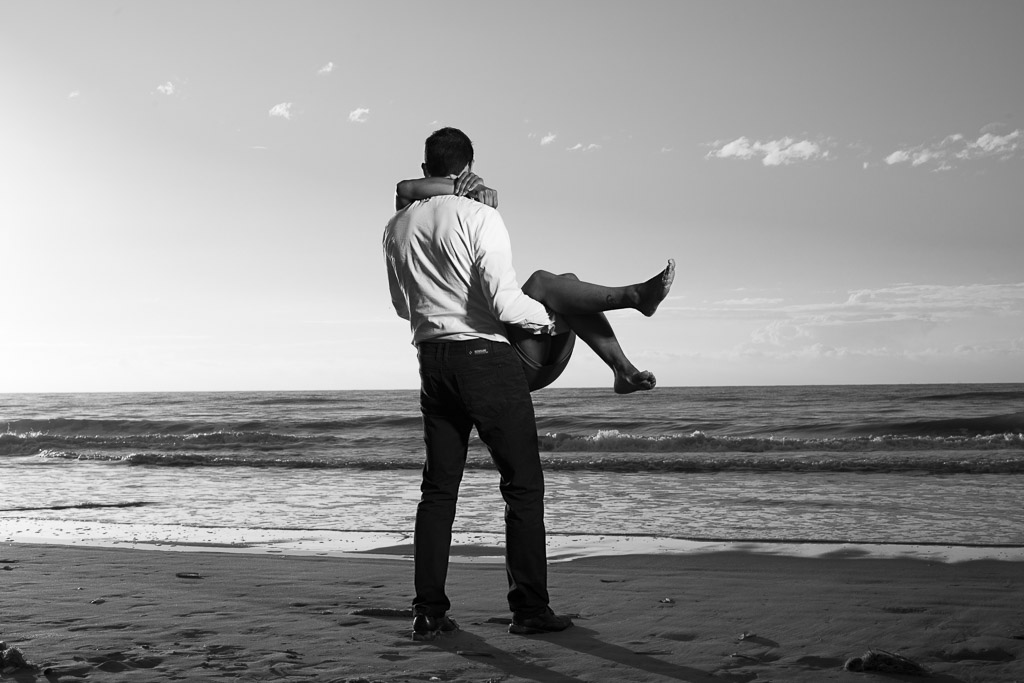
I wanted to tel the story the story of somebody who lost everything and goes somewhere to get hurt. This was inspired by te Gaslight Anthem song called "get Hurt".
The Team
Due the power of Facebook I could get a team together quickly. I had the concept Tuesday and the team within a few hours after posting for help on Facebook. The team was:
Mike Foto: Light Assistent
Martijn Koekkoek: Camera Assistent
Elvira Korsten; MUAH
Michel Mens: Model
Suraya: Model
The Film SerieS of "Get Hurt"

The Digital Series of "get Hurt"
Because I was using the Nikon D800 with the Nikon 50mm 1.8 lens as reference camera, so I could set every thing up an test the lightning without spilling any film, after finishing the analog shots we got a few extra ideas. While I was watching these in post the story changed.
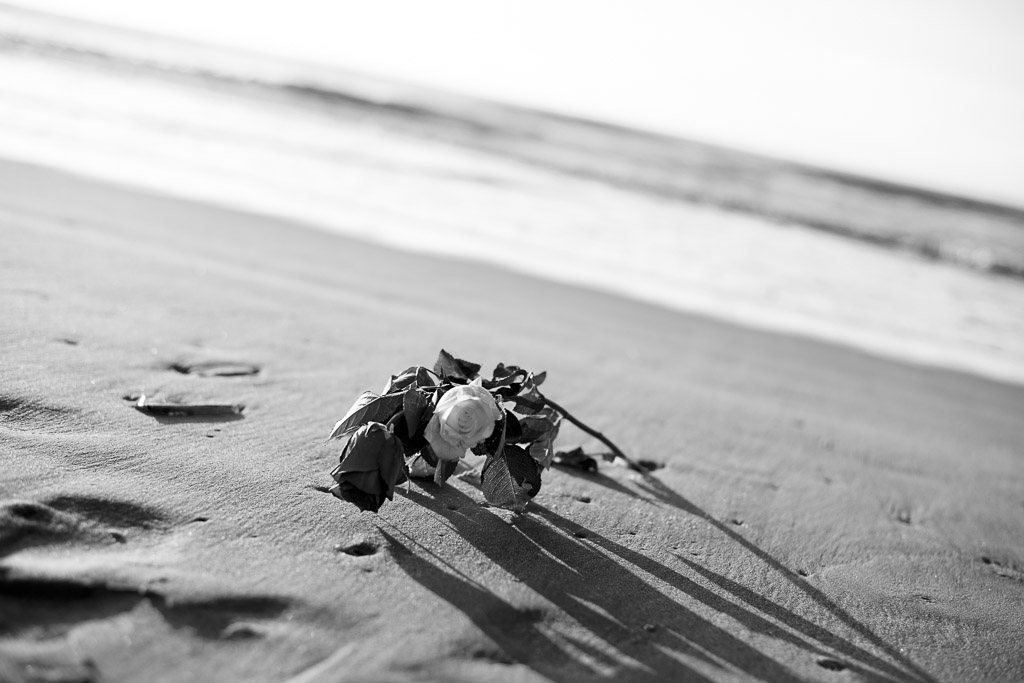
In de digital series the Story changed a little bit. Because we got a few ideas after we finished the one roll of film. So know I would lik to hear from jou which ones you do prefer! Film or Digital? Post it in a comment below!

Leica Test Drive: Leica M (Type 240)

A few weeks ago Leica announced the Leica test drive. I have always been interested in Leica camera's, but never wanted to invest in it before I could test it. So the Leica test drive was the chance to test out a Leica in a real world situation. So I organised a photohoot to test it out and used it on 2 commercial jobs in the same weekend.
The Leica M (type 240) Kit
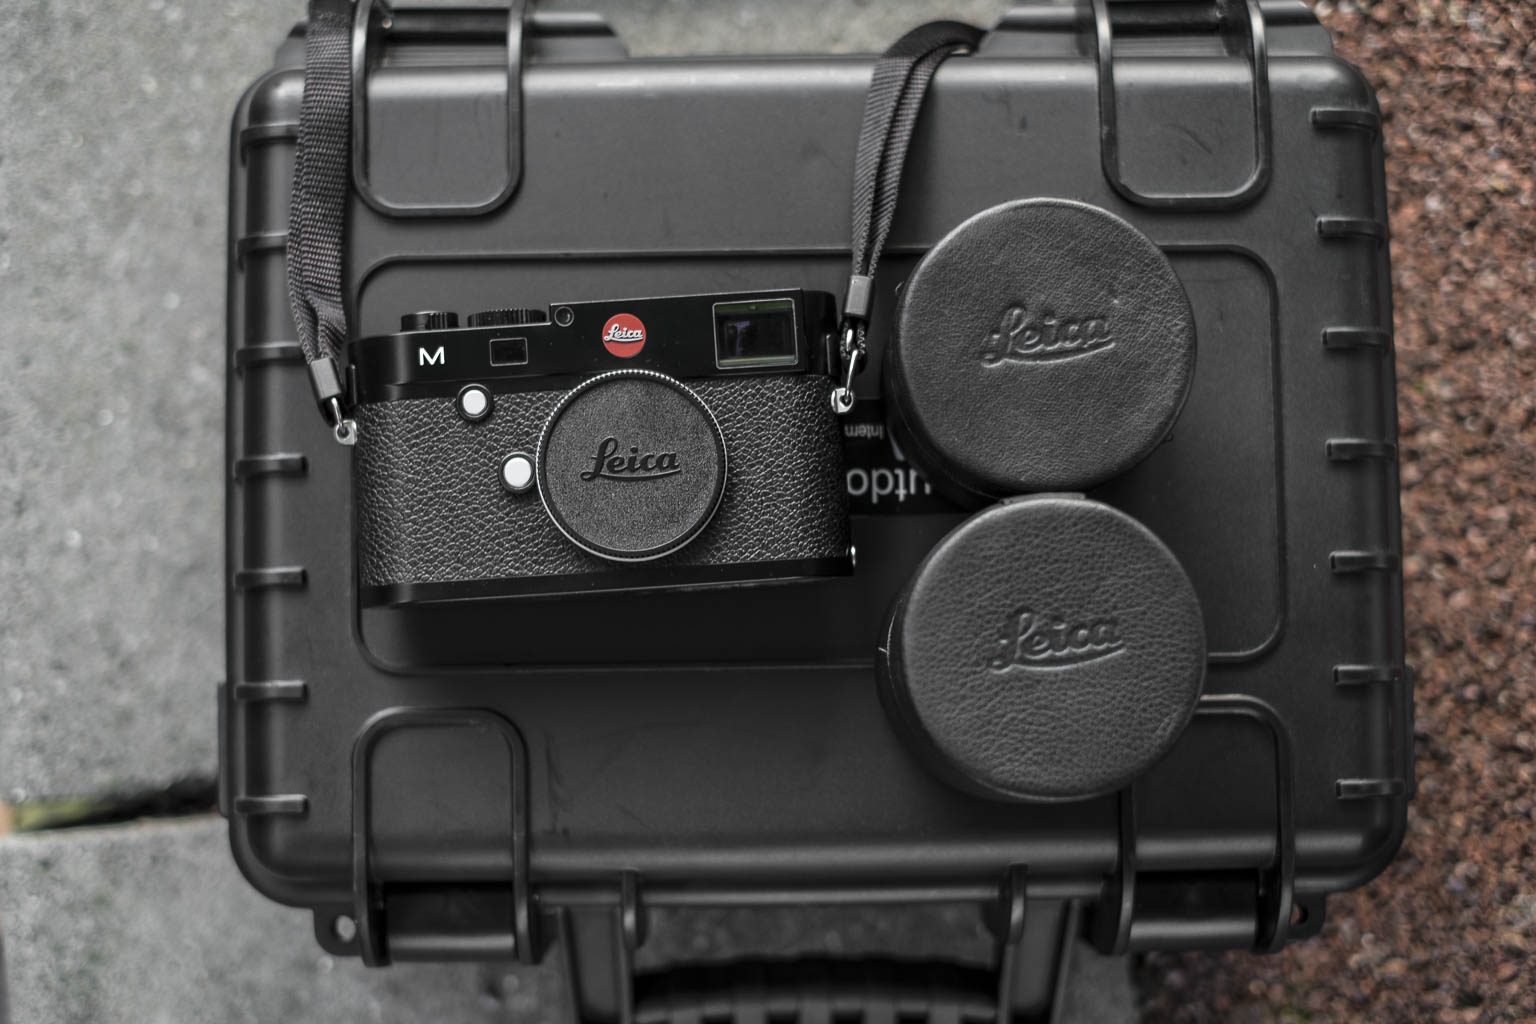
In the Leica test drive kit was the
- Leica M (type 240)
- Leica Summicron 50mm F2.0 ASPH
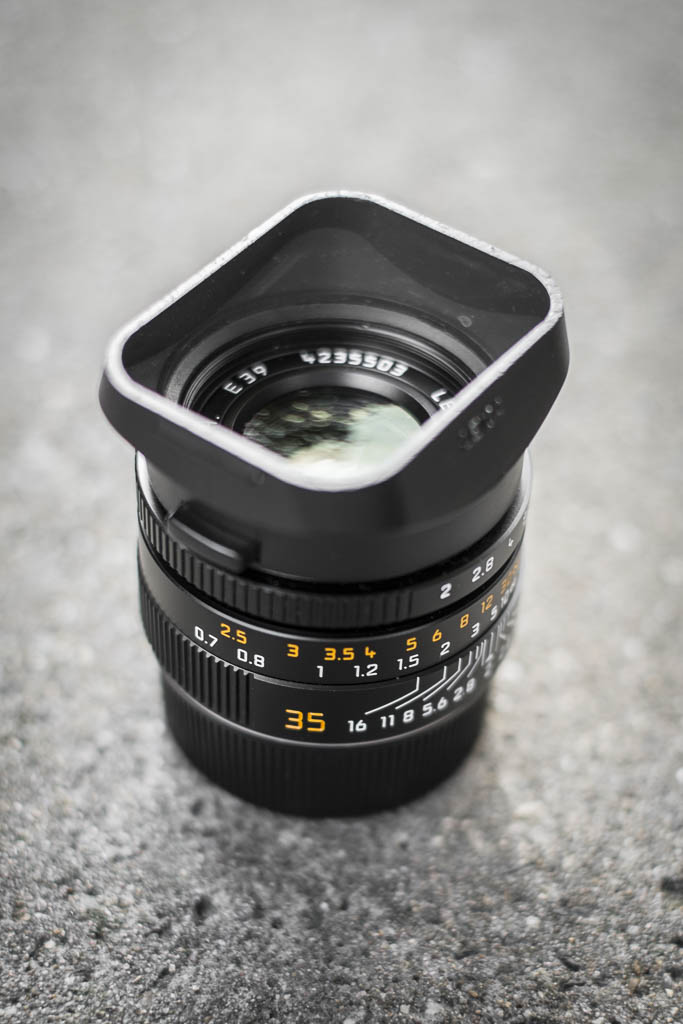
- Leica Summicron 35mm F2.0
- Leiva EVF2 Electronic Viewfinder
- Charger
- Card reader
- Case
First Look at the Leica M.
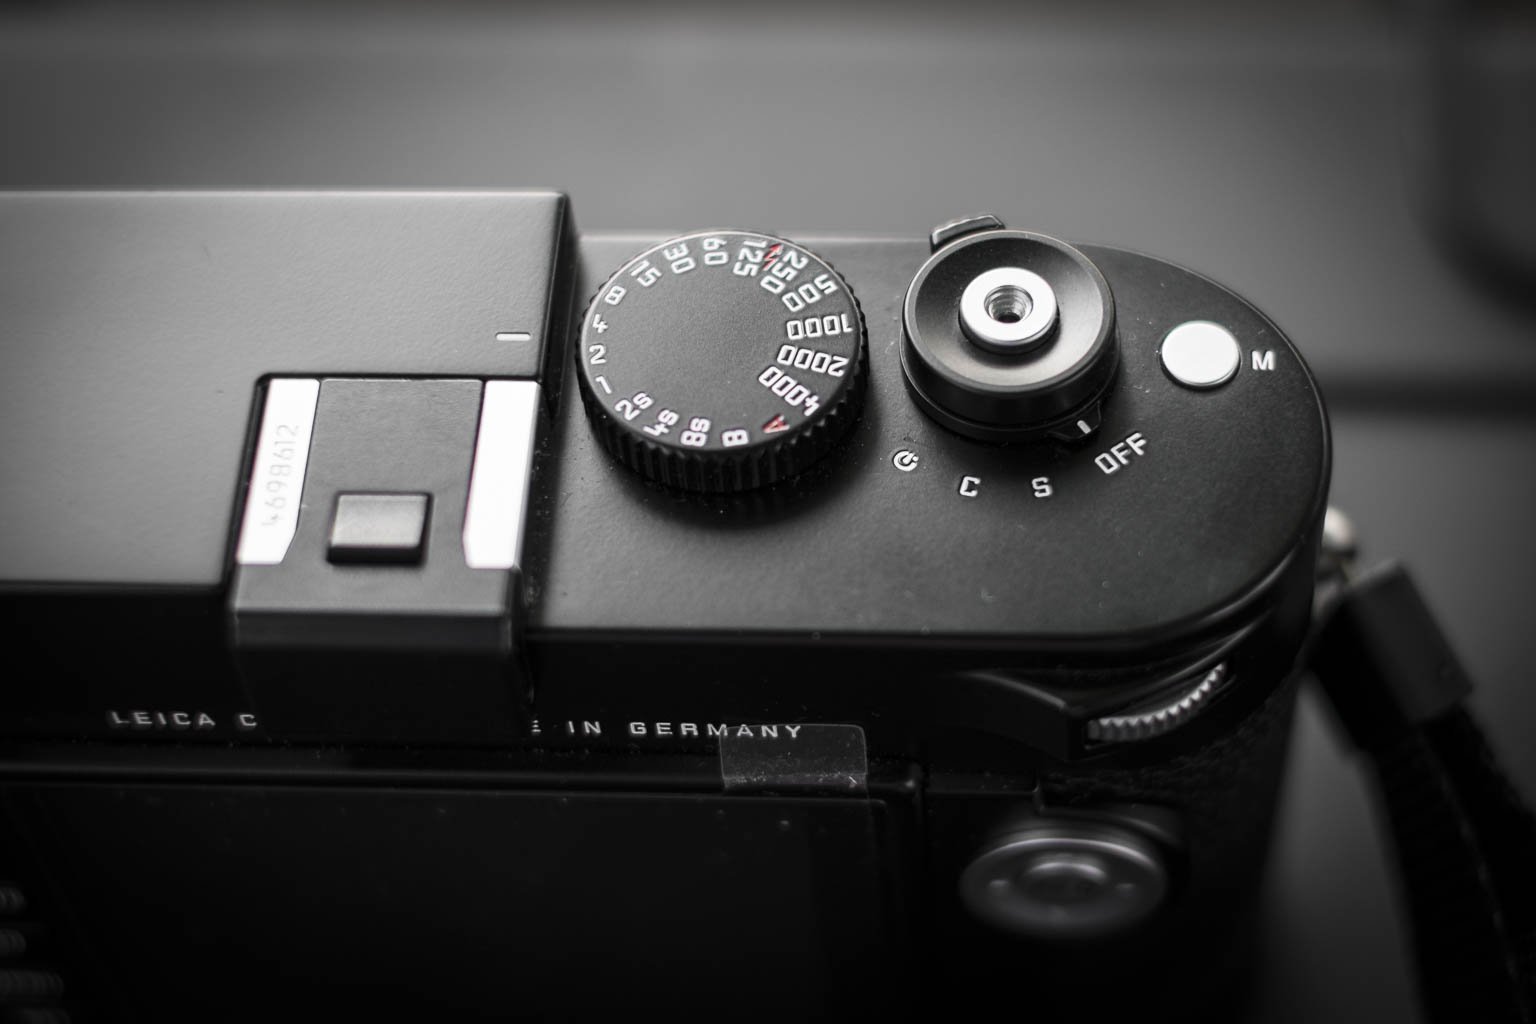
The first thing you notice when you hold a Leica is the build quality. These camera's are build like a tank. They don't look ergonomically, but are very pleasant to hold. The further lay-out is really simple. On top is the shutter time and release button, with the on/off switch. With the on/off switch you can also chance from, single to continuous or timer mode. Also there is a small button voor Movie mode which I haven't used. The Hotshoe has a nice slider to fill it up when it isn't in use.

The back panel has a kind of okay LCD screen, the buttons for LV (LiveView), Play(back),Delete, ISO, Menu, set. On the right side is the D-pad with an info button. At your thumb is a wheel for different tasks, like scrolling the menu and exposure compensation. The viewfinder has a small ring without a diopter, which for me as a glass wearing person wasn't the most comfortable.
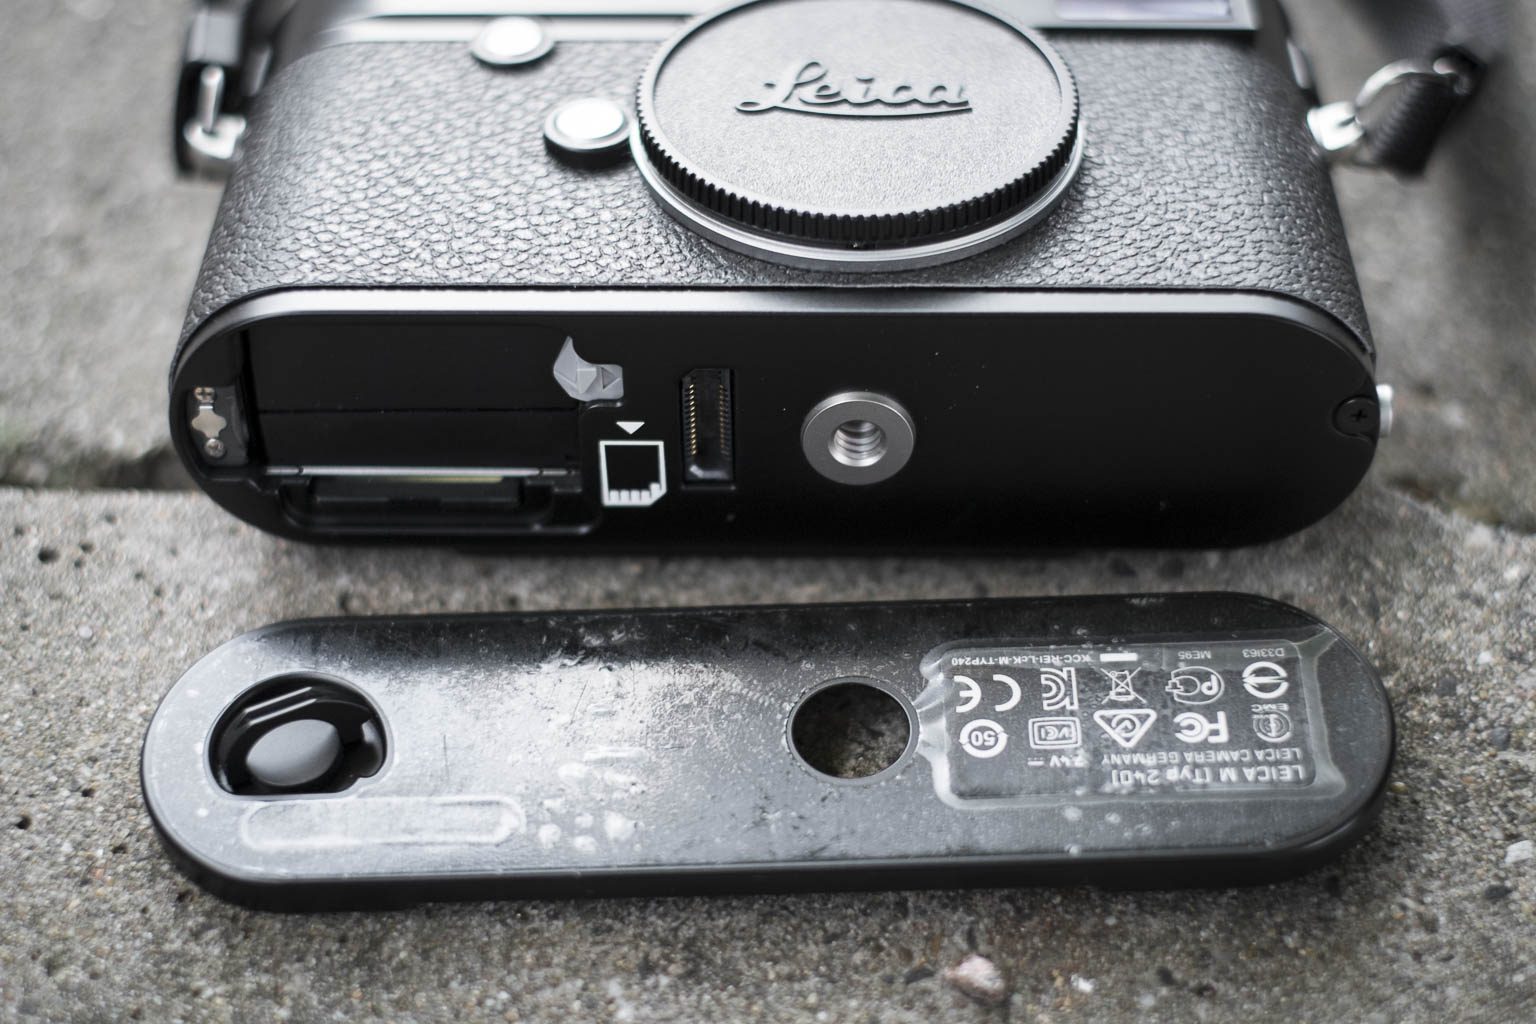
If you unlock the bottom plate you get acces to the SD card and the battery. I am not really fond with this, especially when you want to use it with a tripod. Then you have to unscrew everything before you can change the battery or the SD card.
The Leica Summicron 35
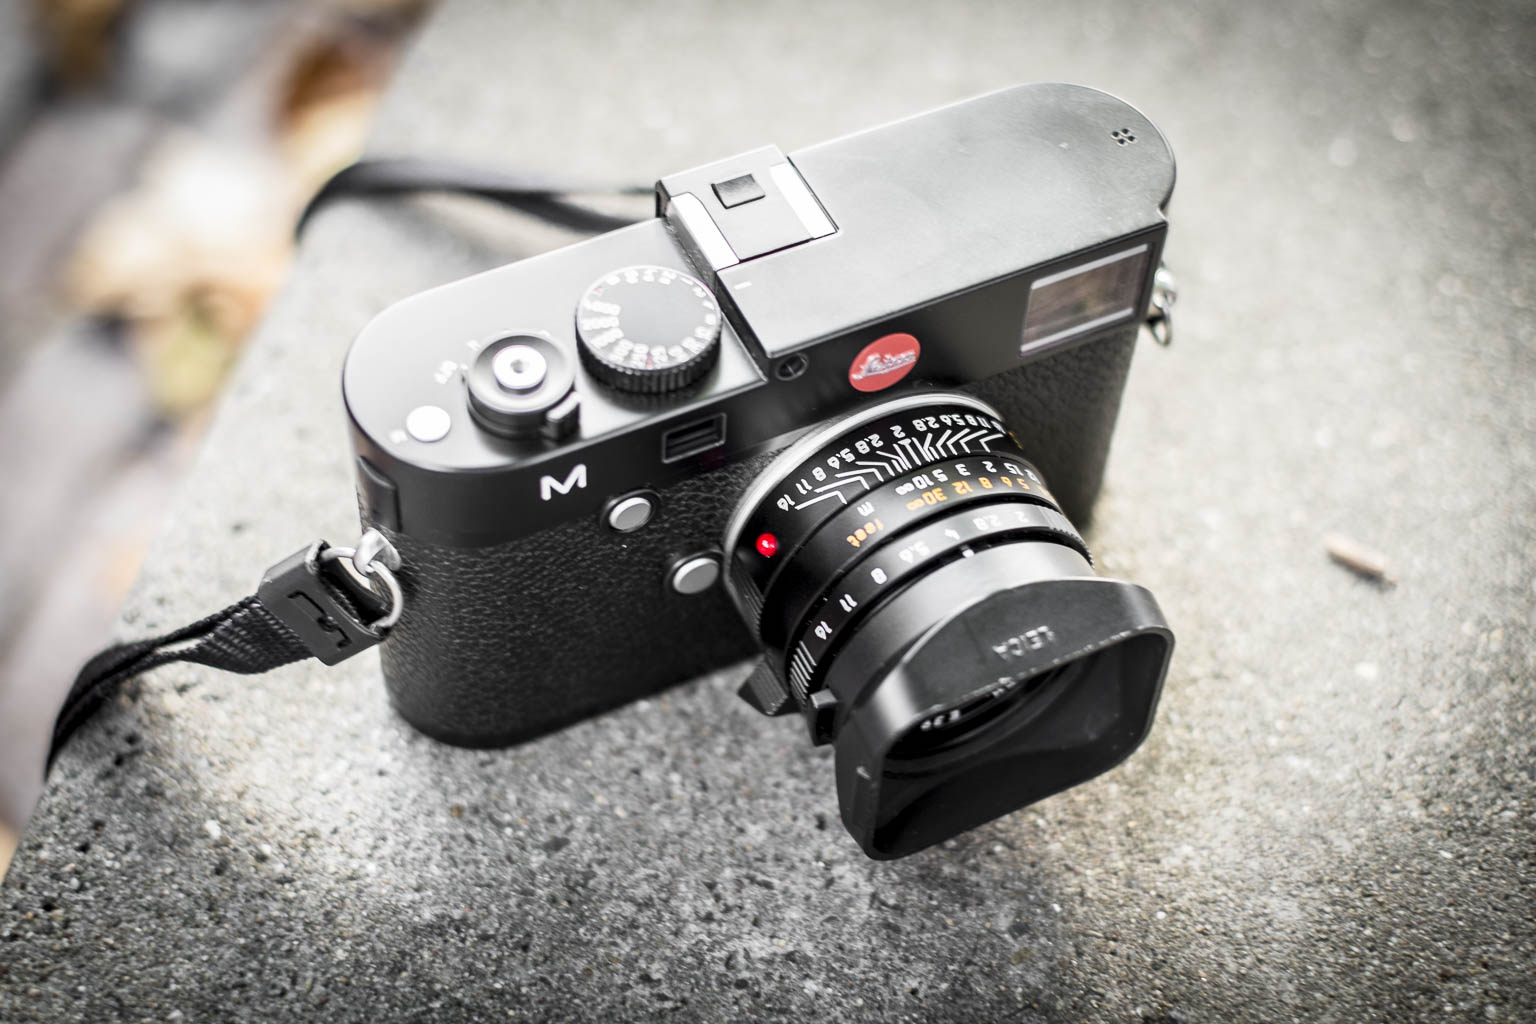
The Leica Summicron 35mm f2.0 is delivered in a greatly designed leather softcase. It had a rubbercap to put on the lens hood for if you don't want to use the lens cap, which you can store in a special part of the lens softcase. The little grip makes it easy to focus with. The focus ring is smooth as butter. The aperture ring is nice but has a little bit of a cheaper feel. I have had lenses where the aperture ring felt better.
The Leica Summicron 50 f2.0 ASPH
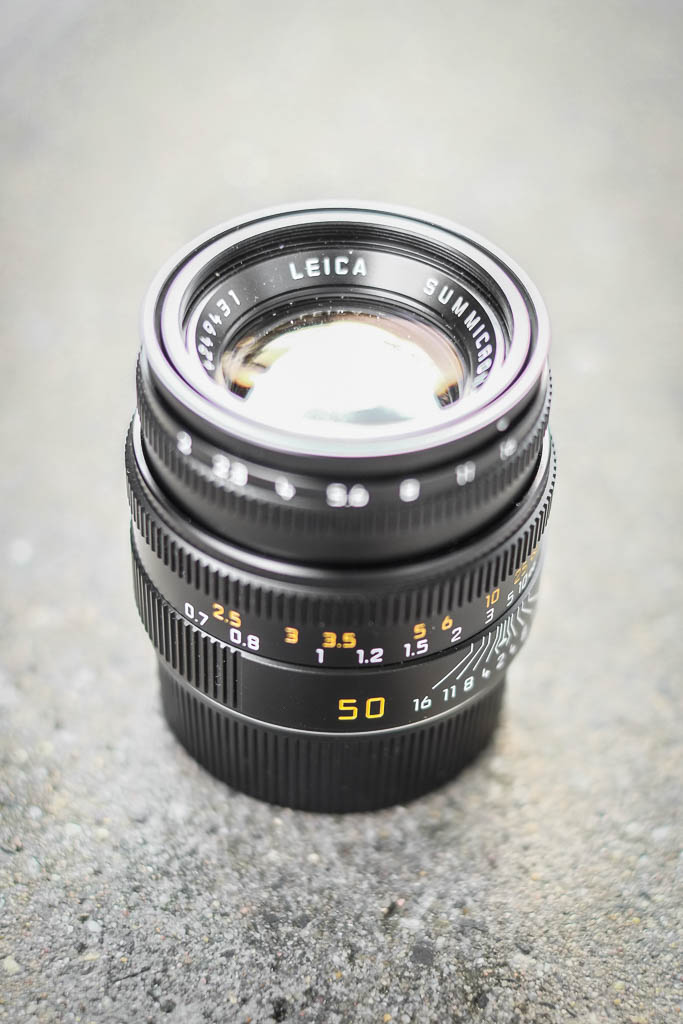
The Leica Summicron 50mm f2.0 has the same build quality as the 35mm. I missed the little focus thingy of the 35mm! Which made focussing a little harder. For the people who don't know. This €12.000 camera kit has NO AUTO-FOCUS. But the manual focus system with the two glasses works brilliant! Because it is a range finder you get frame lines in the viewfinder representing the area that is in your frame. The 50mm is for me the longest lens to use with this. For longer lenses I would love to have the Hybrid Viewfinder like the Fuji X-Pro1 has. But for working with the Leica Summicron 50mm is good enough!
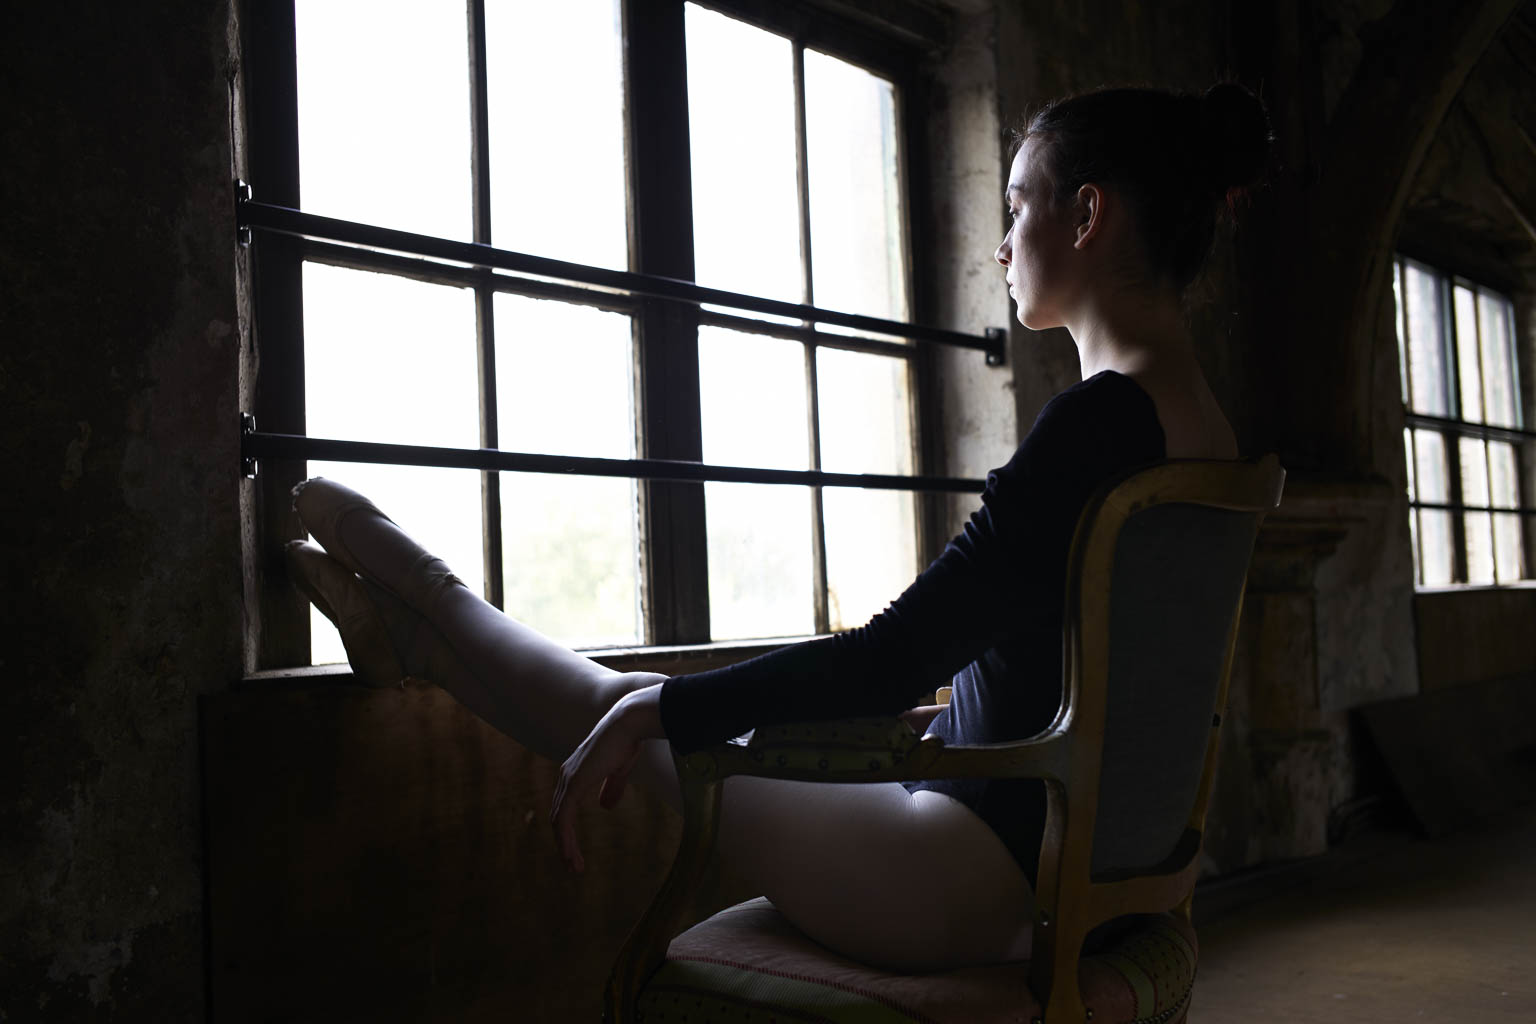
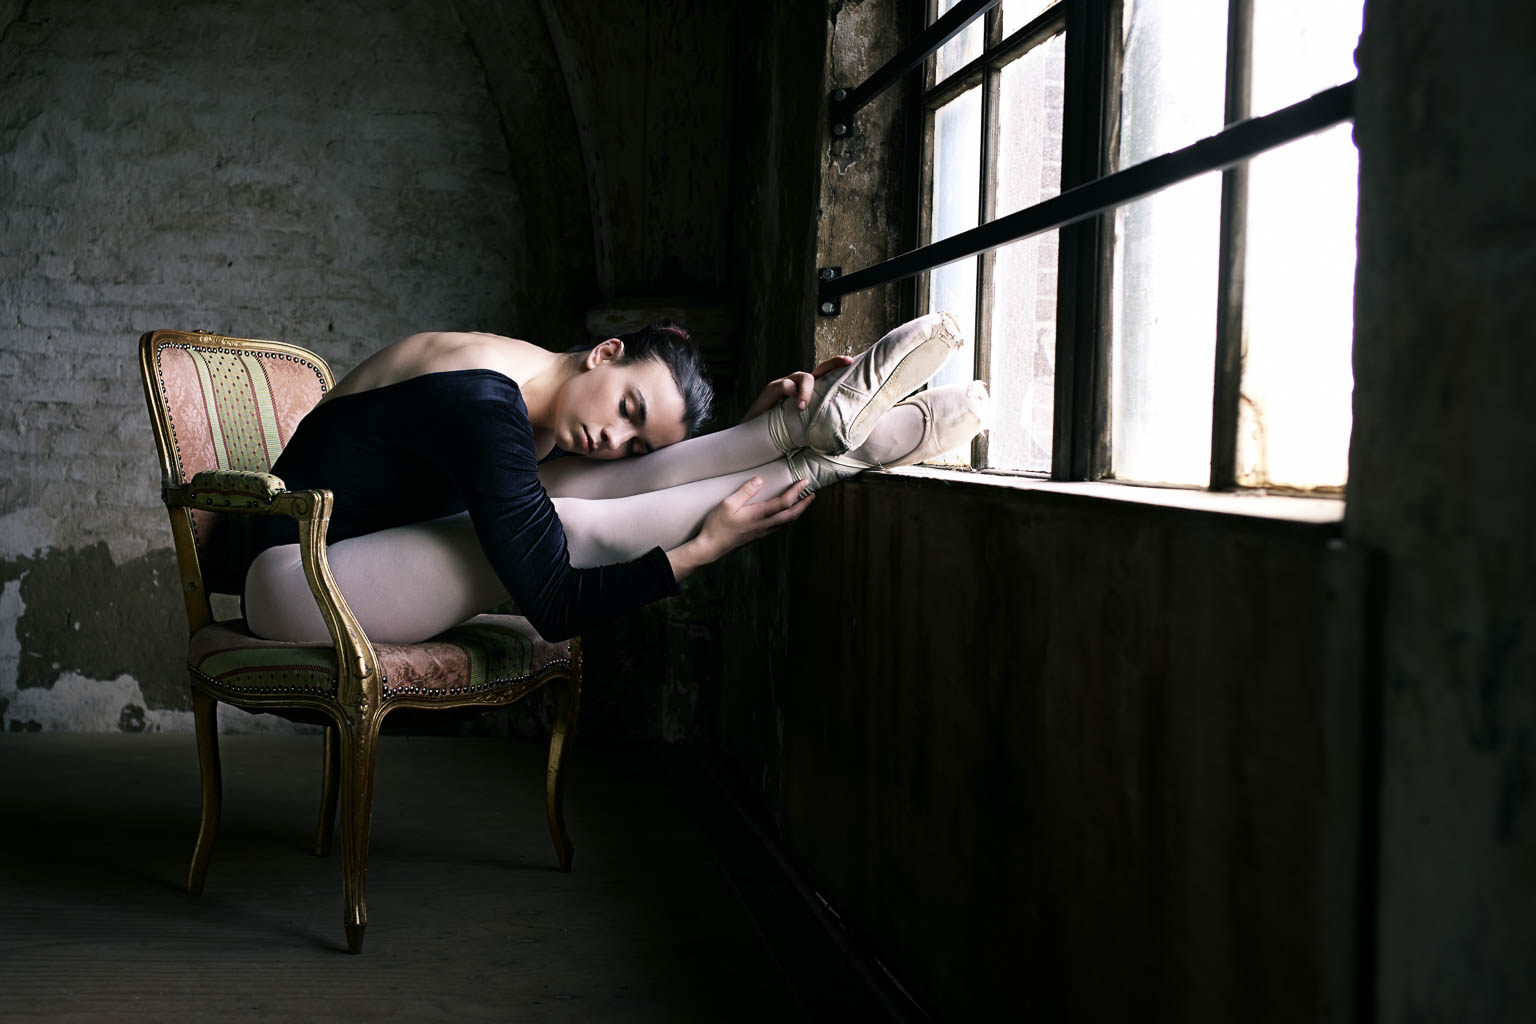
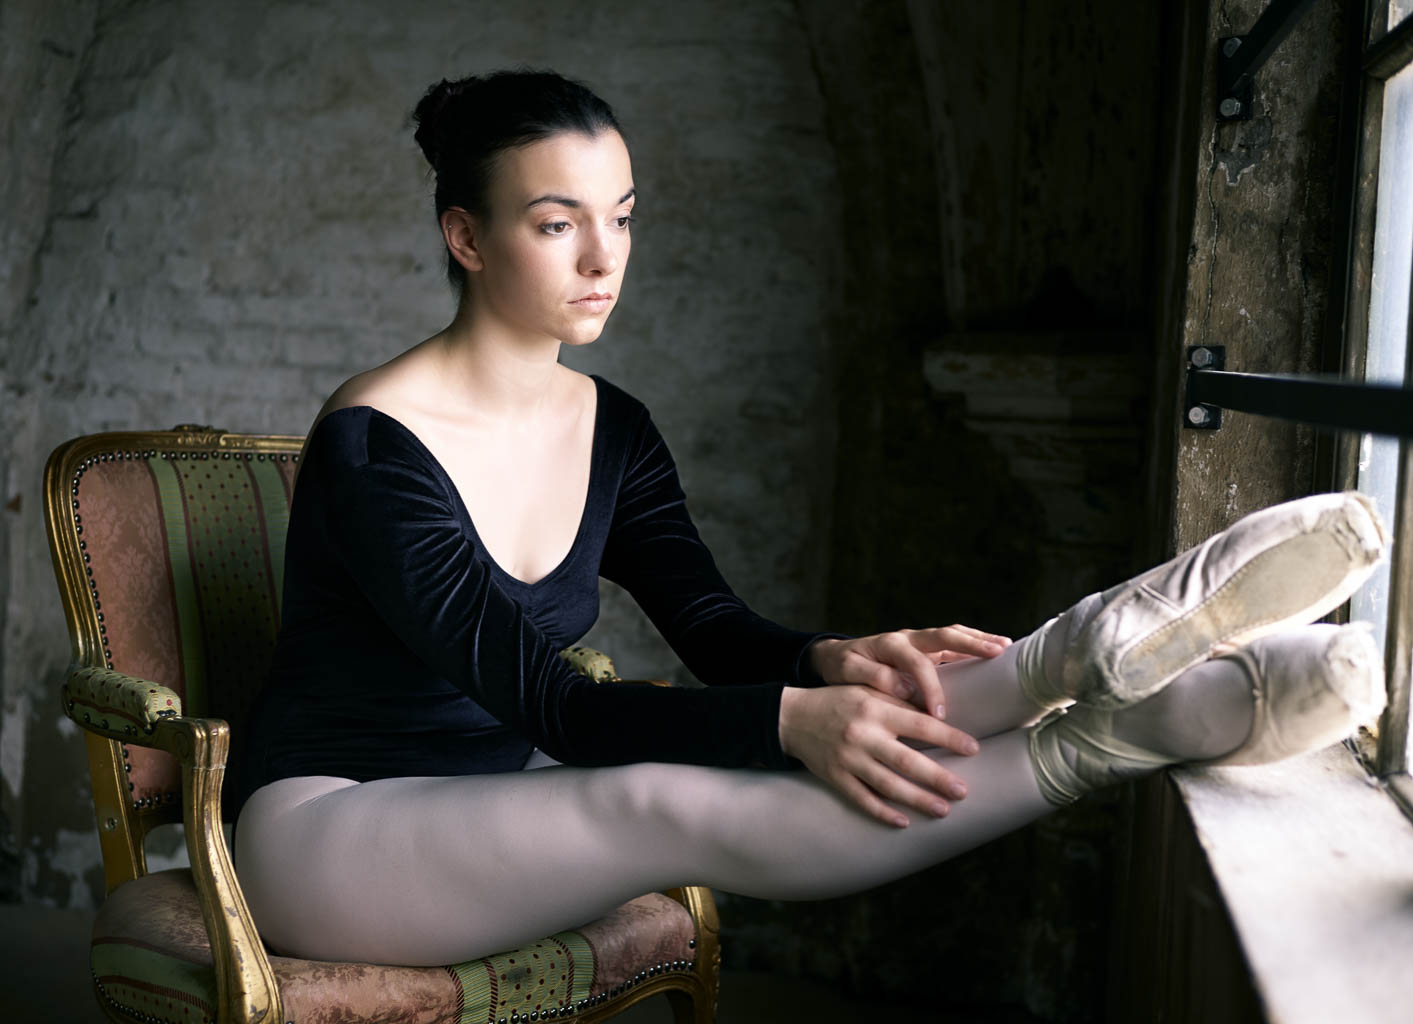
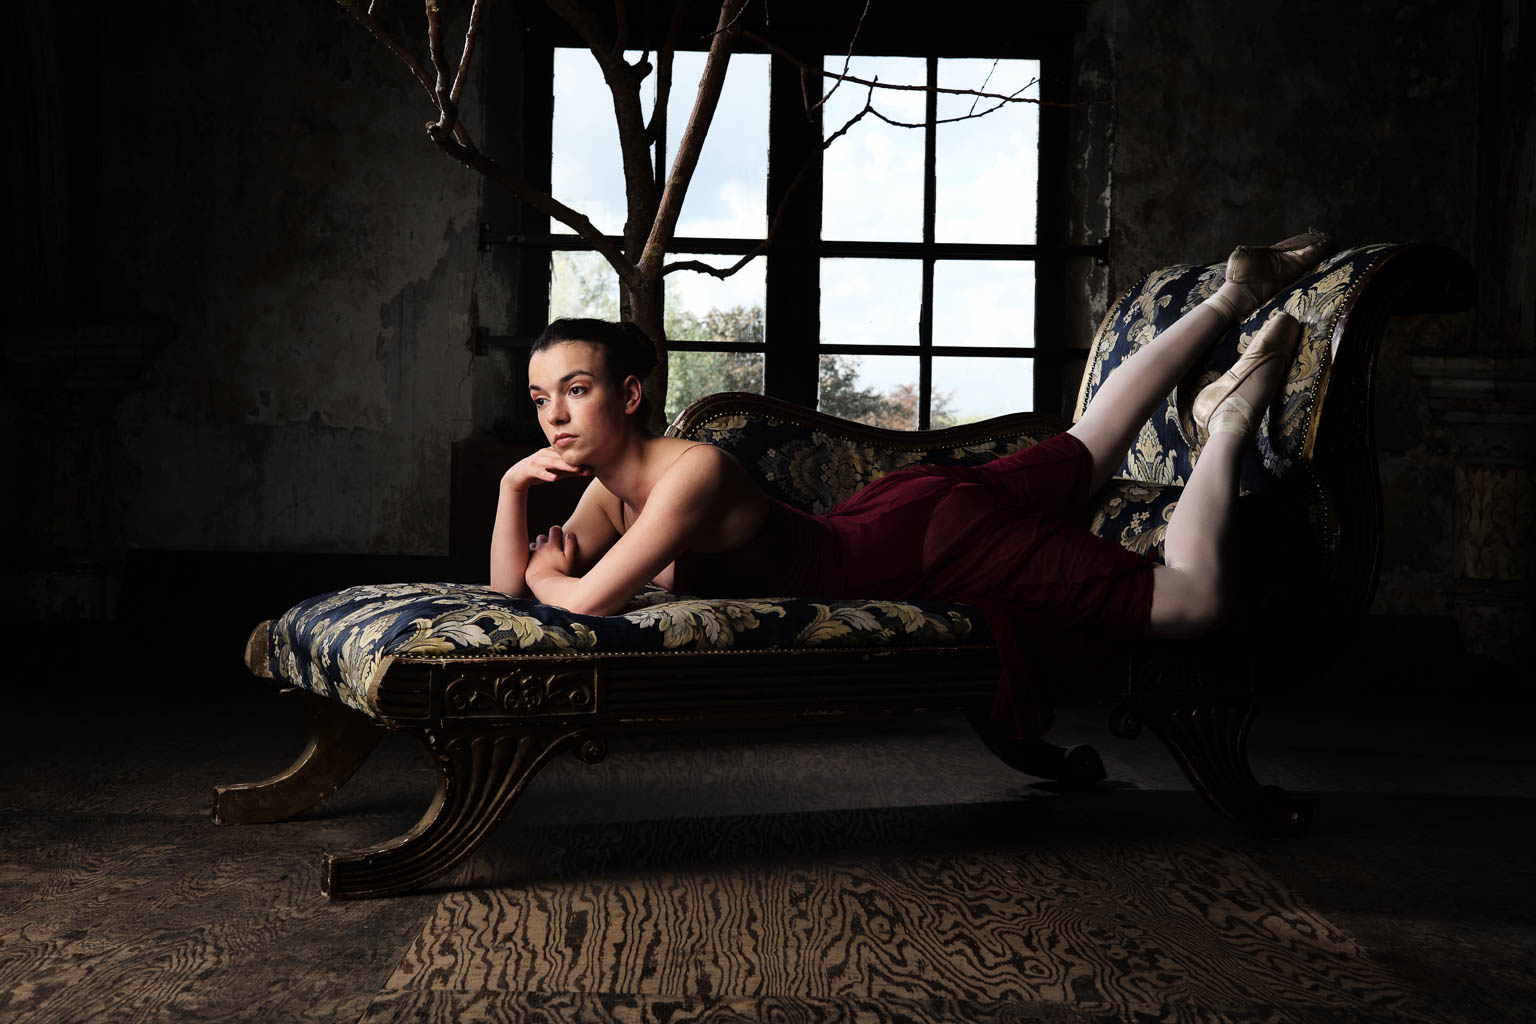
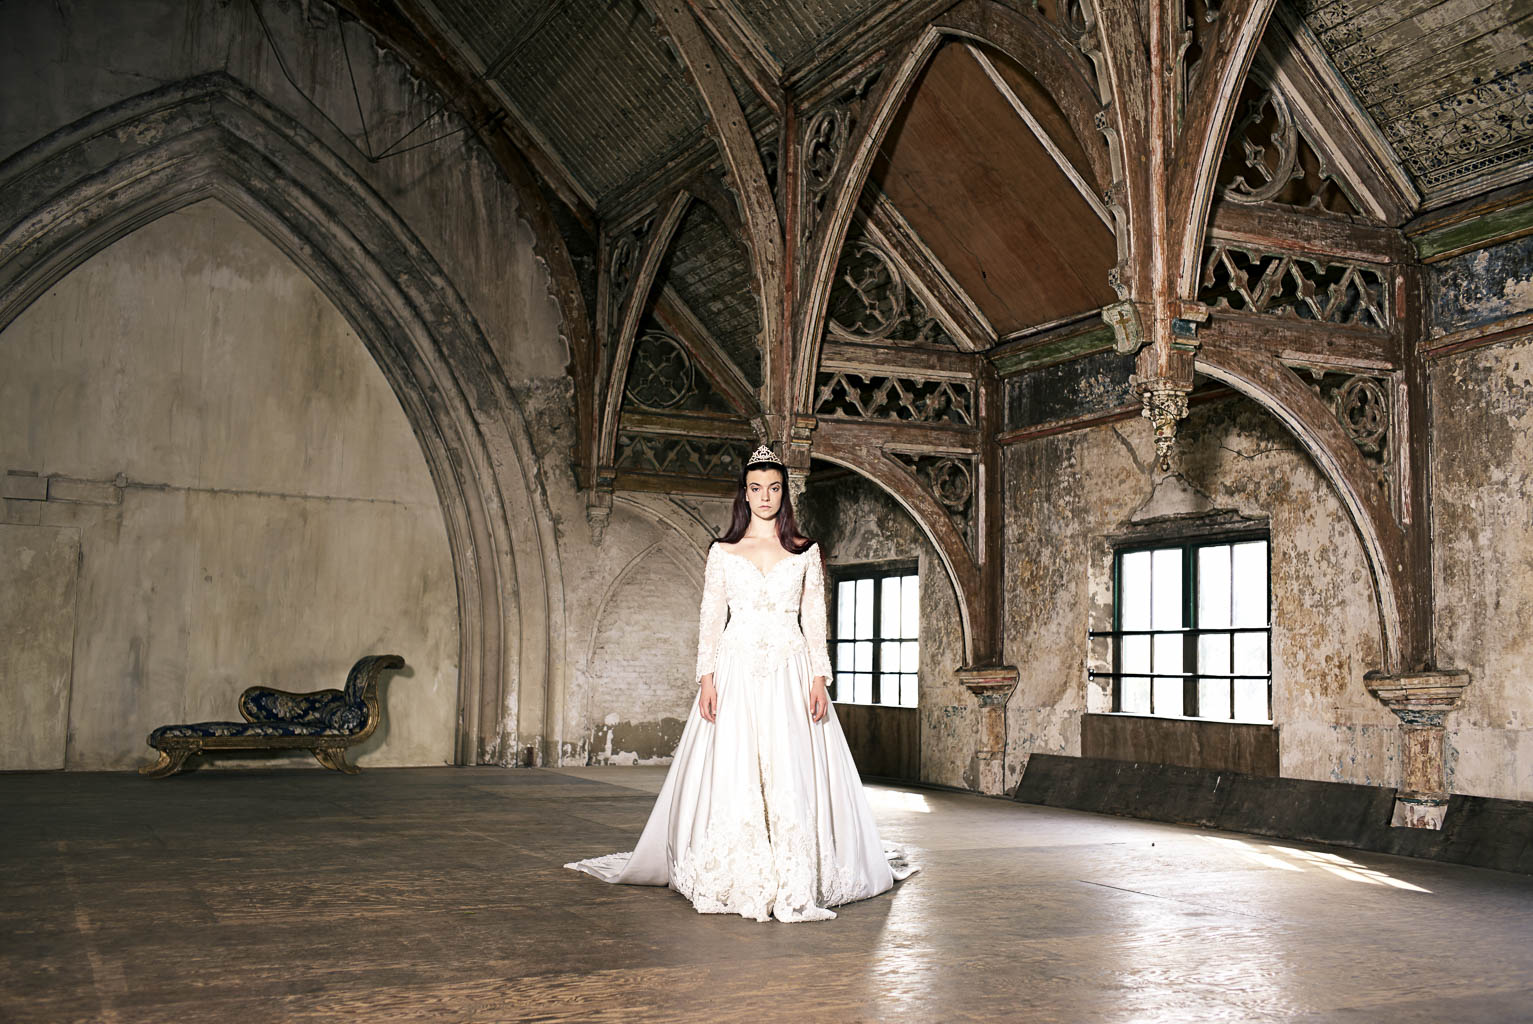
The Photoshoot
To really test the camera I organized a small photoshoot. I had a lovely Ballerina (Charlotte Geeraerts, two assistants (Mike Foto and Riet Verwoert), a person who filmed it (Ilse van Gemert) and my MUAH Elvira Korten (Made of Make up). For location I rented the Metaal Kathedraal in Utrecht. A behind the scenes video is posted at the end of this blog!
The Images
The most important thing off any camera, the images!
The Leica M has some film simulation. I liked the smooth color the most. It has the "Add the red chanel for contrast" in photoshop look. On the back of the camera it looked great but on the computer the shadows where to dark. Since I always shoot Jpeg+Raw (DNG in de case with Leica) there was nothing to worry about. Below are two images, one is the Jpeg and the other the raw file exported from Lightroom as a Jpeg.
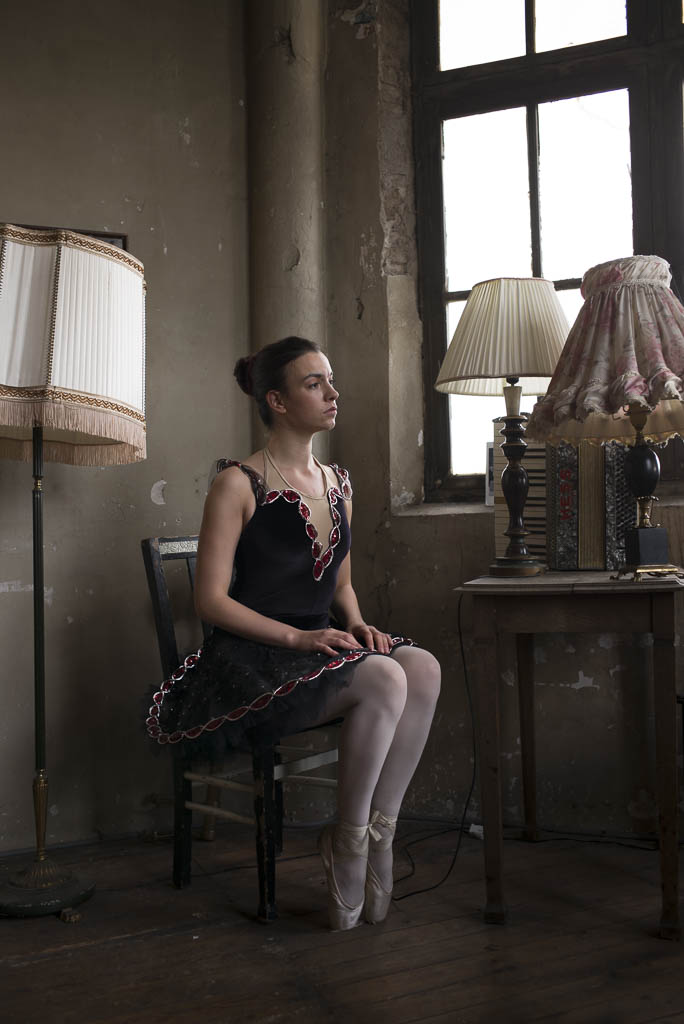
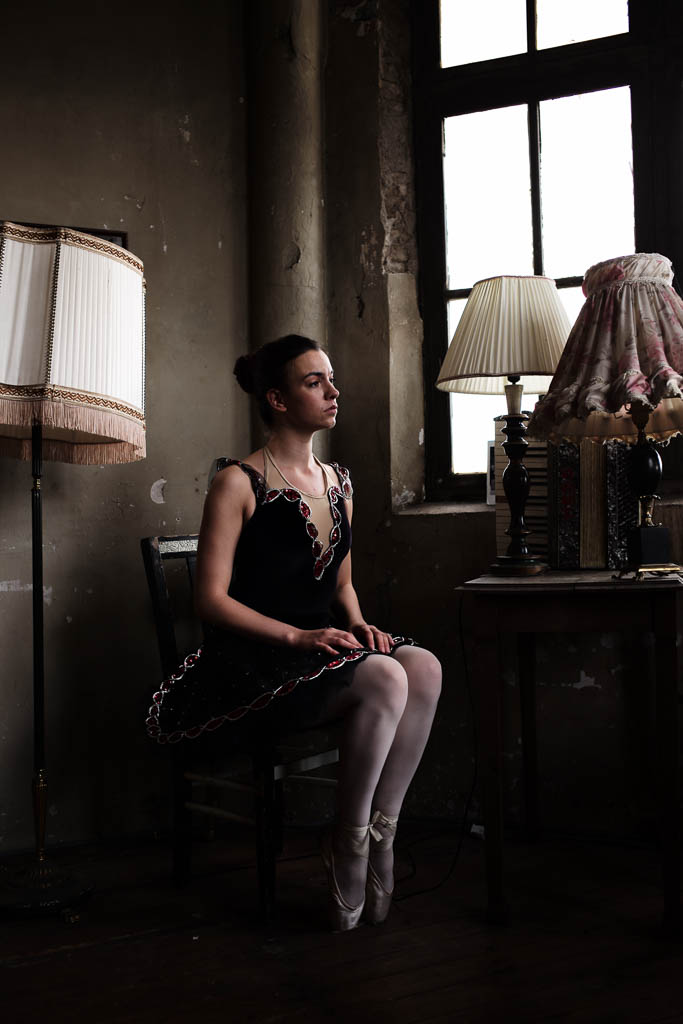
For me the camera worked best in available light. Below are 3 pictures shot only with the ambient window light. Please also notice how much of a difference you can make with just walking around the model!
When I combined flash with natural light the white balance got it pretty right!
Conclusion
I loved working with the Leica M (type 240) with the Summicron 50mm f2.0 ASPH and Summicron 35mm f2.0! Allthough it is manual focussing, it works. The layout of the camera is simple. Everything you need, nothing you don't with a build like a tank body. Everything feels sturdy!
But, is it worth the €12.000 price tag? Well..... for me it's not. That doesn't mean I wouldn't like to have this camera kit, because I really do! But the price is to high for me. I don't see the extra benefit's over my current kit with the Nikon D800 and D610, and my fuji kit. I love the whole feel and look and way of working, but the image quality isn't like, 6 times better than the €2000,- Nikon D610 basic kit.
If I was a fulltime street or reportage photographer this camera would fit like a glove, it is low profile, light, portable. Also for fashion or commercial works it can do the job. It isn't an action camera. Although if you know your technique you can do it!
So my final conclusion. The camera is great, if you have the money, buy it! If you don't, then you don't miss anything. The camera is a tool, the photographers make the difference!


Watch the behind the scenes video of the ballet photoshoot in the Metaal Kathedraal

What's in the camera bag part 1: The Fuji Kit

Hi all, As you might know I currently photograph with a Nikon (D800 and D610) kit, a fuji kit and a Analog kit. In the Up coming weeks I am planning to give you a view in my bags! This week the first Bag is the Think Tank Retrospective 7 with my Fuji camera gear.
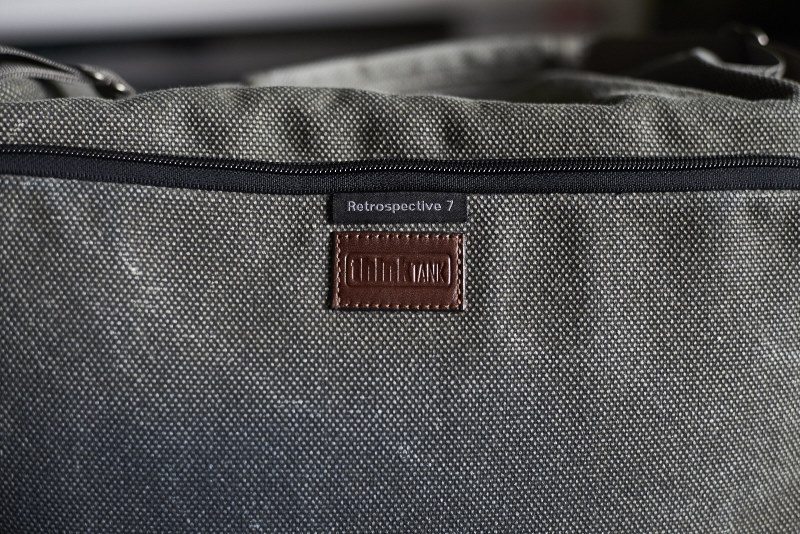
Think Tank Retrospective 7 Bag
I must start to say that I love Think Tank bags. I have three off them and use them everyday with out any problems. The way they are layed out is really showing they are not only made for photographers, but also by photographers!
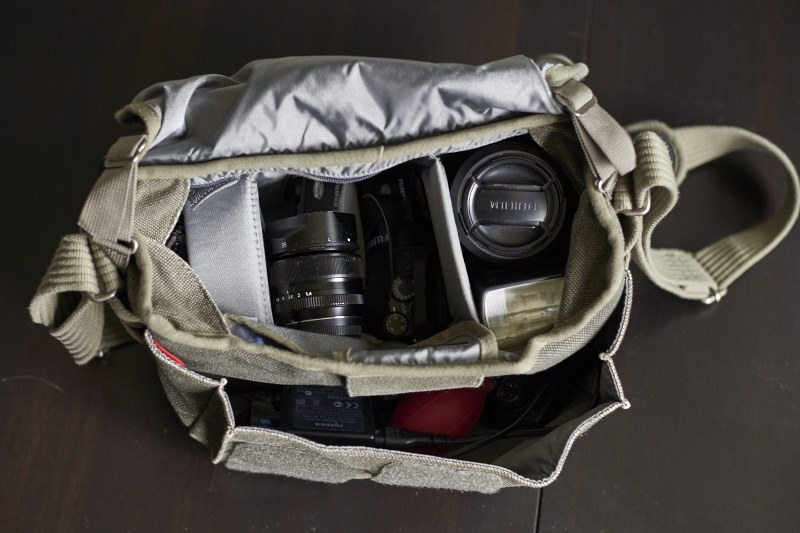
The first thing I like about the bags are that these bags are spacious. I have tried other bags, but the way the Think Tank camera bags are layed out is genius. It is easy for on the go and to get the gear you need fast. Also they are low profile. The retrospective series is also really low profile. The Retrospective series really look like regular "Hey, there is no expensive gear here" messenger bags.
The front flap has also a silent mode. You can flip up the velcro so you can open it up without any sound. Handy during weddings! The only downside is that the flap is lose.
The bags also have a high level of comfort. You can walk around with them for a long time without your shoulder is getting sour.
Now what's in it?
Well it's my Fuji gear bag, so I have all my Fuji gear in it. This is really my everyday with me, reportage/low profile kit.
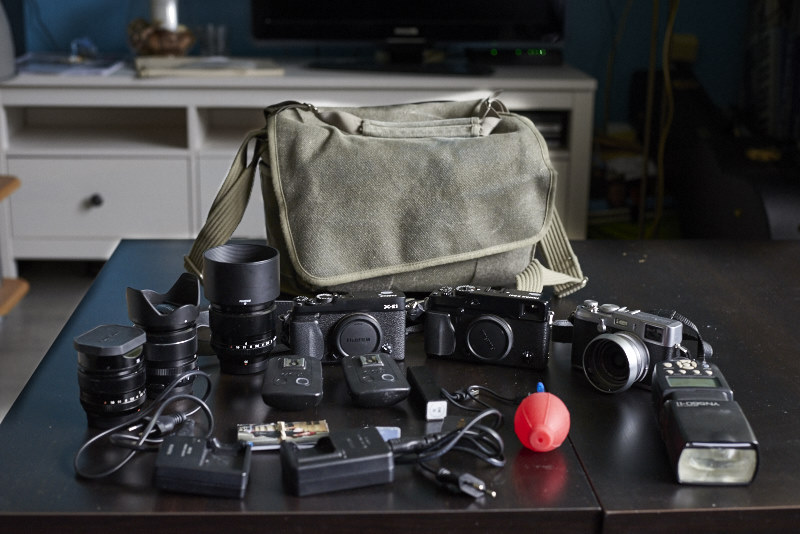
Fuji Camera:
- Fuji X100: My first Fuji camera, and I love it, especially the leaf shutters which is so silent and great with flash!
- Fuji X-Pro1: This is my workhorse Fuji camera. I really like the whole range finger/Leica style
- Fuji X-E1: This is my back up for the X-pro1 and I use it a lot for the behind the scenes video.
Fuji Lenses:
- Fujinon 35mm 1.4: This is my main lens for the X-pro1. It is a 50mm equiv, and great street en reportage lens
- Fujinon 56mm 1.2: Great lens for portraits!
- Fujinon 18-55mm 2.8-4: This lens I mainly use with the X-E2 for video.
Other:
- YoungNuo YN-560: Great inexpensive flash!
- Cactus V5 Triggers: For remote triggering of the flash
- 2 chargers: For charging the batteries on the road
- Back-up batteries
- Extra SD-Cards
- Business Cards
- Blower: For cleaning the sensor
- iPad Mini (not pictured)
- Back-up charger for my Phone
Well that's what is in it! Next time I will take you through my Think Tank Airport Airstream bag with my Nikon kit!

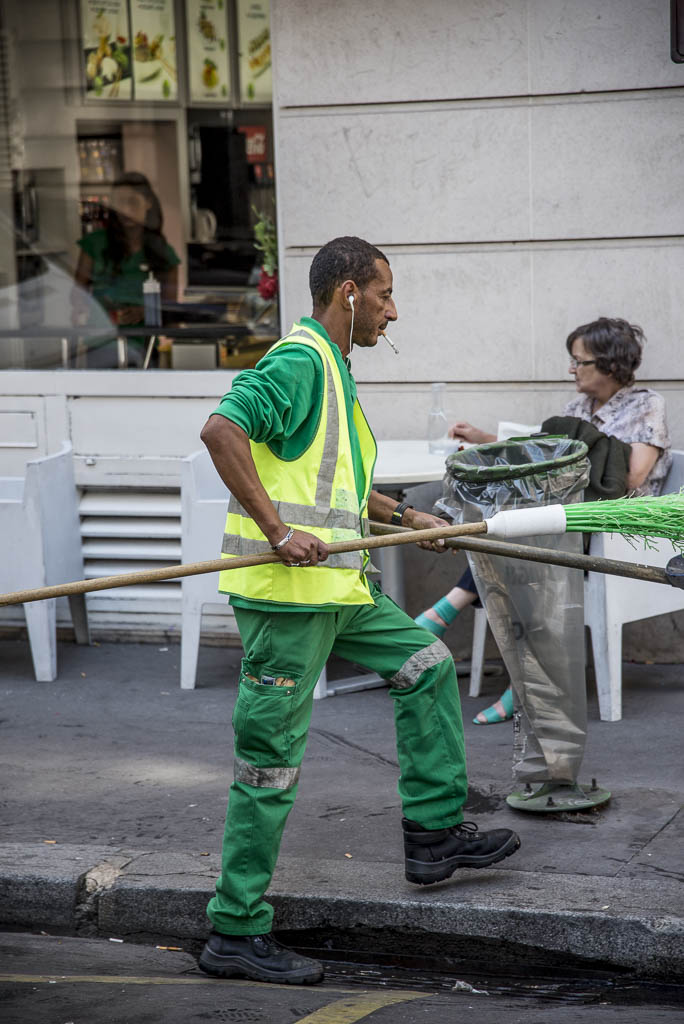
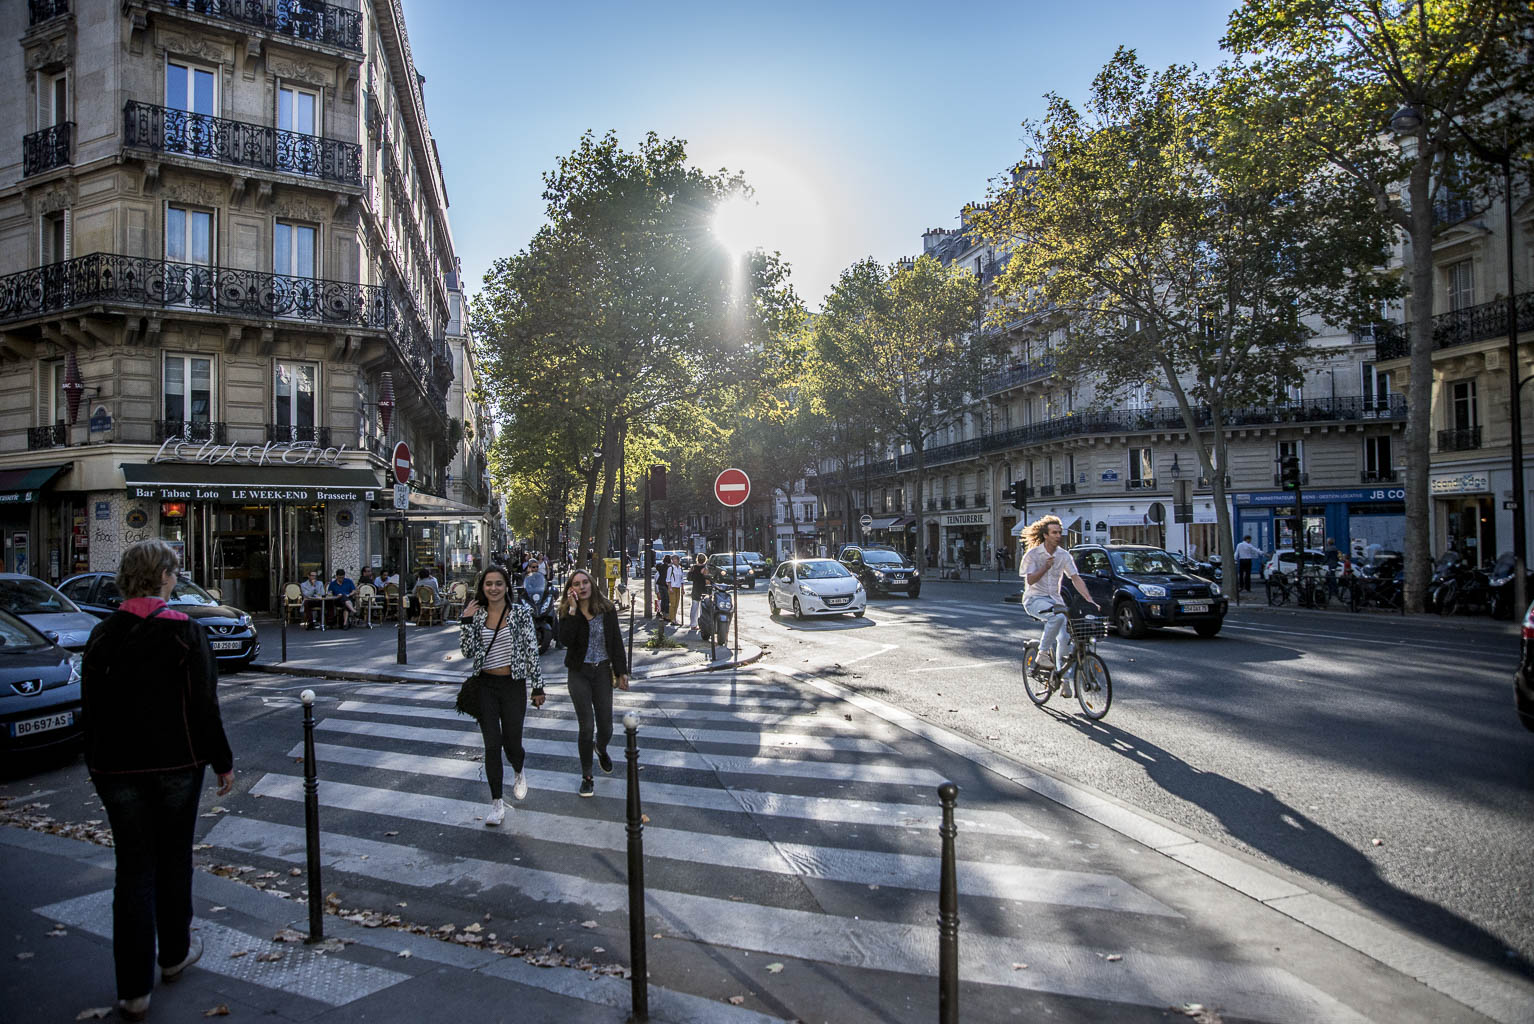
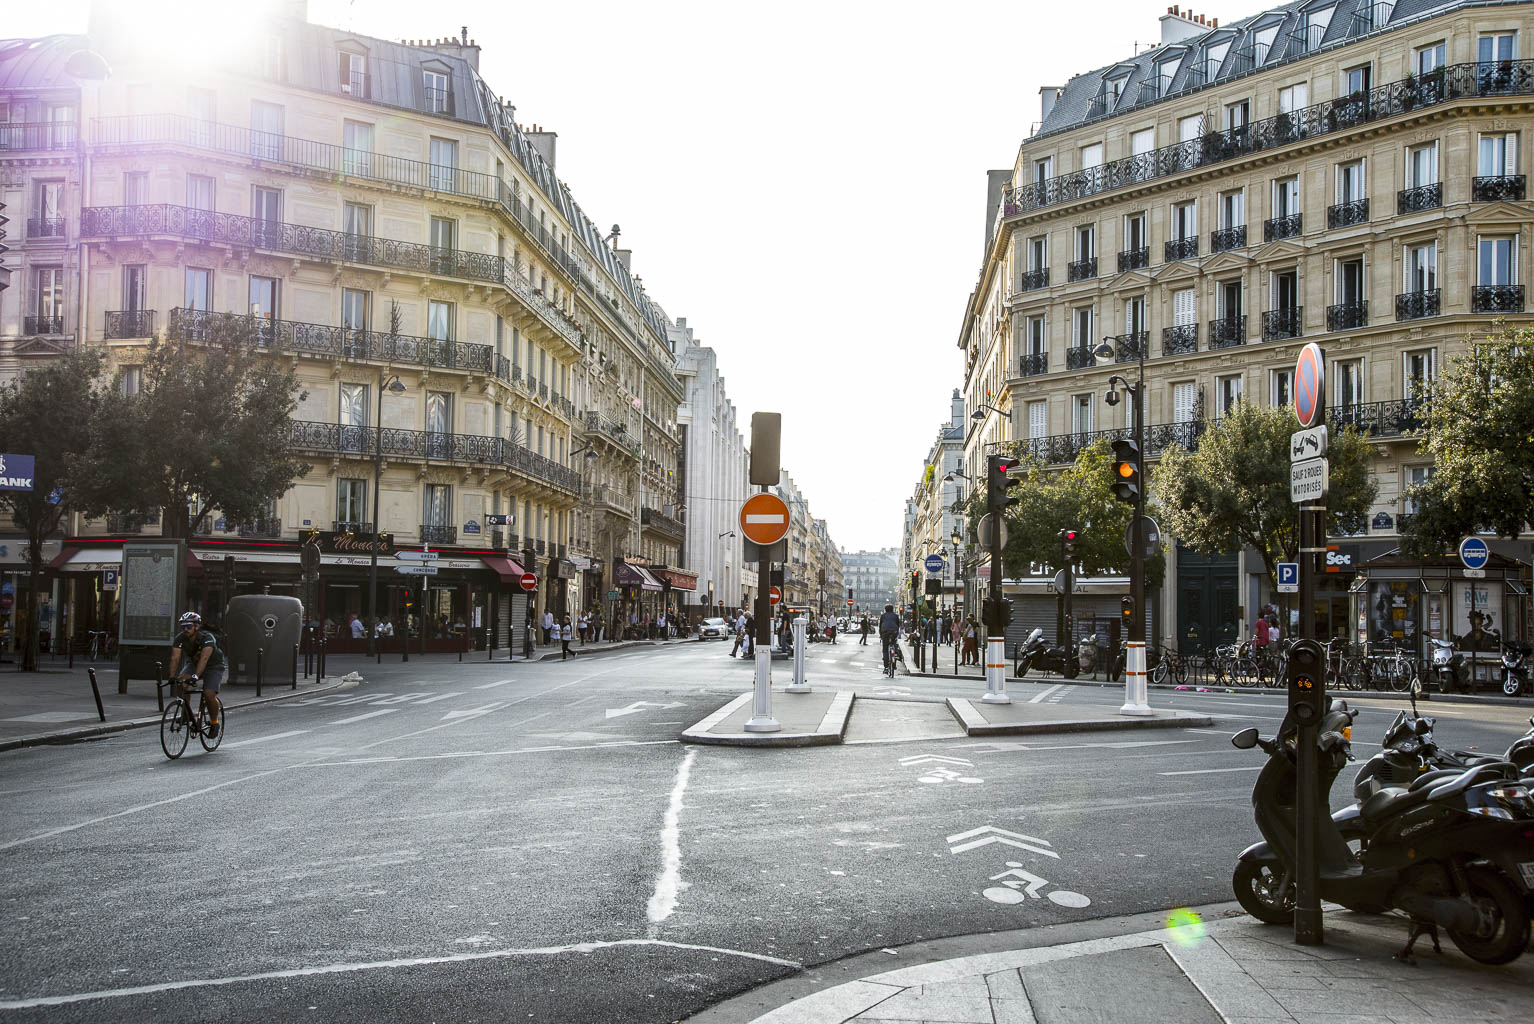
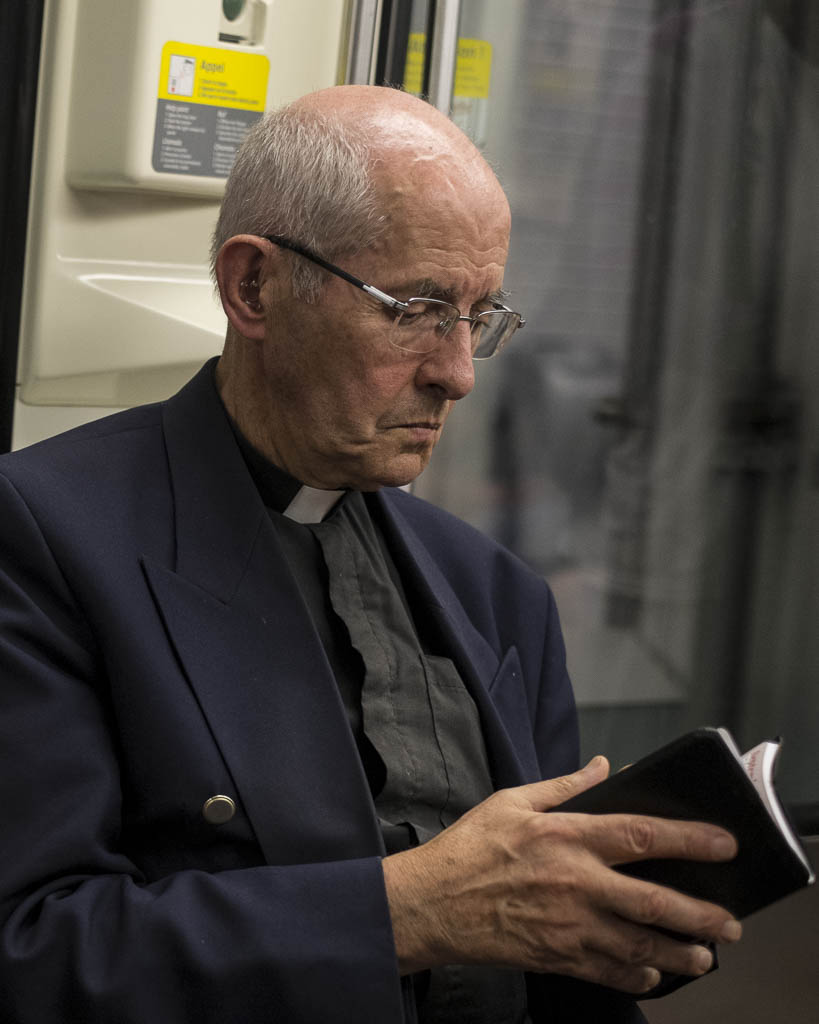
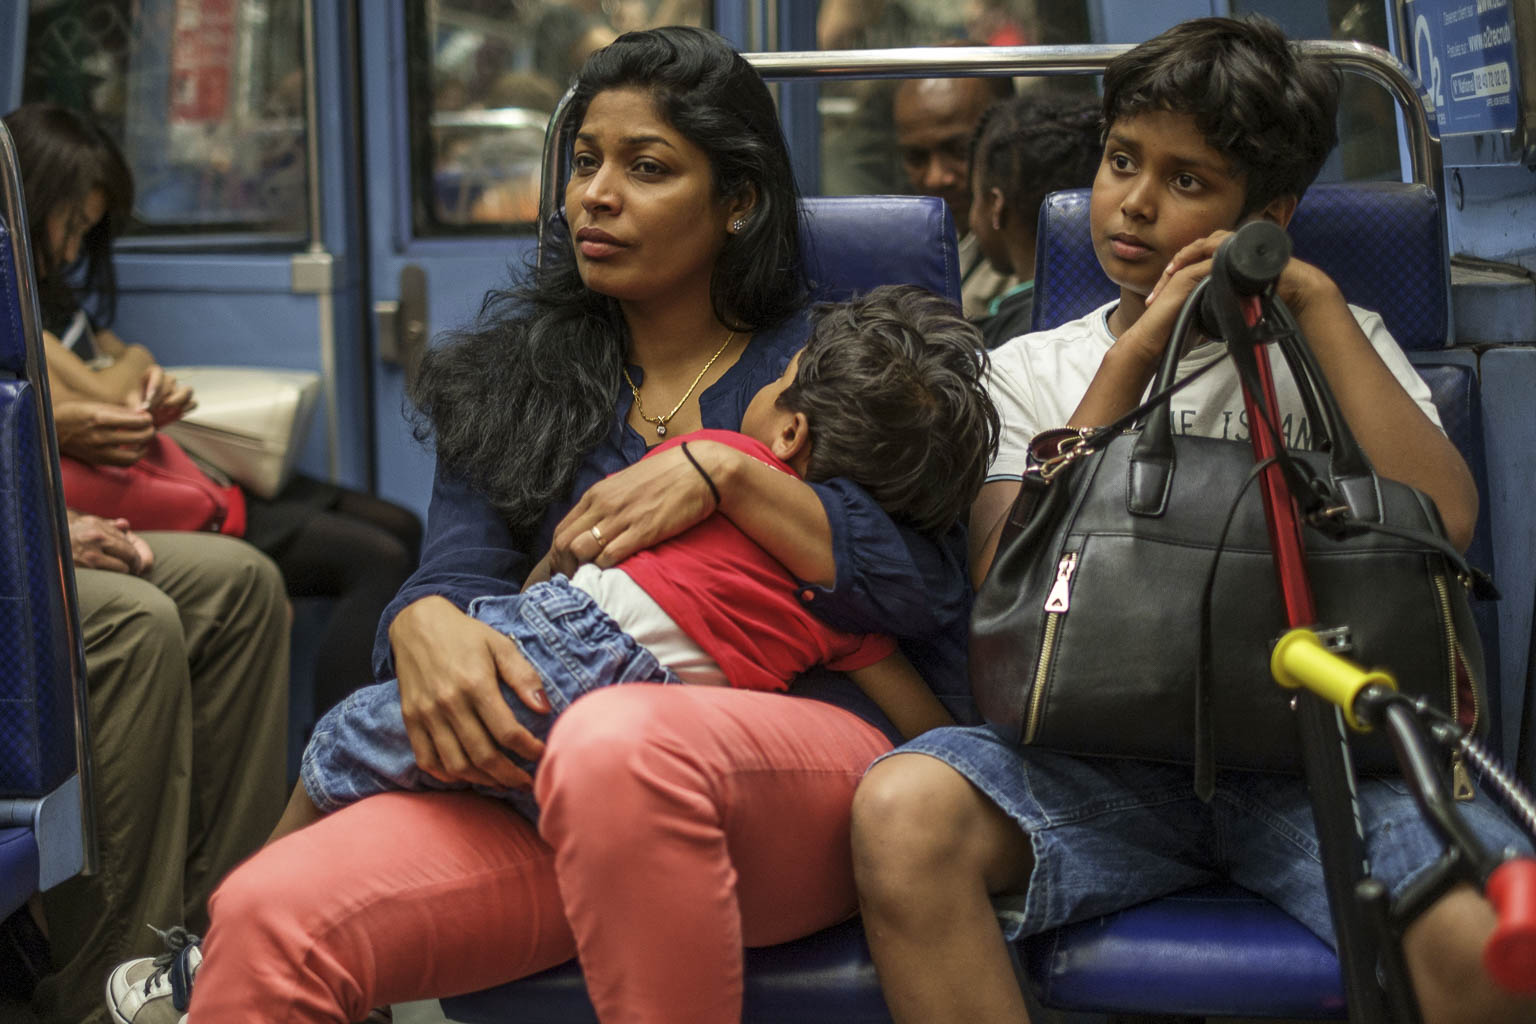
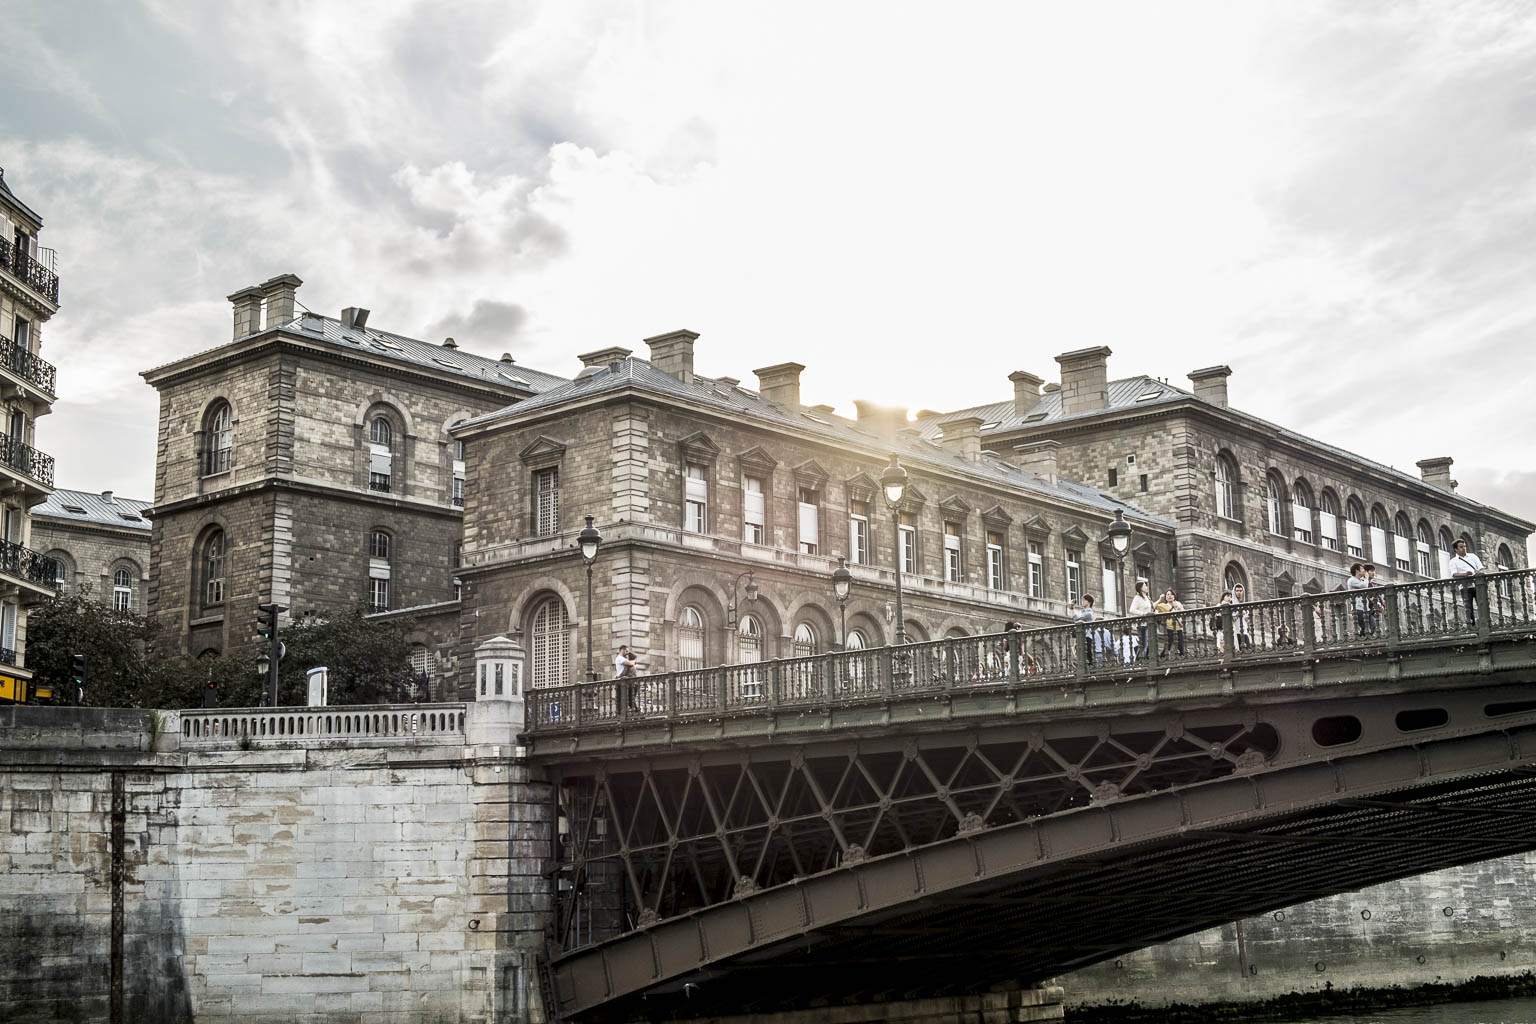
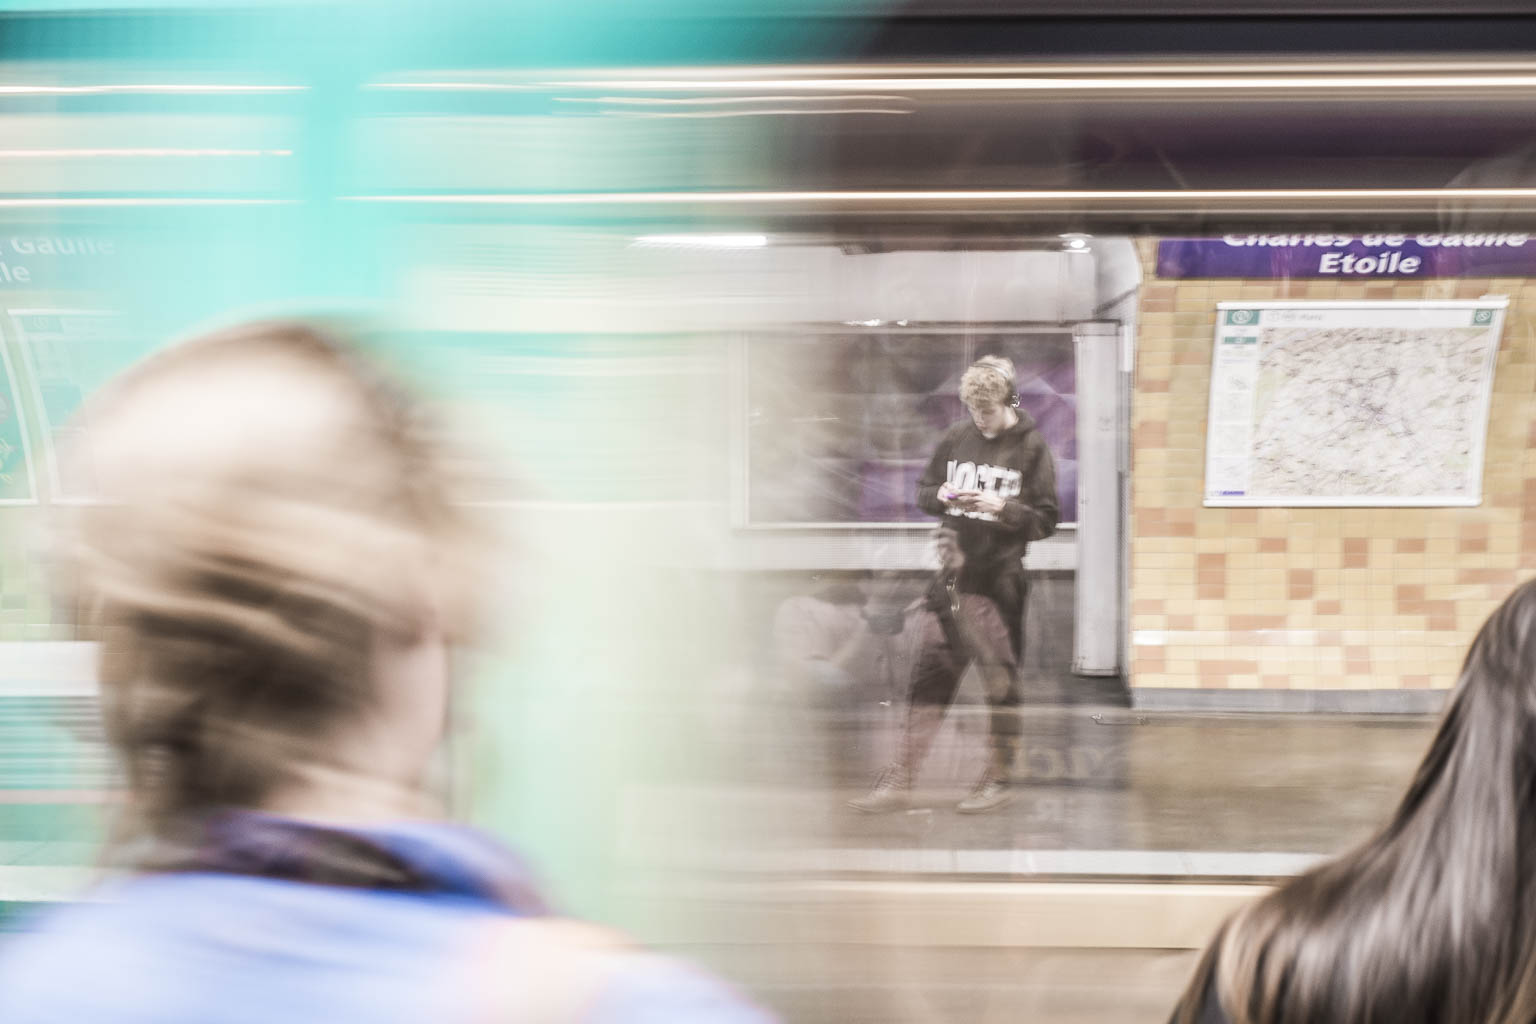
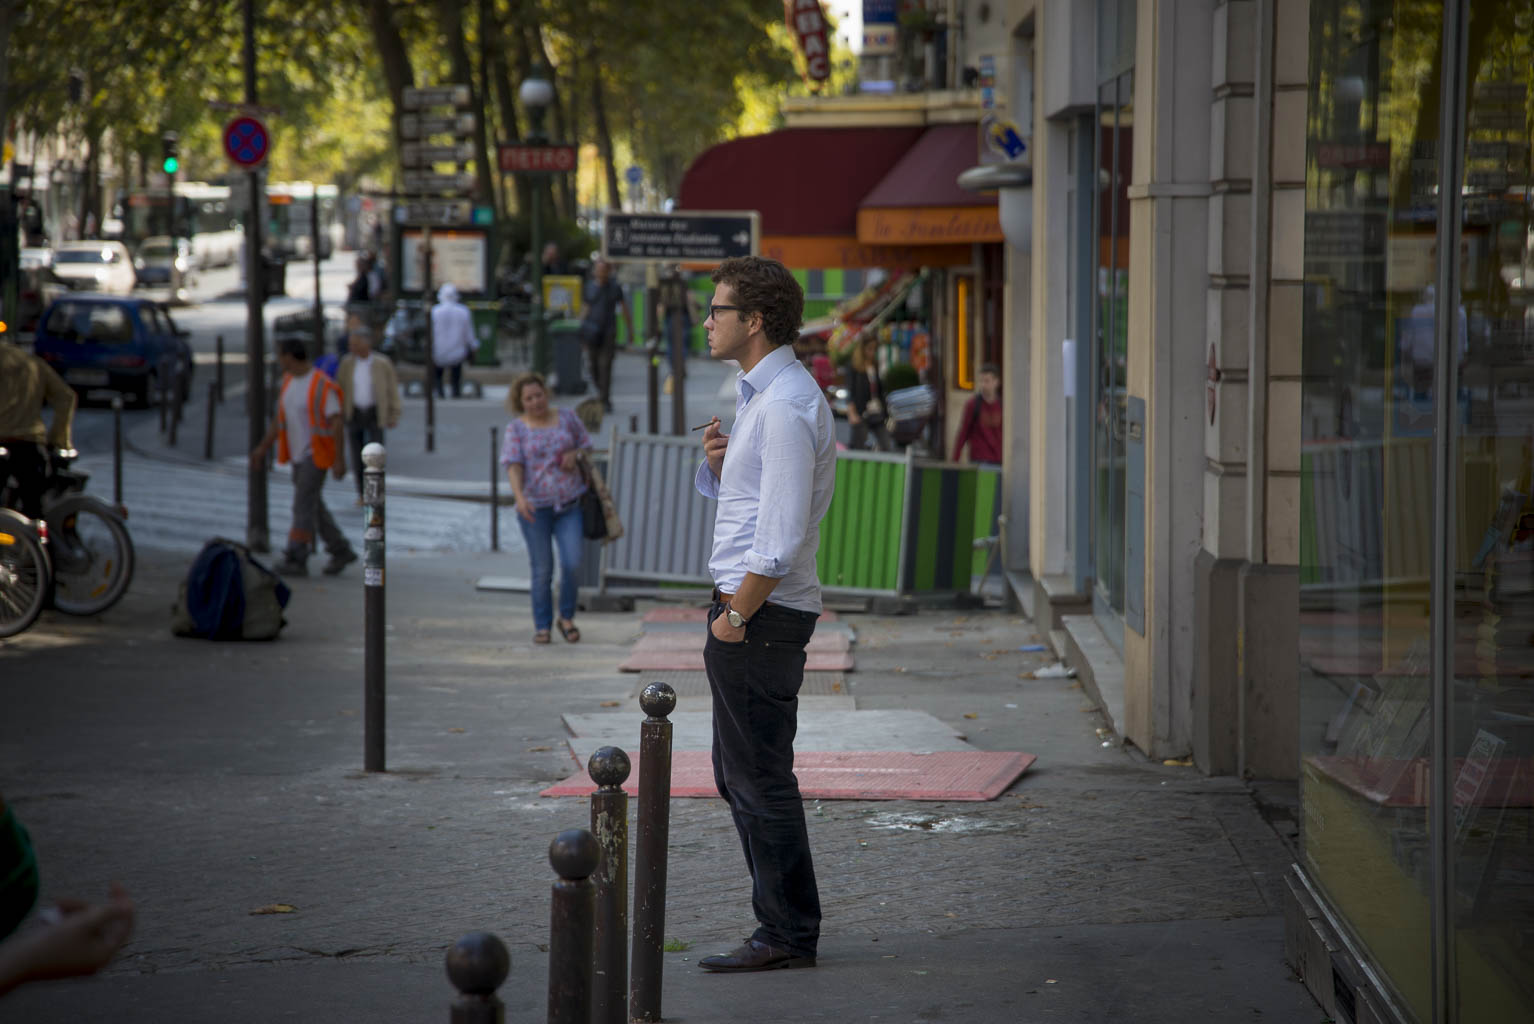
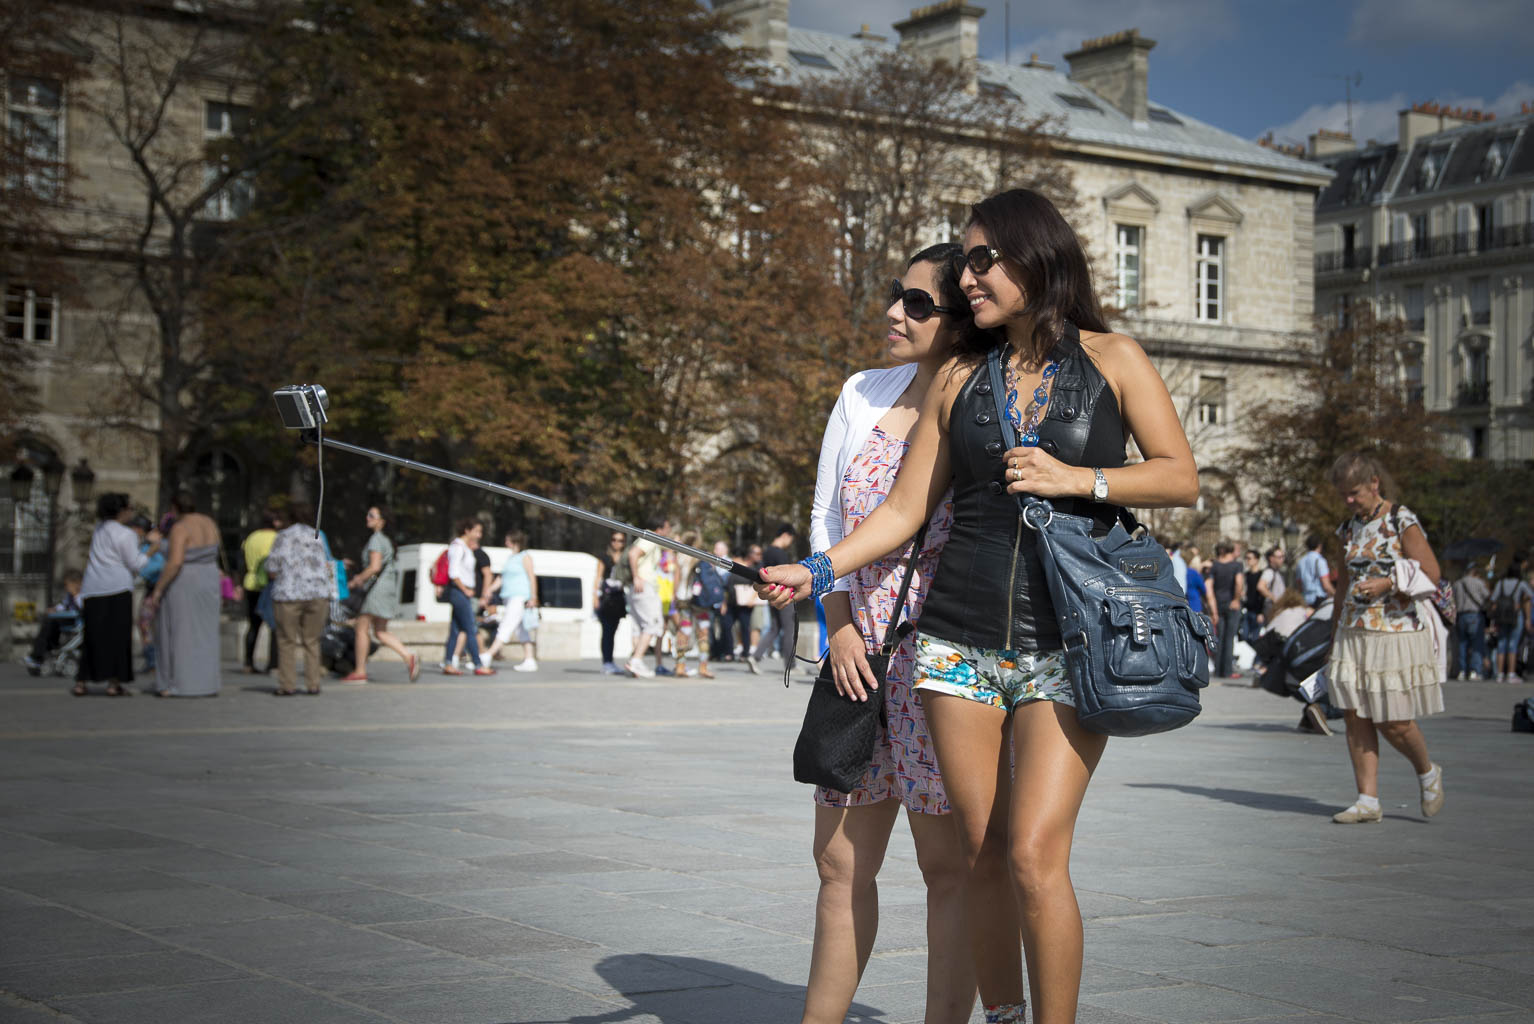
Street Photography: Paris 2014

For a while I had the wish to practise some street photography. For me there are only a few city's to really do this, and number one on the list is Paris. So I went for four days to Paris!
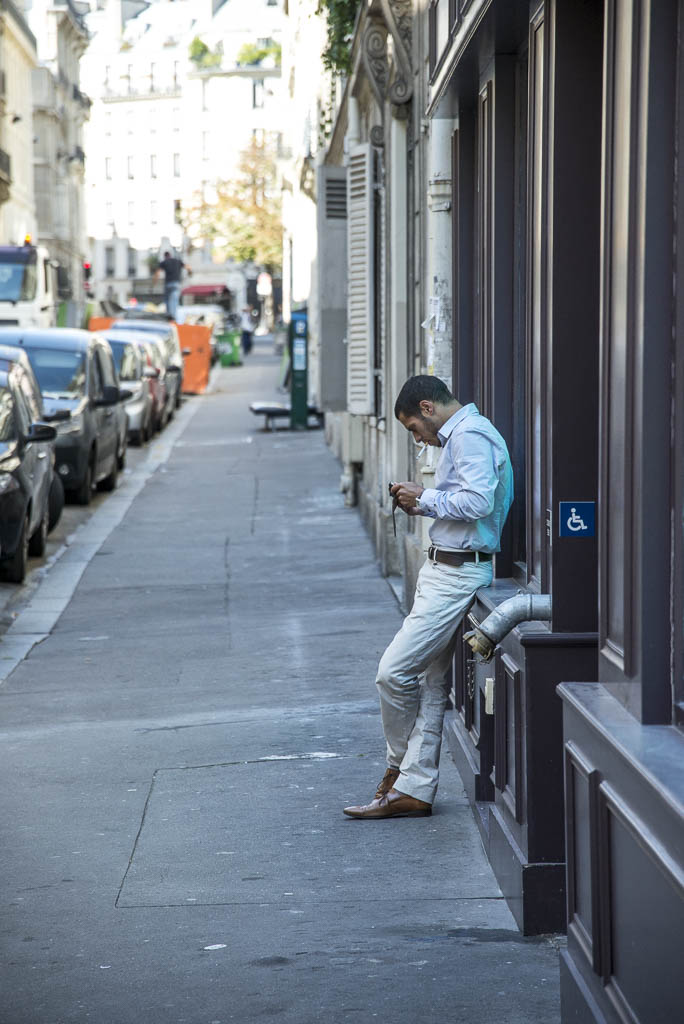
The first day I went on the street with just my Nikon D610 with the Sigma 24-105 f4 lens. For quality this is a great. Something I noticed that a lot of people on the street where smoking.
The standard strap didn't work out to be easy to use. So i went out for the search for a new strap. The street north of the Bastile is a truth photographers heaven. I have never seen so many nice Photography shops together in one street! I soon found a Black Rapid Yeti which let's me combine the Nikon D610 and the Fuji X-Pro1 on both sides of my body.
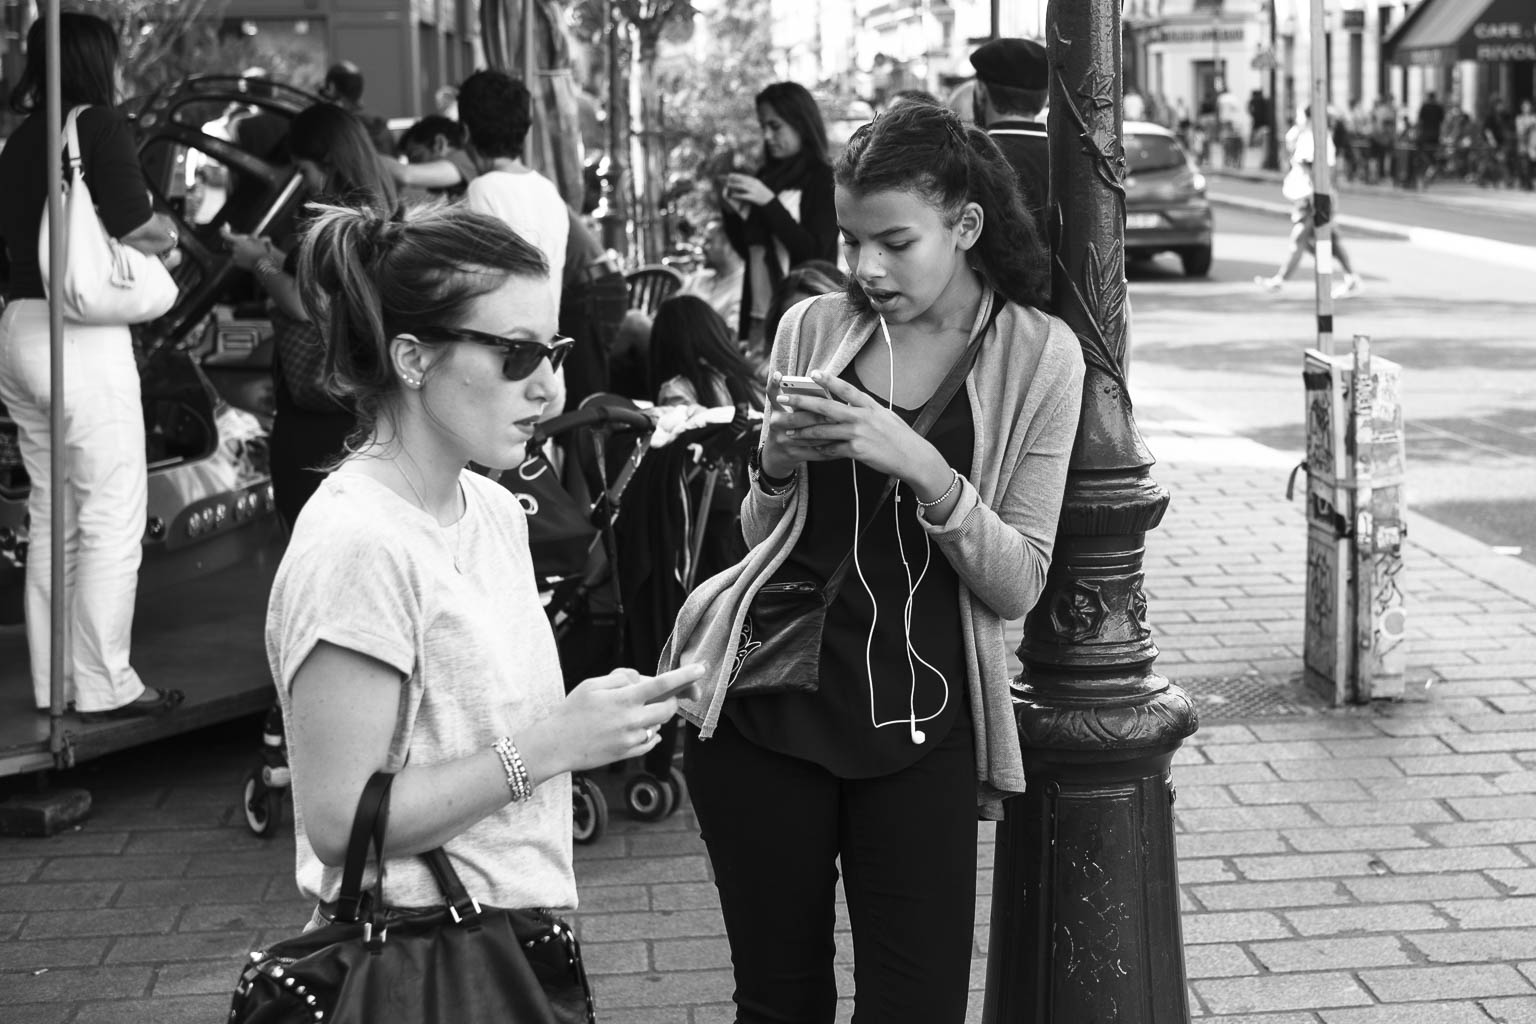
The Second day I went out with the Nikon D610 and the Fuji X-Pro1. Although it is a great combination, after walking a day with it my shoulder got really bad. But the X-Pro1 with the 35mm 1.4 lens is a truth beauty for street photography. It is small and compact and let's you held in So for the thirt day I kept my D610 at home.
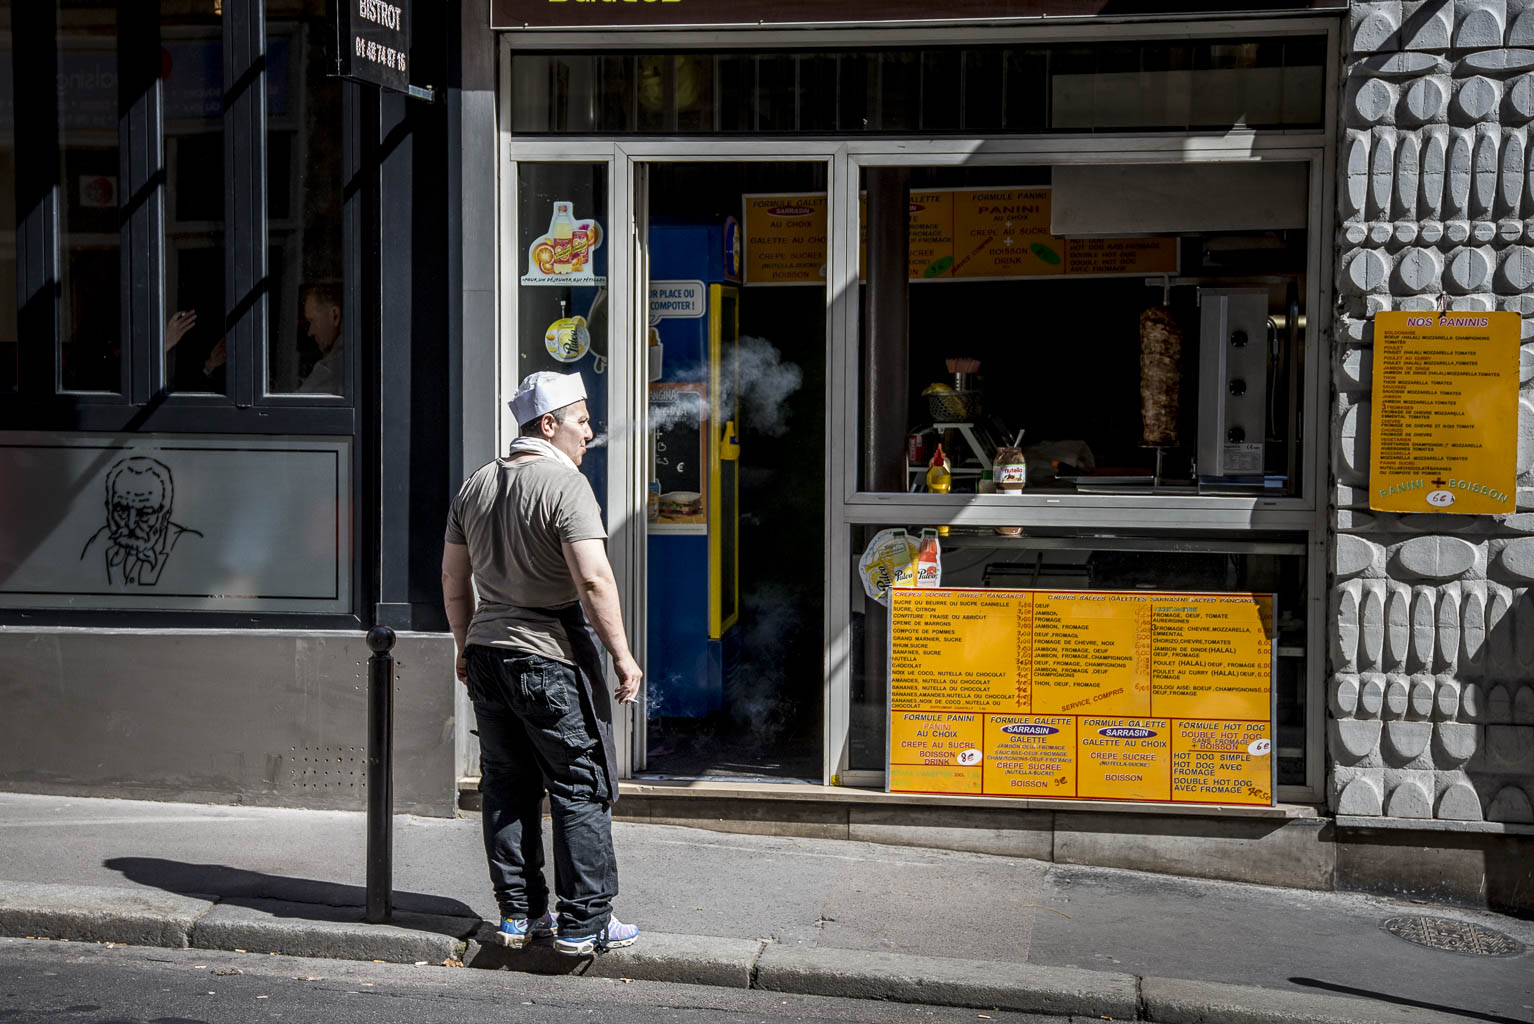
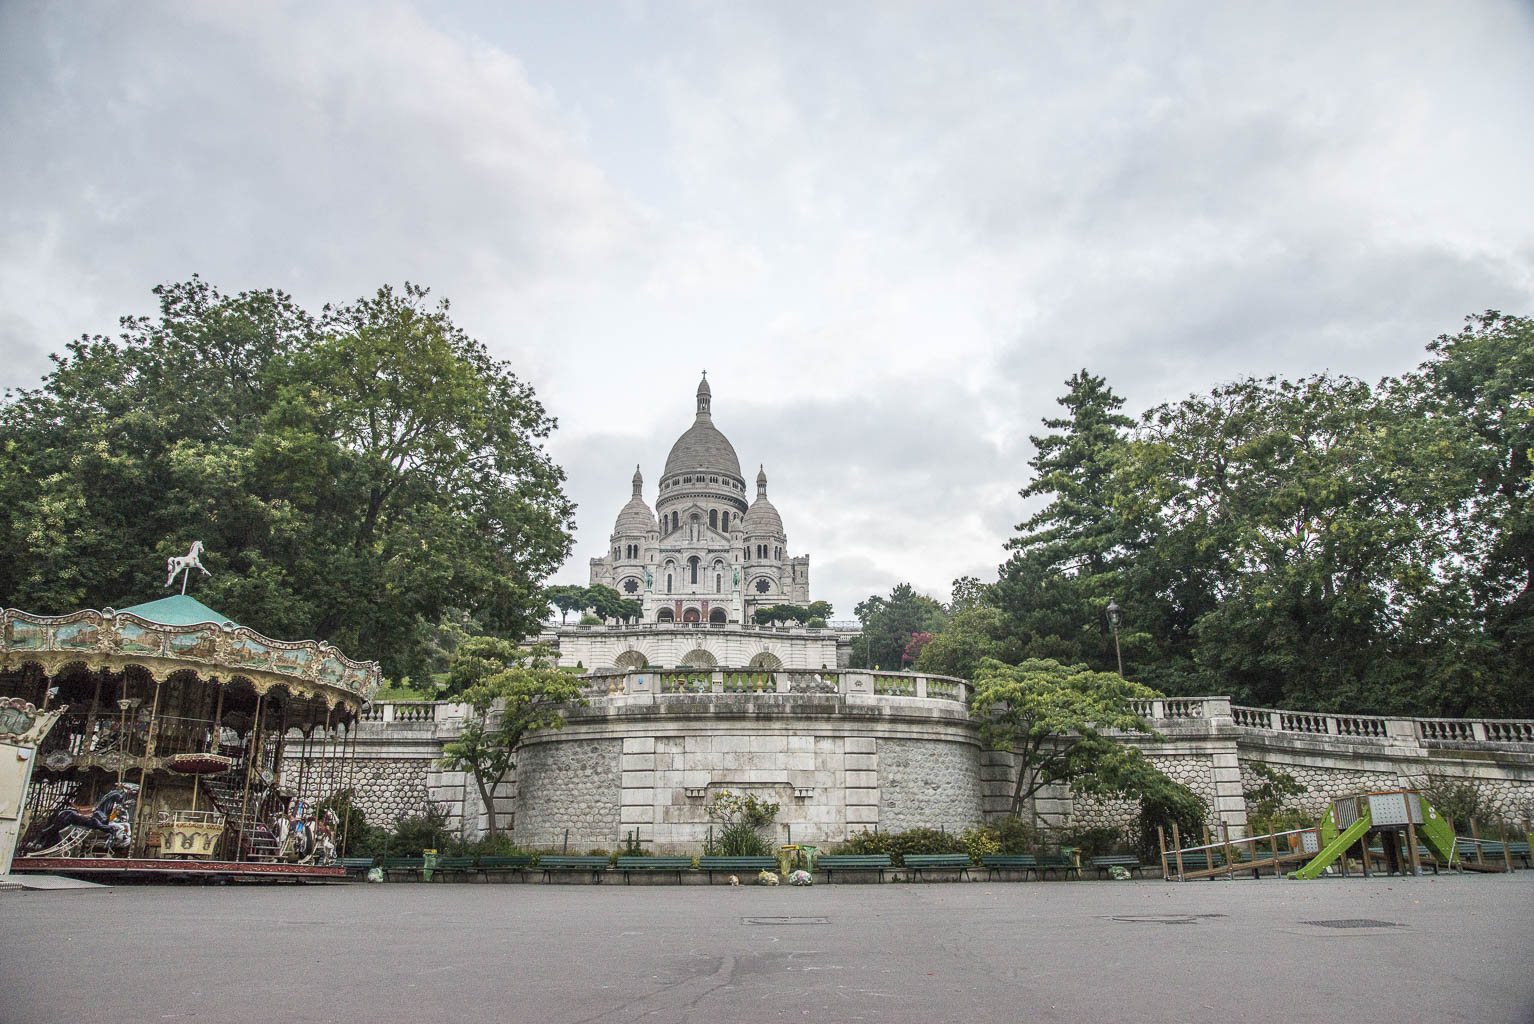
BUT!!! not after waking up at 6.30 to walk up the mountain of the Montmartre to photograph the Sacre Couer without many tourists in front of it. But it appears that when there are no tourists in front of it and there is light, there is a hole army of cleaning people in front of it. But I managed to get one good shot.


After some walking around in the streets with just the X-pro1, we took the boat on the seine. Giving some nice alternative views on Paris.
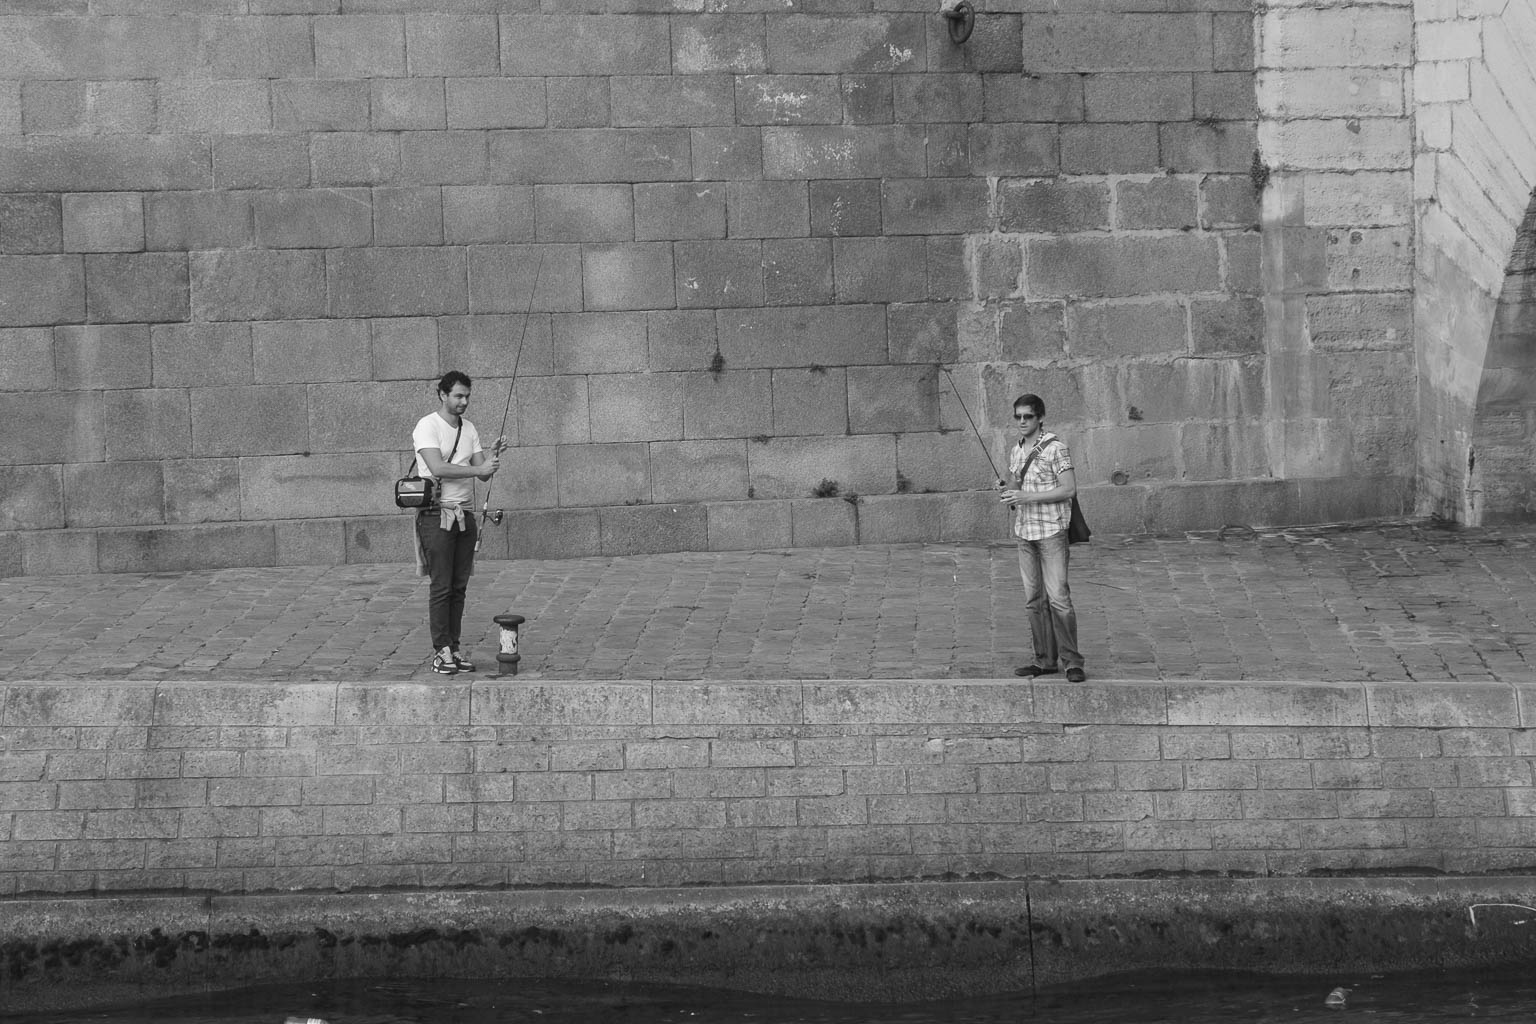
The last day we made our last walk around Paris. Now I was finally getting into getting better street photography shots. I really noticed it takes a lot of practice. Taking you time and slow down is really essentialy for some good street photography. Also find a stage and the players will com (quote from Jay Maisel) really works!
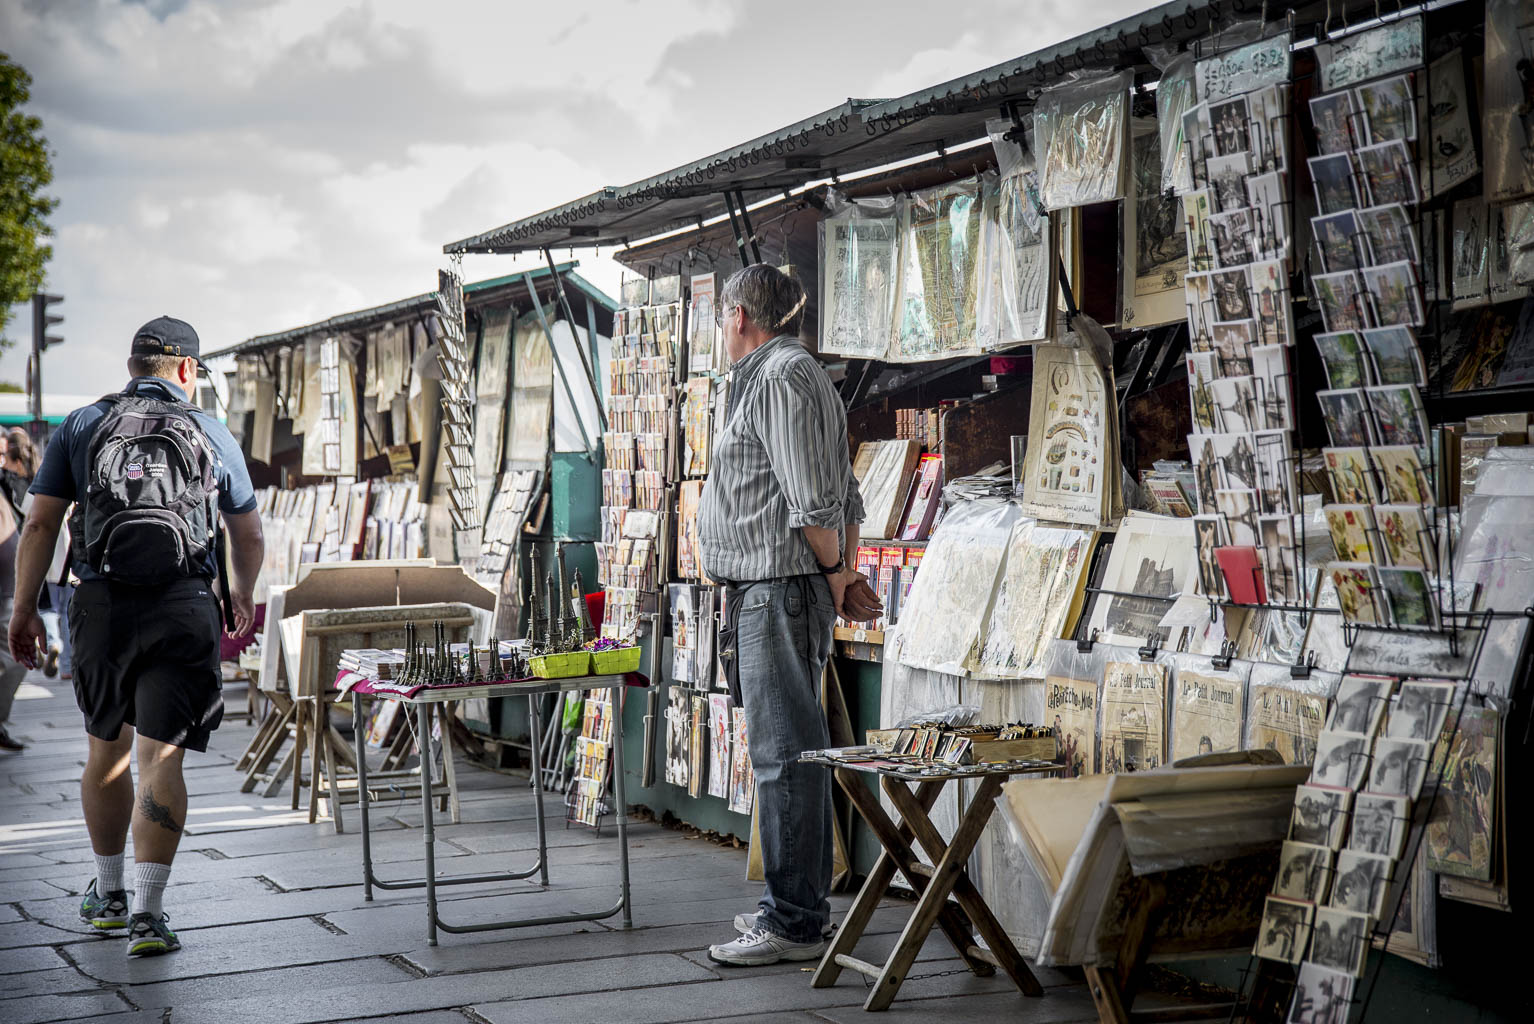

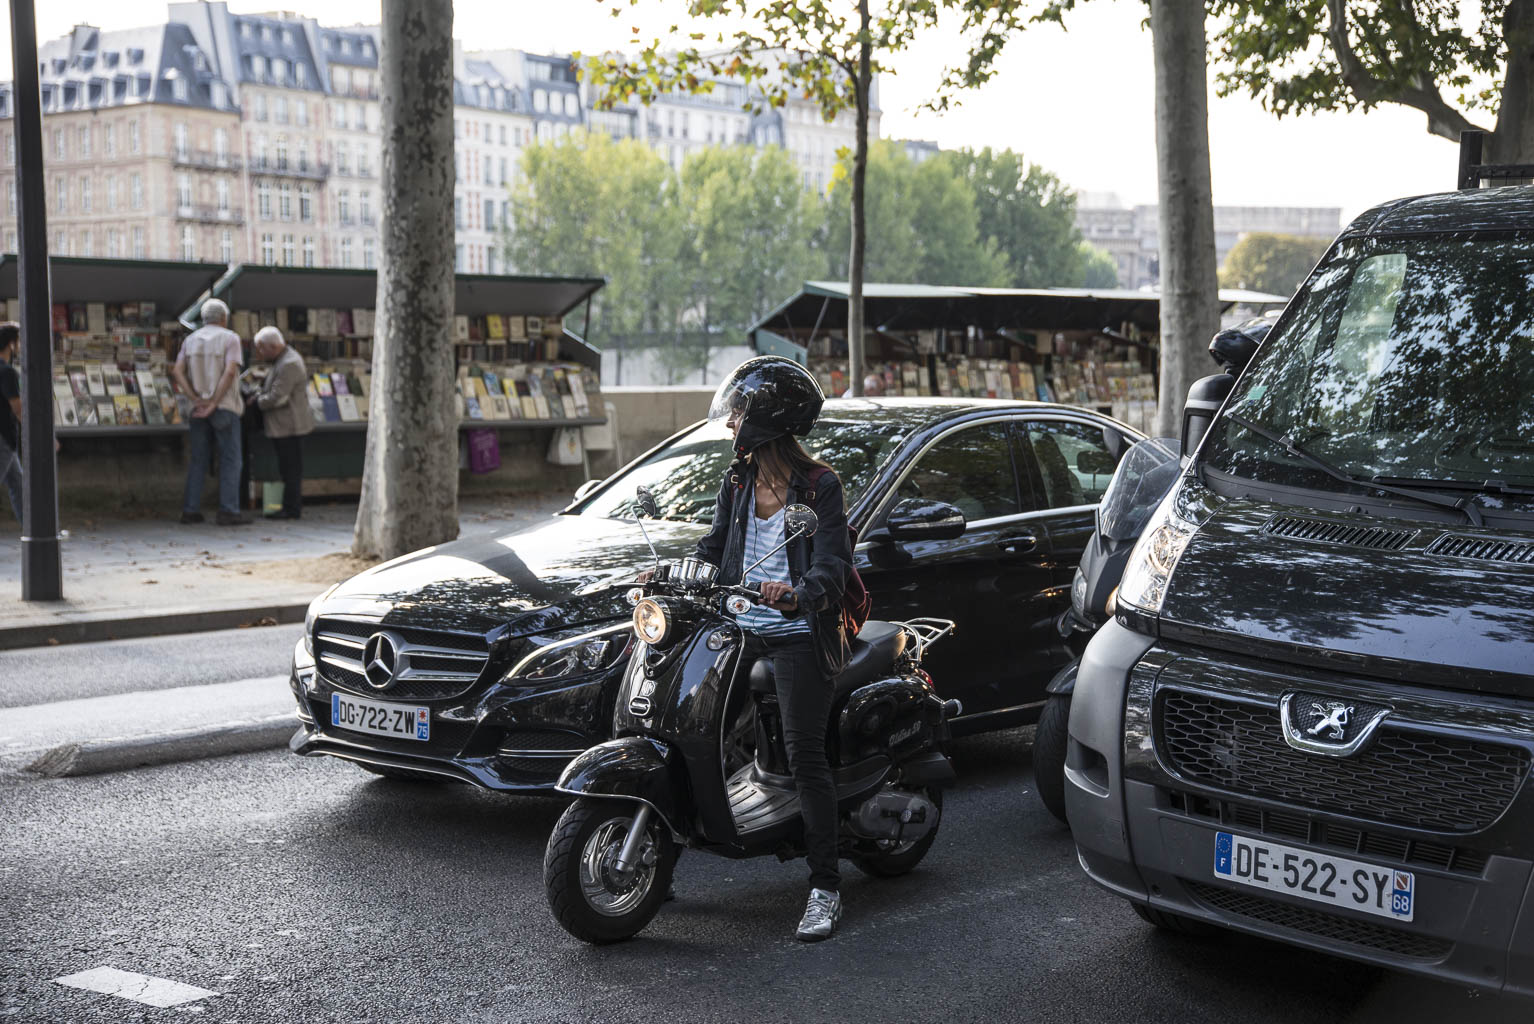

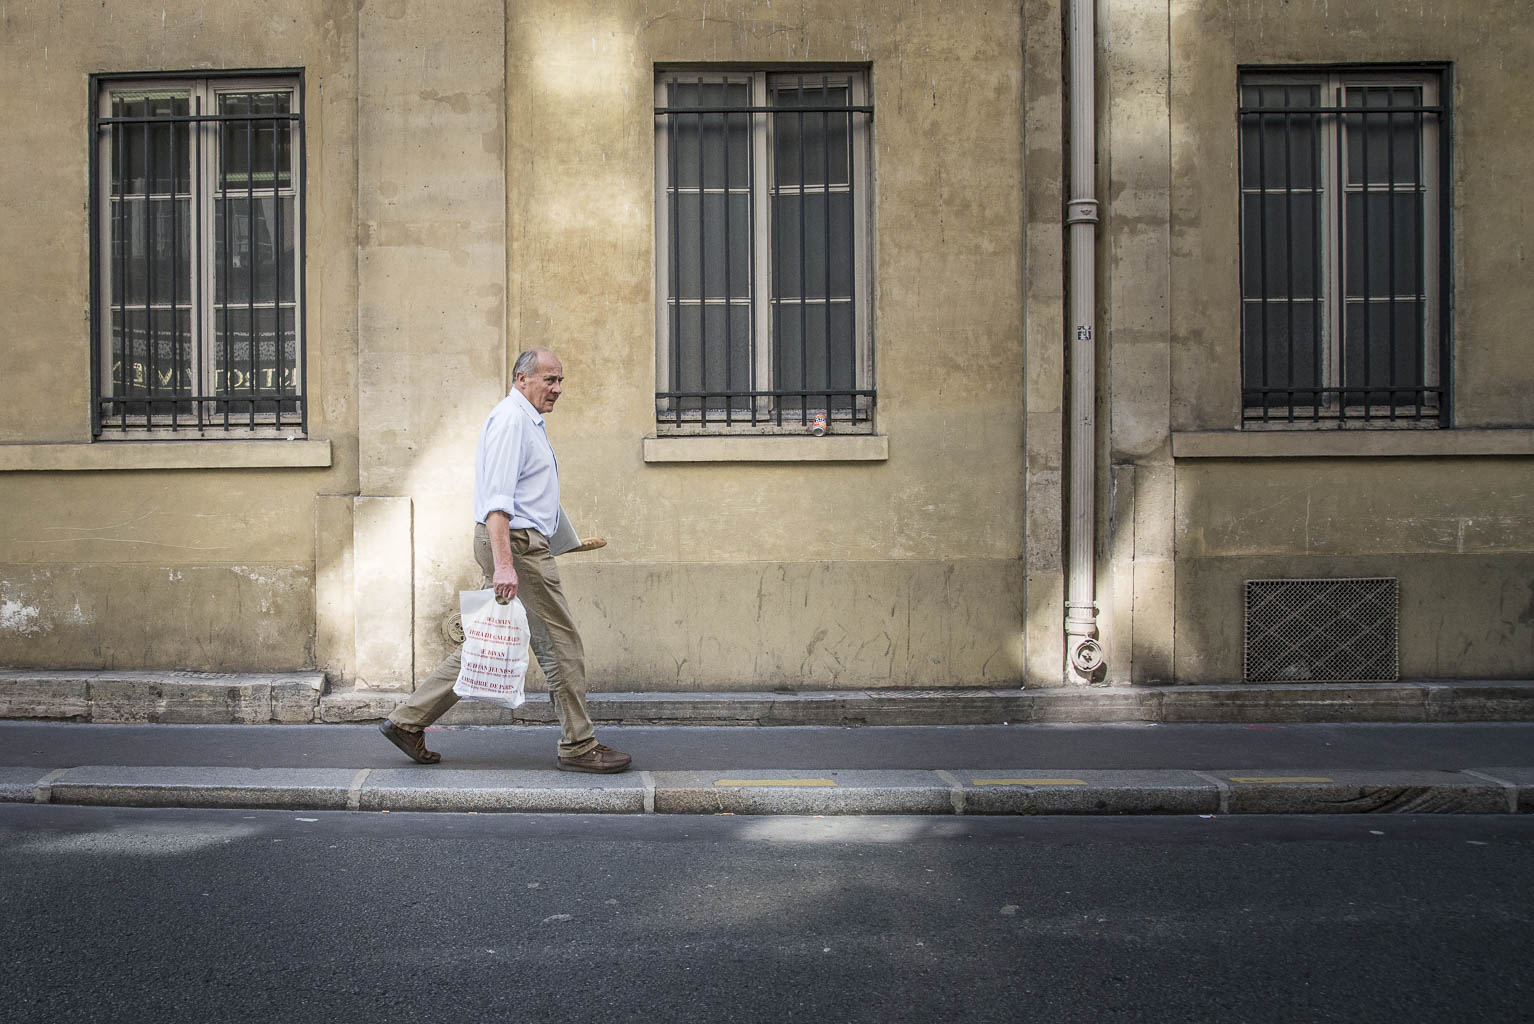
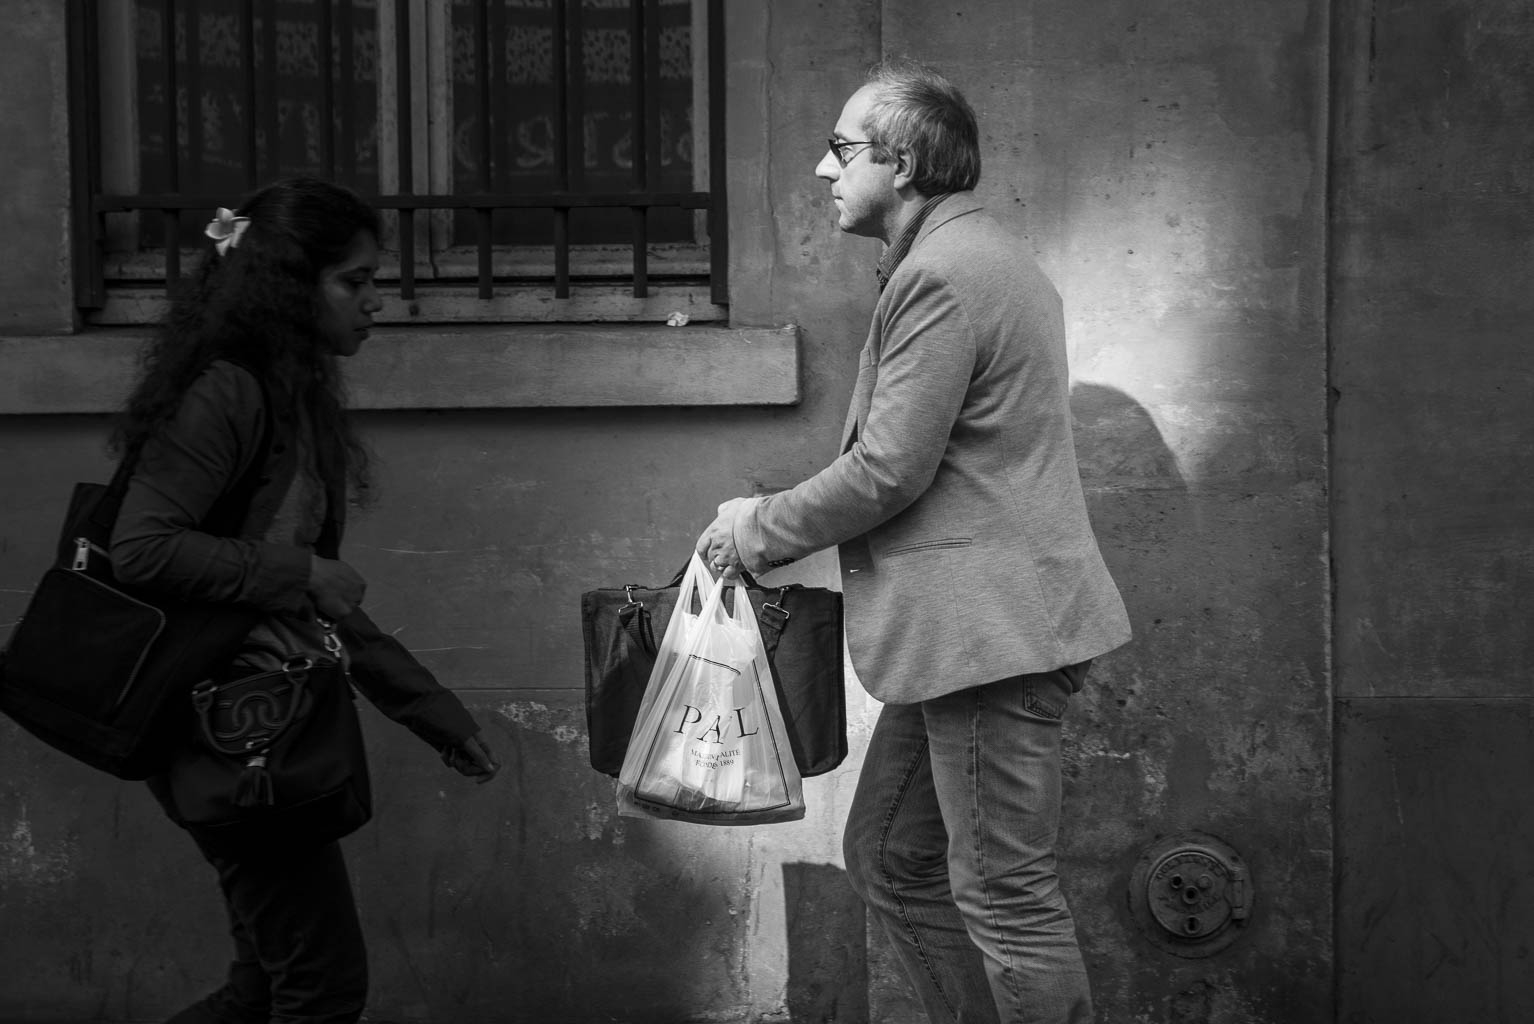
The last stop was at the Norte Dame. This was the place to work on a street photography project I am working on. It is about photographing photographers! Especially tourists!
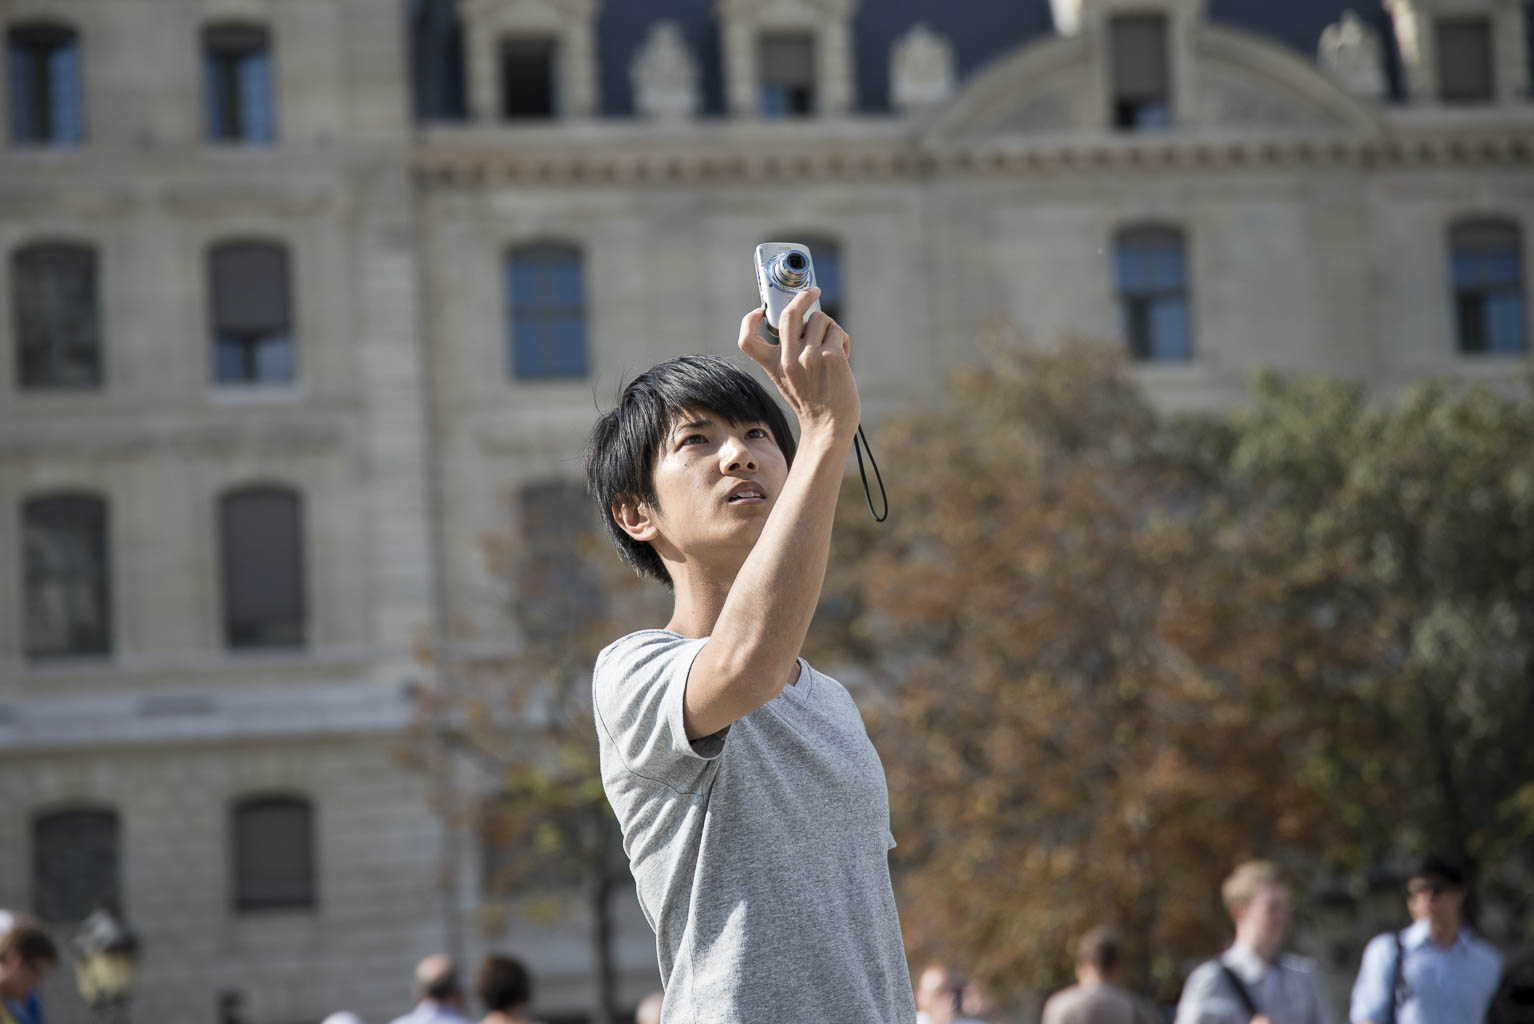
After all it was a great trip and I have learned a lot about street photography. Am I now a street photographer? No! I just got my tose wet. But I can't wait for a next trip to go further and explore it more. I don't now if I will ever be a real street photographer, but I loved ding it.

DANCE PHOTOGRAPHY SESSION PART 4: Two Light Action shot

Welcome to the fourth and last part of the Dance Photography session serie. The first shoot where all one light shots, if you haven't read the you can read them here:
- Dance photography session Part 1: The headshots
- Dance photography session part 2: The group shot on the wall
- Dance photography session part 3: One light actionshot
The Two light set-up
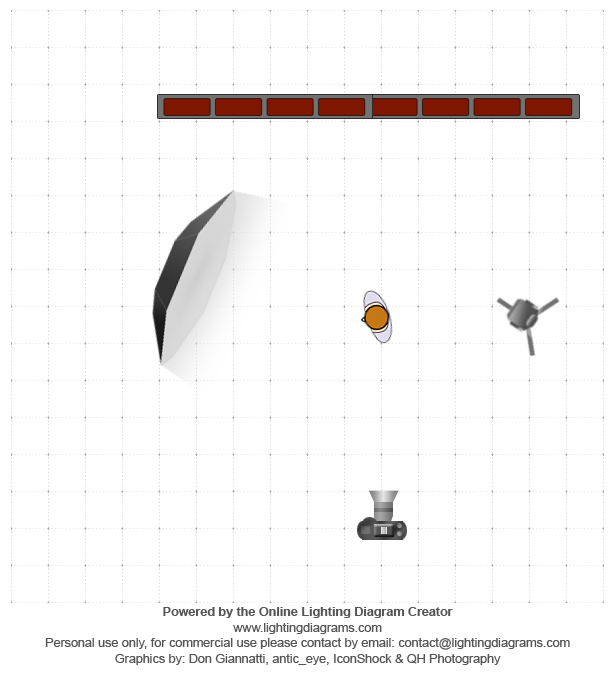
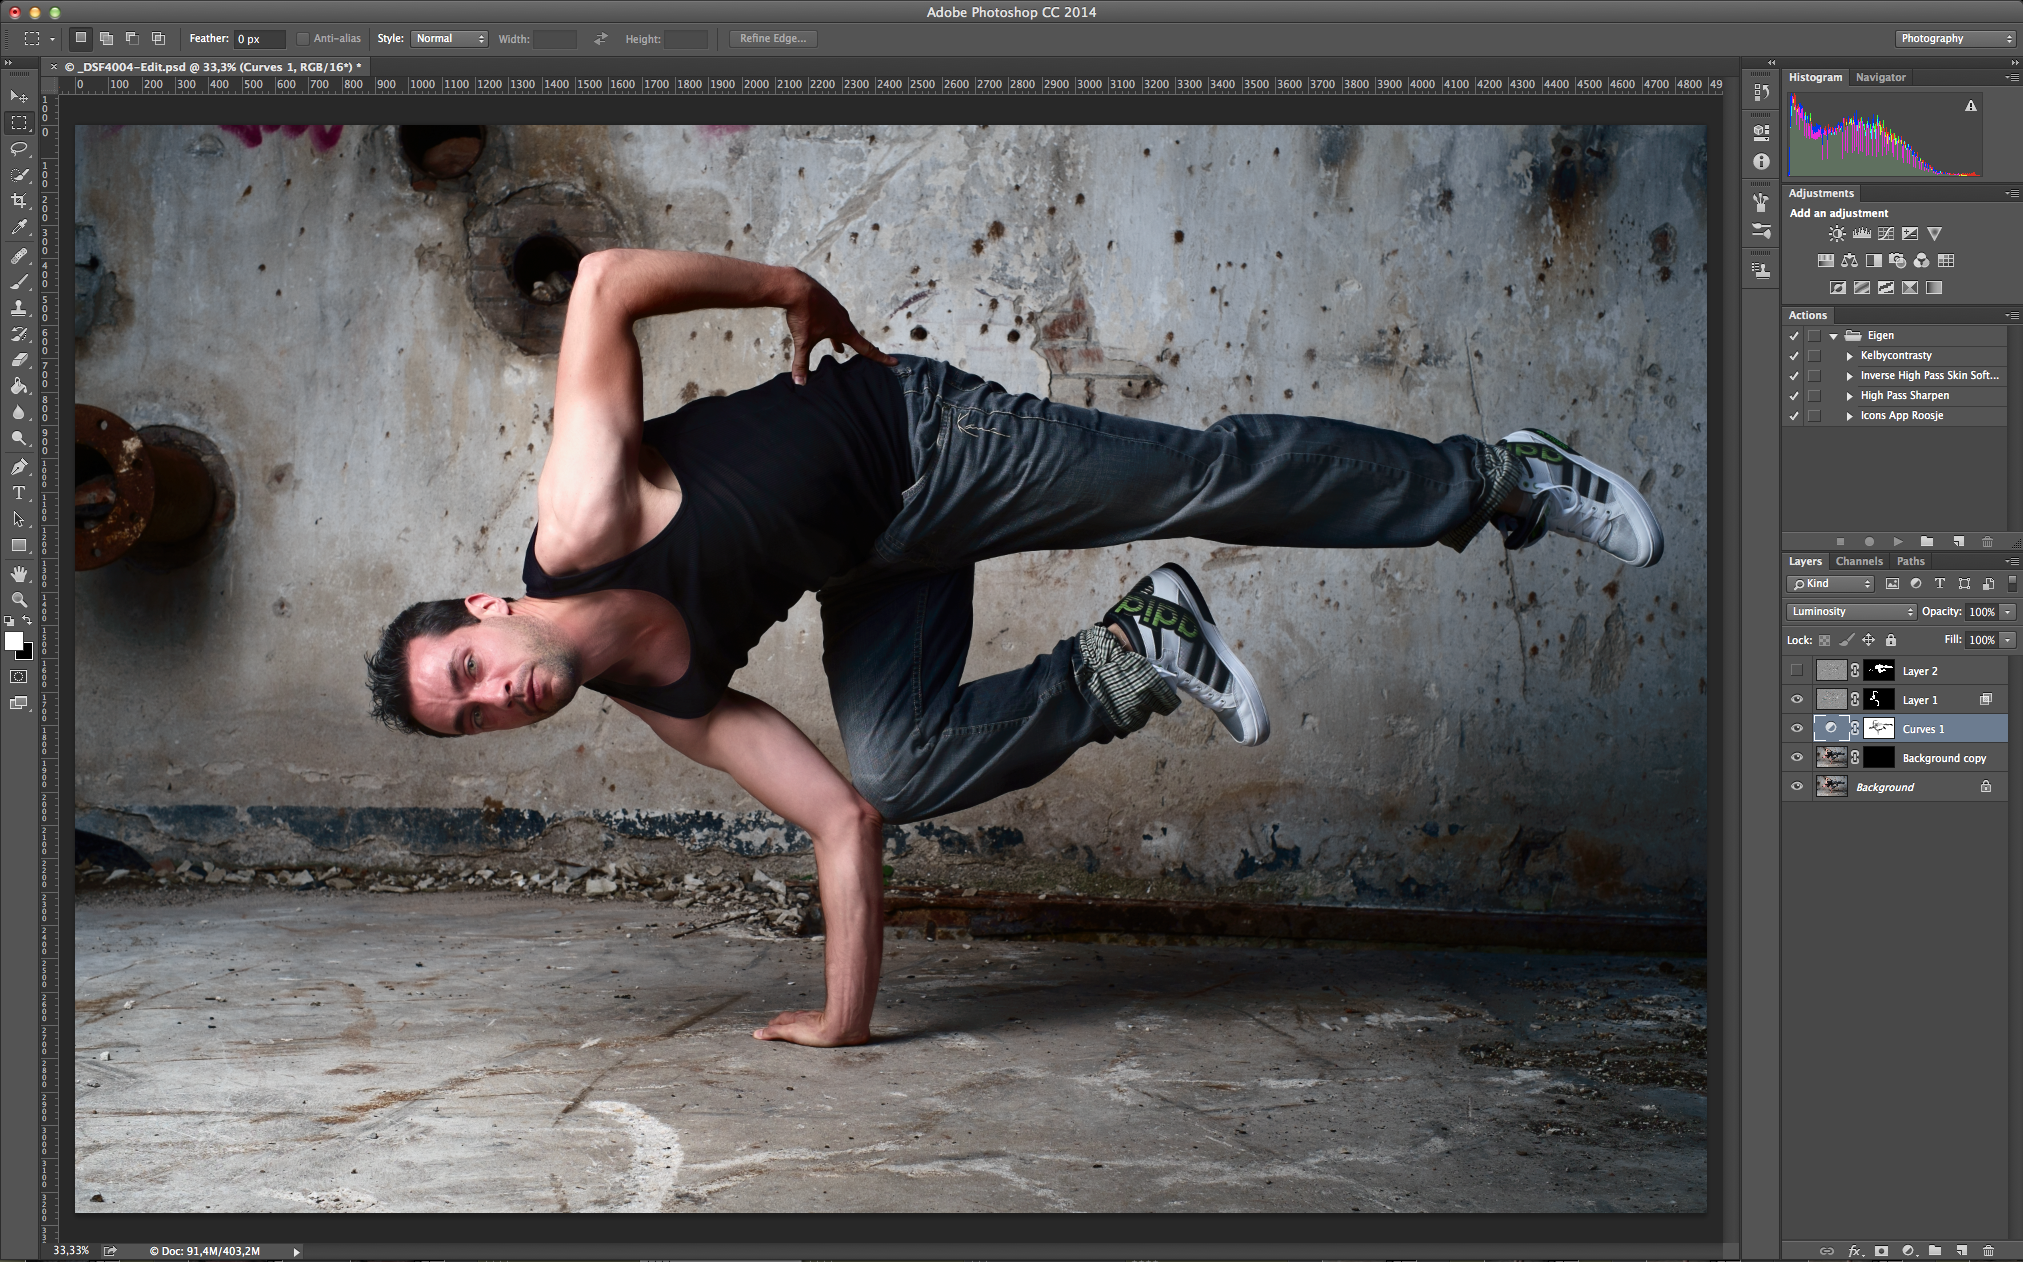
Again I started with one Elinchrom Quadra RX with the A-Head on the B-port with the Elinchrom Rotalux 150 deep indirect octa as a modifier. The reason I used the B-Port was that it has a faster Flash duration to freeze the action better. Also notice in de diagram that the light is slightly behind the subject turned toward the subject away from the wall for a more dramatic look. The downside off this was that the wall was getting really dark and I lost everything of the surroundings. It was getting to dark. So I added a small bare YoungNuo YN-560II speed light on slave mode. It was just of a 1/64 to 1/128 setting. It was just there to give a little push of light on the background.
For the Camera I used the Fuji X-pro1 with the 35mm 1.4 lens. Settings: Iso 100, 1/125 at f5.6. Because of it was getting darker on the evening and the Fuji's aren't the fastest focussing camera's I used a little trick from the old days. I made a focus zone, I positioned somebody between the flashes, focussed on this target in manual focussing mode. After that I asked the dancer to keep the jump in this zone. Remember in the old days sporting photographers used this to get good focus, there was no AF to give the blame if you had out of focus photo's!
In to Post

As you can see in the screen capture the only post processing where a few simple adjustments in Lightroom 5, and I added a vignette using the radial filter.
I Hope you have enjoyed this series about dance photography. If you have any questions please mail me or put a comment down below!

DANCE PHOTOGRAPHY SESSION PART 3: One Light Action shot

This week the next part in the Dance photography series. If you didn't have read the firs two part you can read them here:
- Dance photography session Part 1: The headshots
- Dance photography session part 2: The group shot on the wall
The One-light Set up
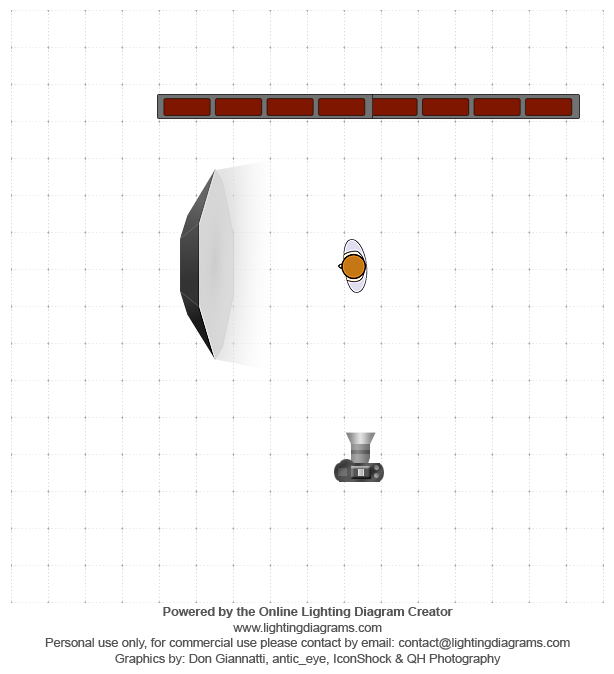
The first shot was lightning wise very simple. I Just used one Elinchrom Quadra RX with the A-Head on the B-port with the Elinchrom Rotalux 150 deep indirect octa as a modifier. The reason I used the B-Port was that it had a faster Flash duration to freeze the action more.
For the Camera I used the Fuji X-pro1 with the 35mm 1.4 lens. Settings: Iso 100, 1/125 at f5.6.
The post Production
For the post production I used a little more Ferry Dusting

The first step I did was the Eyes, Duplication the Layer, set the blend mode to screen and add a black Layer mask. Then use the white paintbrush and paint it on the irises. Then use the opacity to pull it down so you won't get scary bright eyes!
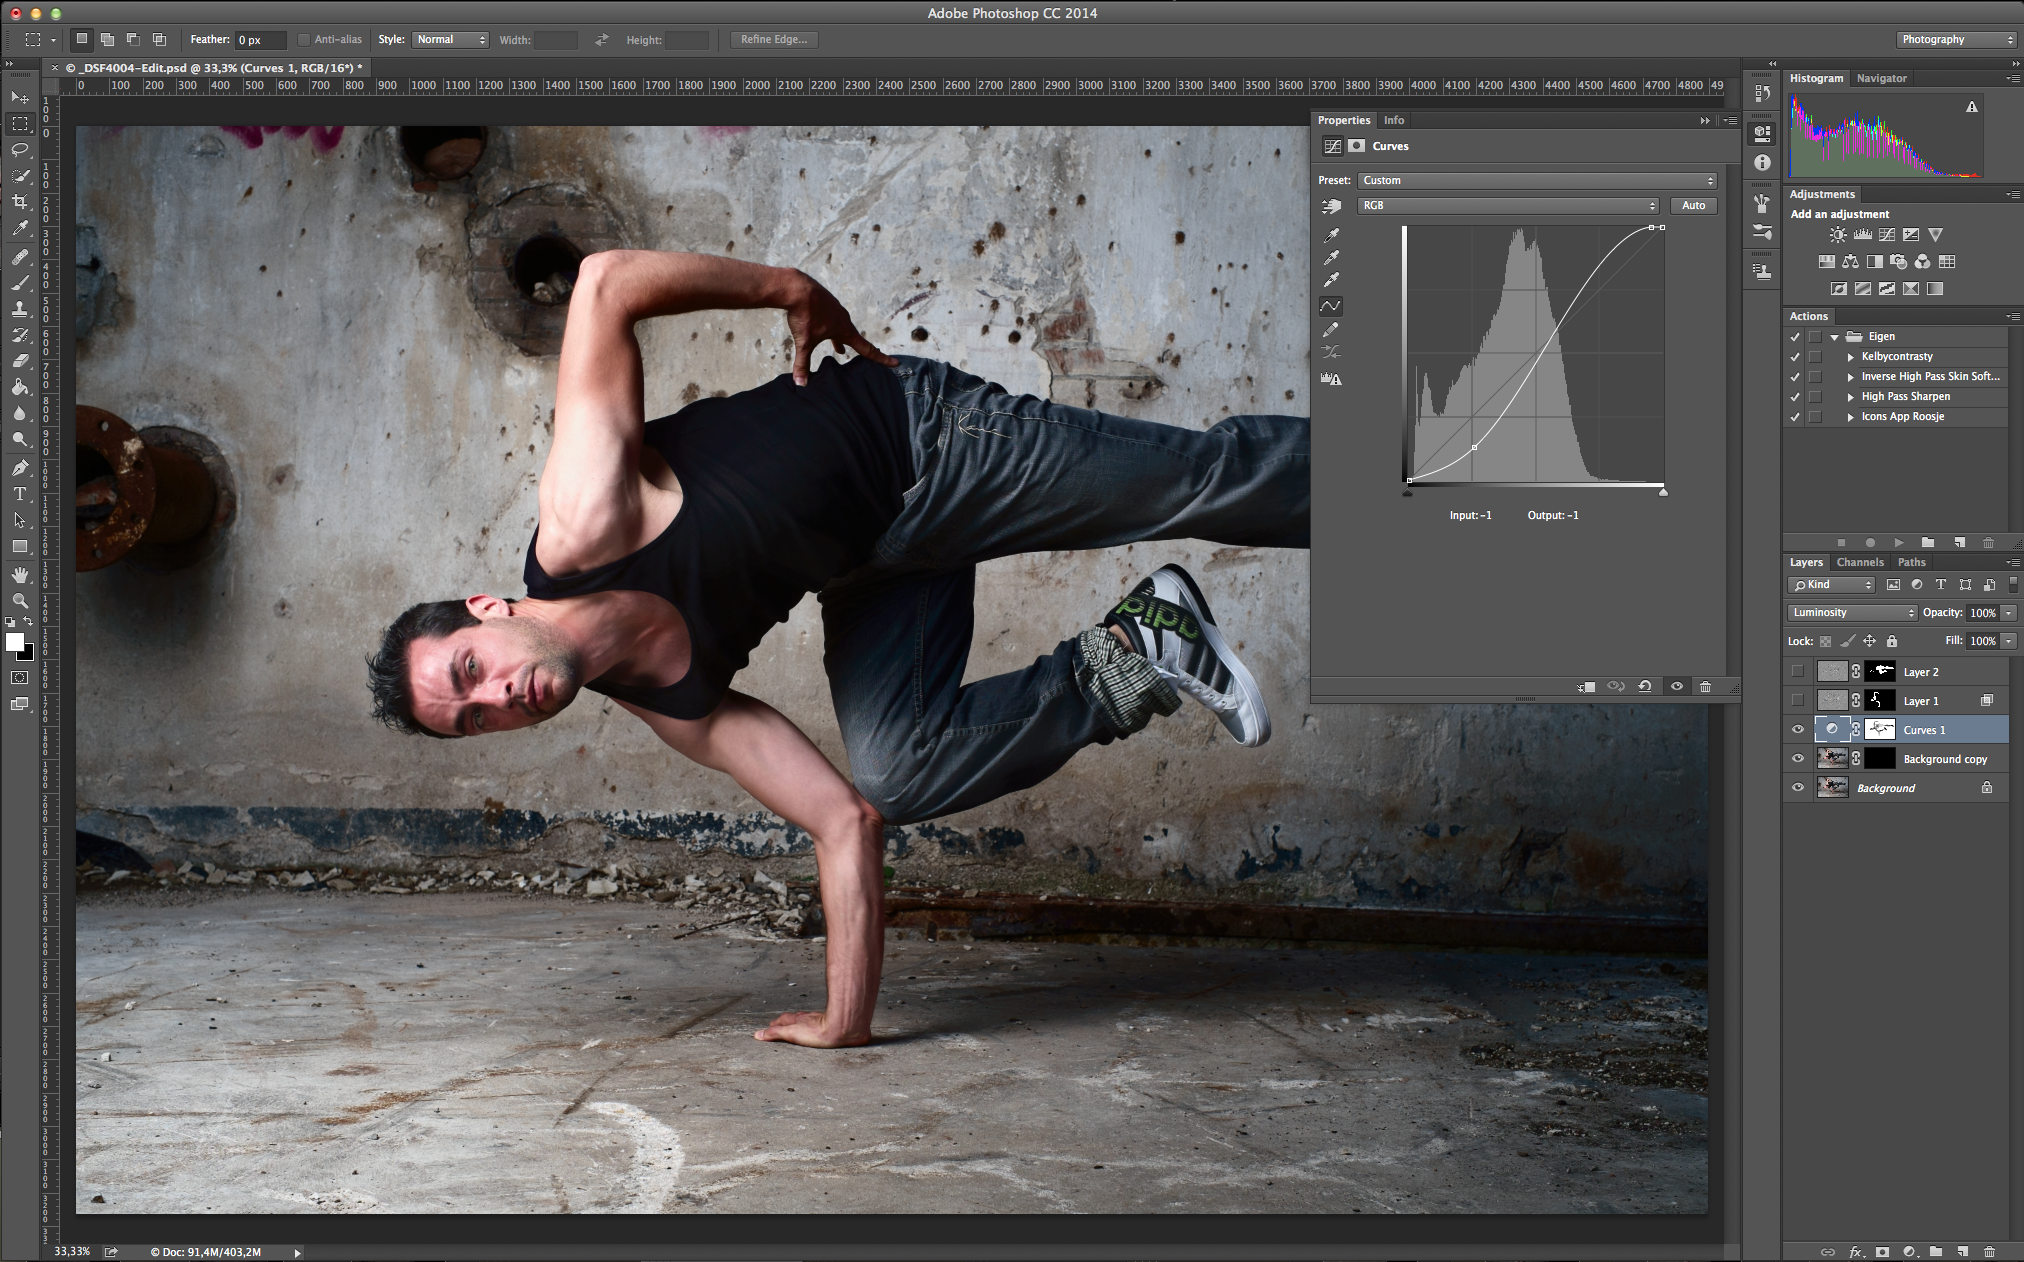
The next step is painting in the light. This is a technique I learned from Dutch commercial photographer and Hasselblad master Hans van Ommeren. It starts with darken the pictures. To do this a little more controlled I used the curves. Hans normally uses the Levels adjustment layer. After you darkened the whole picture use a layer mask and use a brush on an opacity/flow of 20/20. Then paint back the light on the places you want it. This gives a really nice and moody look. Also it really helps you focusing on the subject.
The net step is smoothing the skin out a little bit. I just used the Inverse High pass skin technique for this.

To finish it I used a little bit of high pass sharpening with a soft light blend mode painted in on the places I wanted it.

Last workshop for this Year

Due my busy schedule the last workshop this year will be on October 1 at Fotoflits this year. If you want to enroll for the workshop click here. In this workshop you will learn how to get the most out of your flash light. If you do portraits of more action work, you can do more than you think!

DANCE PHOTOGRAPHY SESSION PART 2: The group shot on the wall

Hi and welcome to the second part of the Dance photography session. This serie is about a commercial dance photography shoot I did for Djenz Factory. If you didn't have read the first part about the Headshot, click here and read about it: DANCE PHOTOGRAPHY SESSION PART 1: THE HEADSHOTS.
The set-up
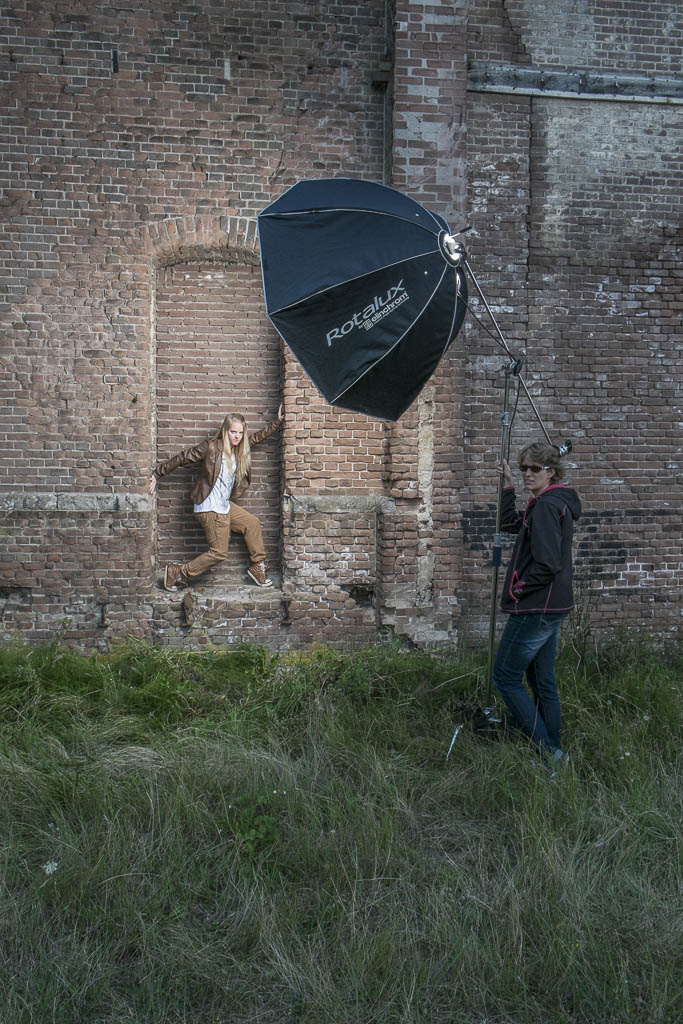
As you can see in the test production photo the whole set-up was just one light! The Elinchrom Rander RX Quadra, with an A-head in the A-port for the biggest blast of light. Everything was mounted on a C-Stand with three sandbags and my assistent holding it. It went up for the maximum height, and I didn't want to take any risk of it tipping over. The camera was the X-Pro1(ISO:200, 1/125th, f8) with the Fujinon 18-55 2.8 - 4 lens at 18mm.
Post-production
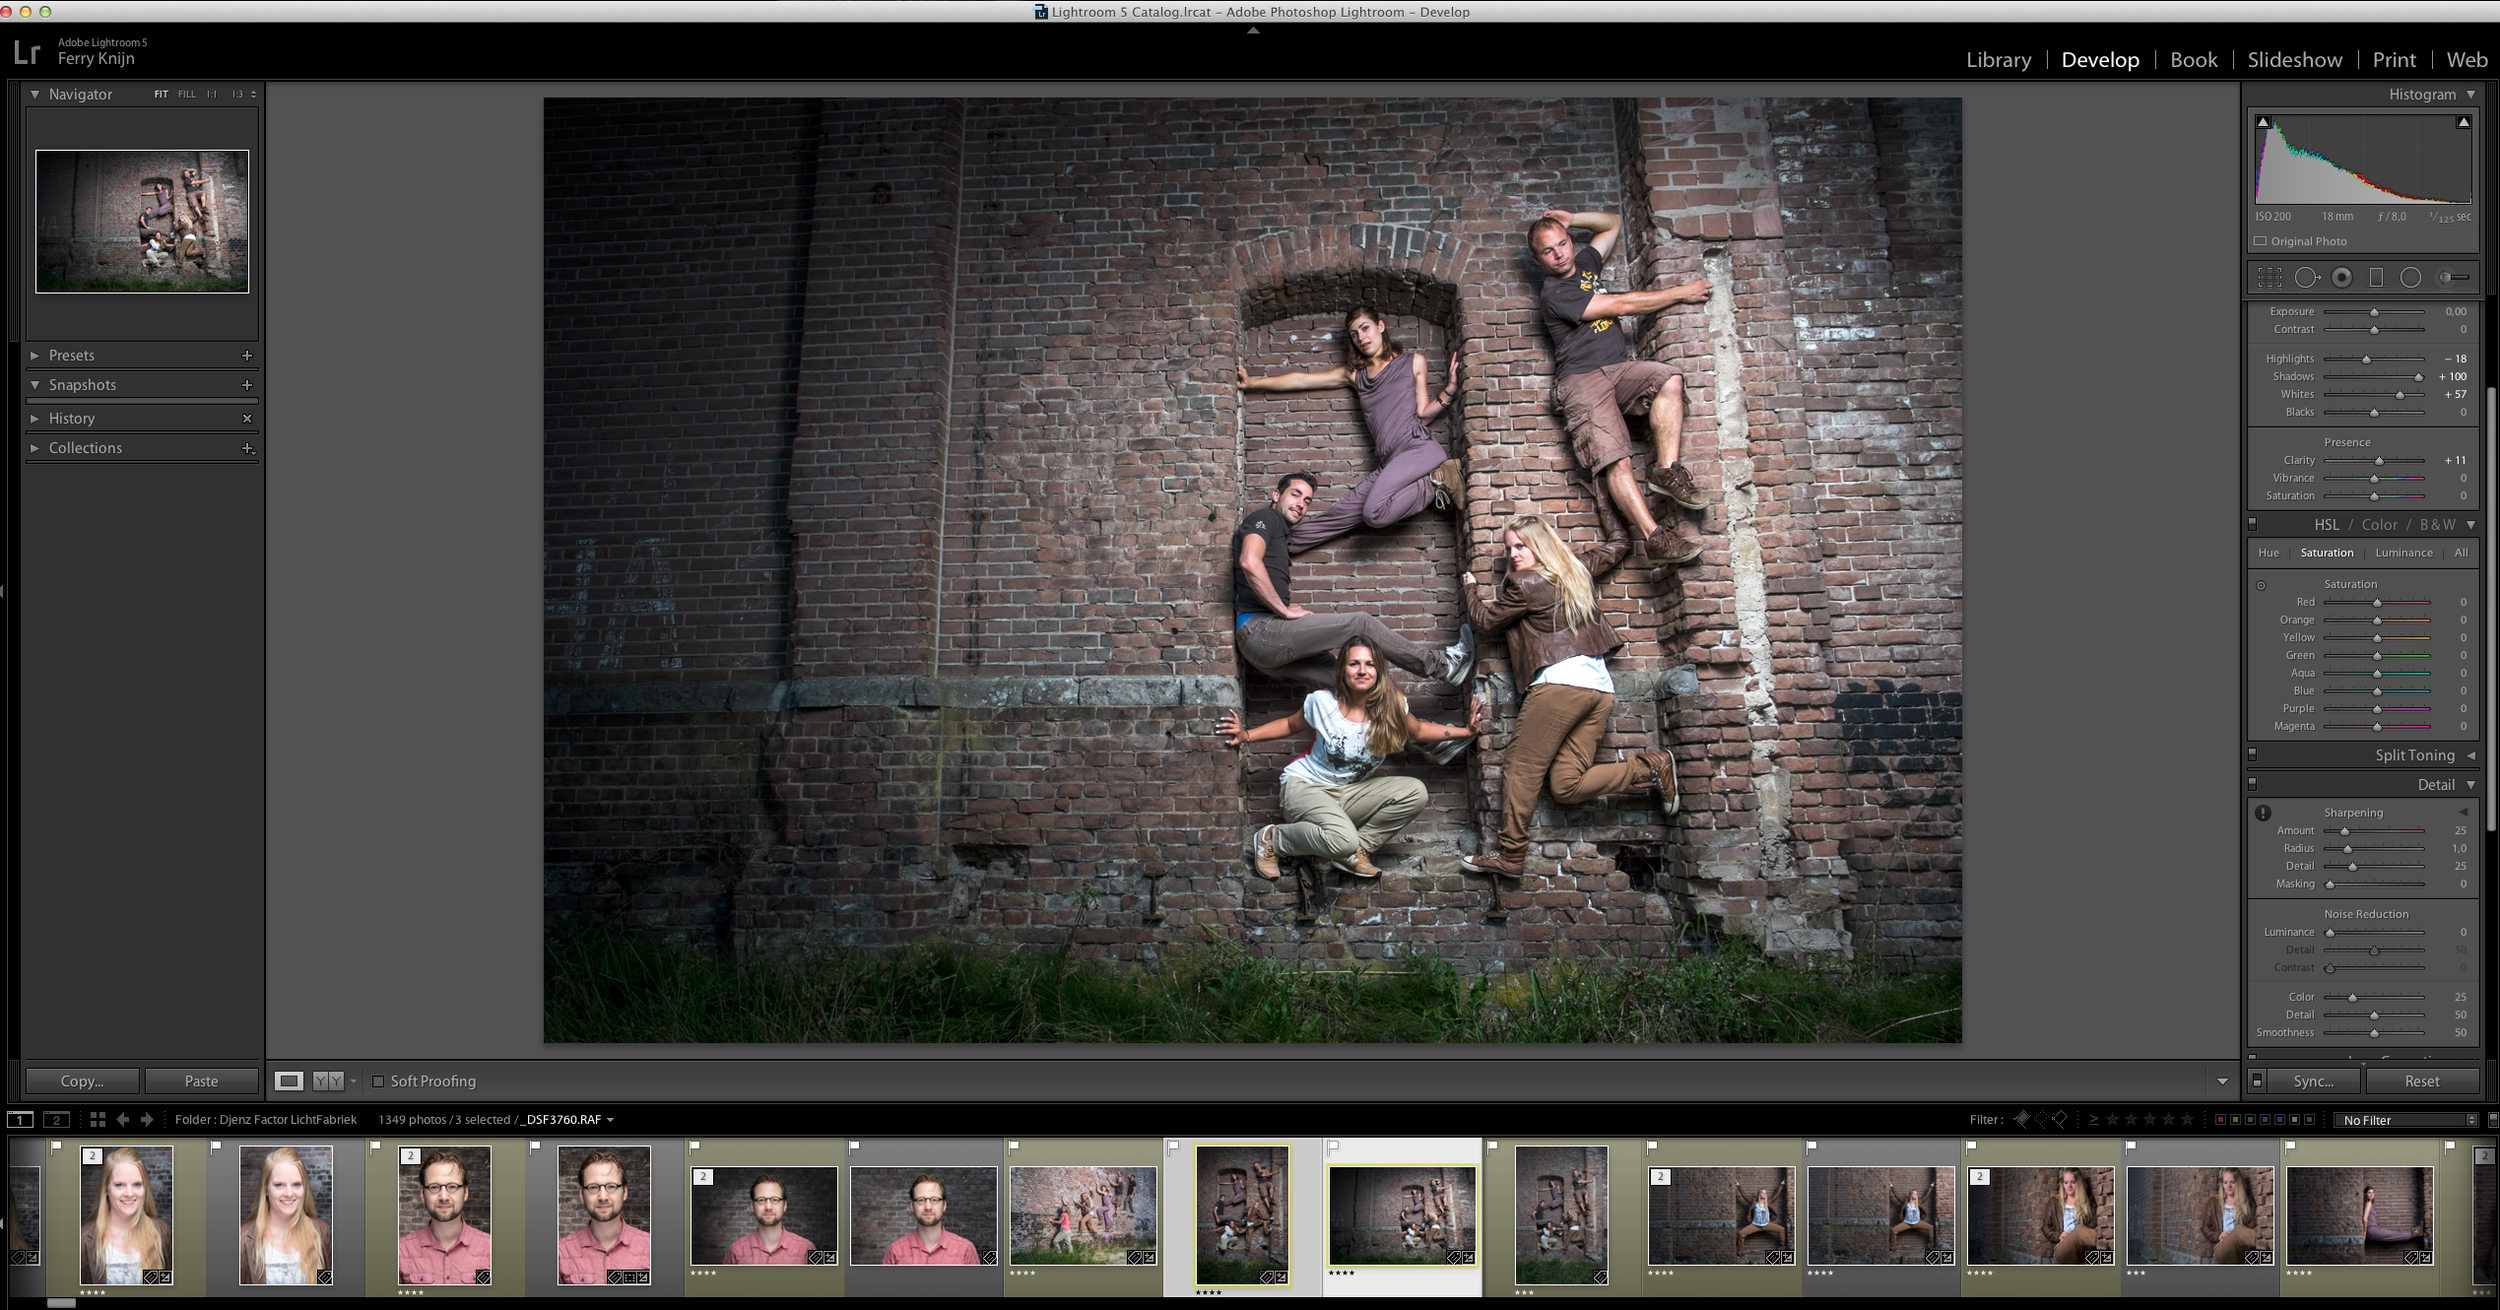
Because this was a group shot on a 16mp camera I kept the post production very simple. These shots are about the group, not about retouching every skin detail. And for doing that, there was not enough information to make the skin look better. So I just focused on getting the mood. So all I did were some basic Lightroom touches. Just some sharpening, highlight, shadows, and a vignette to focus the view on the group.
Shooting portrait and landscape
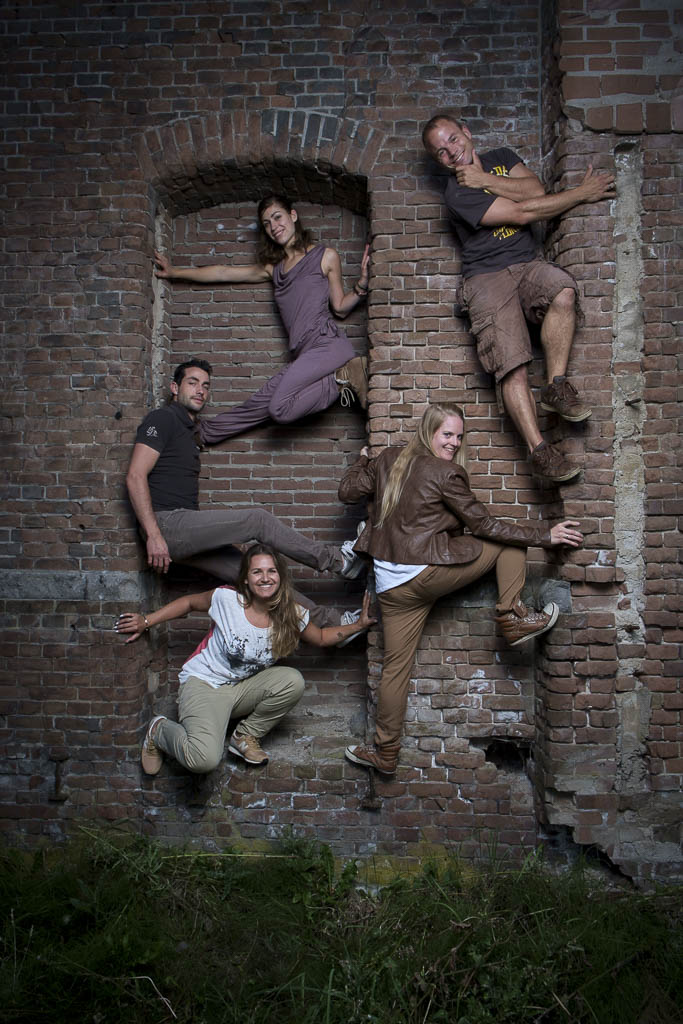
Remember always to also shoot and deliver a Portrait and a Landscape version of the photo. This way your client has the option to choose and have the highest quality for the way they want to use it.

I switched from Canon to Nikon
After a long of wanting to switch I finally switched. I had Canon but was unhappy with canon as a company and especially their arrogance.
D800 vs D4 vs D4
Last year I had the opportunity to work with the D800, D4 and D600 from Nikon for my Dutch Jazz Portraits Project. I love the High res of the D800 but the file size of the camera was huge. The D4 is a speed monster, but it didn't felt the camera I would love to work with. It is great for journalists,but not for me ad a commercial music and dance portrait photographer. The D600 was also a really sweat camera. But I missed he resolution of the D800 sometimes.
The Decision
So now almost a year later I was still doubting adding D610 or D800, and I couldn't choose. So I took the next solution, I took the D800 with the Sigma 24-105 f4 lens and traded in all my Canon gear for the D610 and the Nikon 85 1.8 (a lens I really love for portrait work).
Upcoming weeks I am planning some shoots to test the camera's out and post some new work with them.
Fuji's
Some off you might think now, what about you Fuji's. Well I still keep them and love them, especially for traveling work. Because the Nikons great, but heavy! In two week sI will go to Paris for some new street work, and I will only take my Fuji's. Also the Fuji's are not good on video so I will use the Nikon for that. So the Nikons will for most be my studio and big shoot camera's and for when I have to more post work. The fuji will keep being my reportage/documentary camera's.