10 reasons why is Capture One Pro Better than Lightroom
A lot of people know I am always raving about Capture One Pro and how much I like it better than Lightroom. And if you want to know why I like Capture One Pro over Lightroom, I made a video with the first ten reasons why I like Capture One more for my portrait photography than Lightroom, especially with my Fujifilm GFX Camera.
Reason one: Sessions and Catalogs
Capture One Pro gives you the option between working with sessions or a catalog. I love working with sessions because it is fast, and easy to back up and keeps your import, selects and outputs together in one folder, easy to back up. But if you like catalogs, you can use that to, and you can import your sessions in your catalogs.
Reason two: Speed
Capture One Pro is way faster with importing files, I did a test importing 40 GFX Raw files. Lightroom took 1.58 minutes for importing and creating a preview image and Capture One Pro only took 1.02 minutes, so is almost twice as fast.
Reason three: Fullscreen mode
Like you could do with Apple Aperture (Loved that program) you have a real fullscreen edit mode, so the only thing you see is your is you image and editing tools
Reason four: tethering
With Capture One Pro setting up a tethering shoot is easier, just plug in a USB cable and go!
Reason five: Working with Layers
Instead of working with the pins with brushes in Lightroom you can work with layers and brush the effects in. This is way it is easier to keep track of what you did with editing and undo/see what you have done.
Reason six: Color balancing
Like you have when color grading video you can use color wheel when you use the Color balancing tool in Capture One Pro. This is a really great way for color toning your photo’s.
Reason seven: Customizing
With Capture One Pro you can really customize all you editing screens and set it up in a way you like. Making it easier and faster to edit you images
Reason eight: the luma curve
Beside the RGB curve and Red, Green and Blue curves you also have the Luma curve. The advantage of the Luma curve is that it only adjusts the luminosity in the image and keeps you color naturel.
Reason nine: Clarity
The clarity function is also better in Capture One Pro. The biggest advantage is that when you add Clarity it does not boost your saturation like Lightroom does.
Reason ten: Grain
The grain function is also really good. Instead of adding a image of the structure of grain it really calculates how grain would appear with the color and setting, making it really looks like real grain.
So these are the first ten reasons why I love Capture One Pro more then Lightroom. There are more. But these are the first ten I could think of. So maybe soon more!

Dance photography session Part 1: The headshots
In the upcoming blogs I am going to take you through the process of a dance photography shoot. A few weeks a go I got the call from Djenz Factor that they needed new promotional photo's for their new website. Having worked with them multiple times before I knew this was going to be fun! For location we have been to the area of the Lichtfabriek in Haarlem. Because that is where the new dance studio is going to be. We wanted to start with an outside session. It is in an old industrial area so it is really nice. The only thing that was looking to be a problem was the weather, but it was great weather that evening! We started with the head shots of the creative team
The Set up

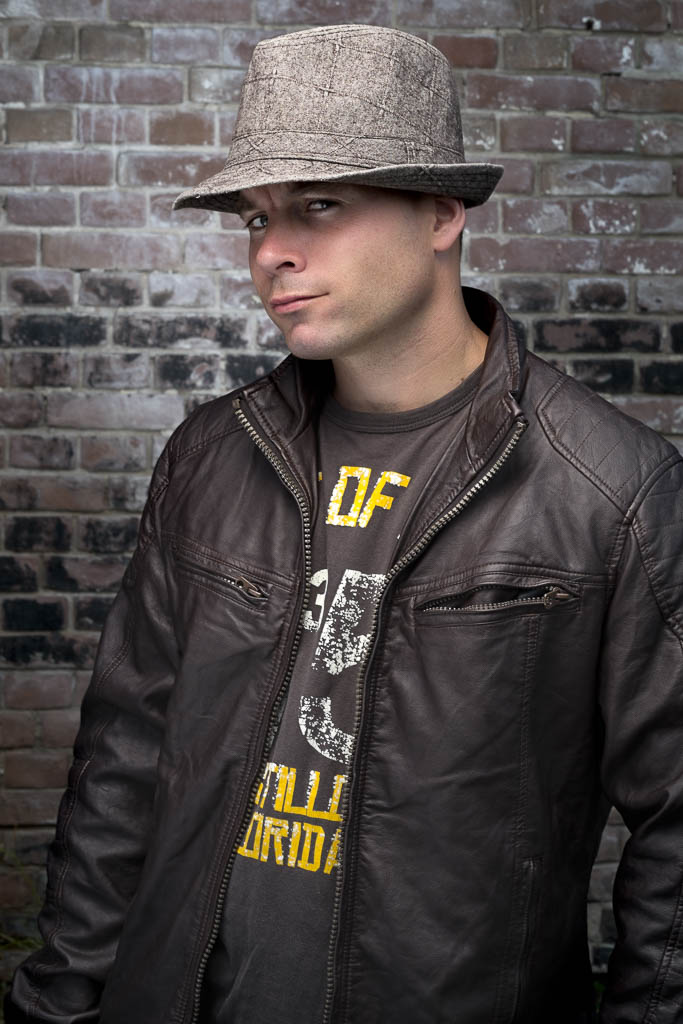
For the Headshots I used a fairly basic setup. On the location we found this lovely brick wall to use as a background. For the lighting I used my Elinchrom Quadra set with A heads. The main light was in the A port with the 100 Rotalux octa soft box. I Also placed a second light on the background, that was in the B port with the Elinchrom 18cm reflector and grid, so it had a little bit of a natural vignette. To have a little bit of fill I used a silver reflector handheld by my assistant. For camera I was using the Fuji X-pro1 with the Fuji 56mm 1.2 lens. I was really happy to use it for the first time on a job. Setting were: raw+jpeg fine, F10, 1/125 ISO 100.
Going to Post
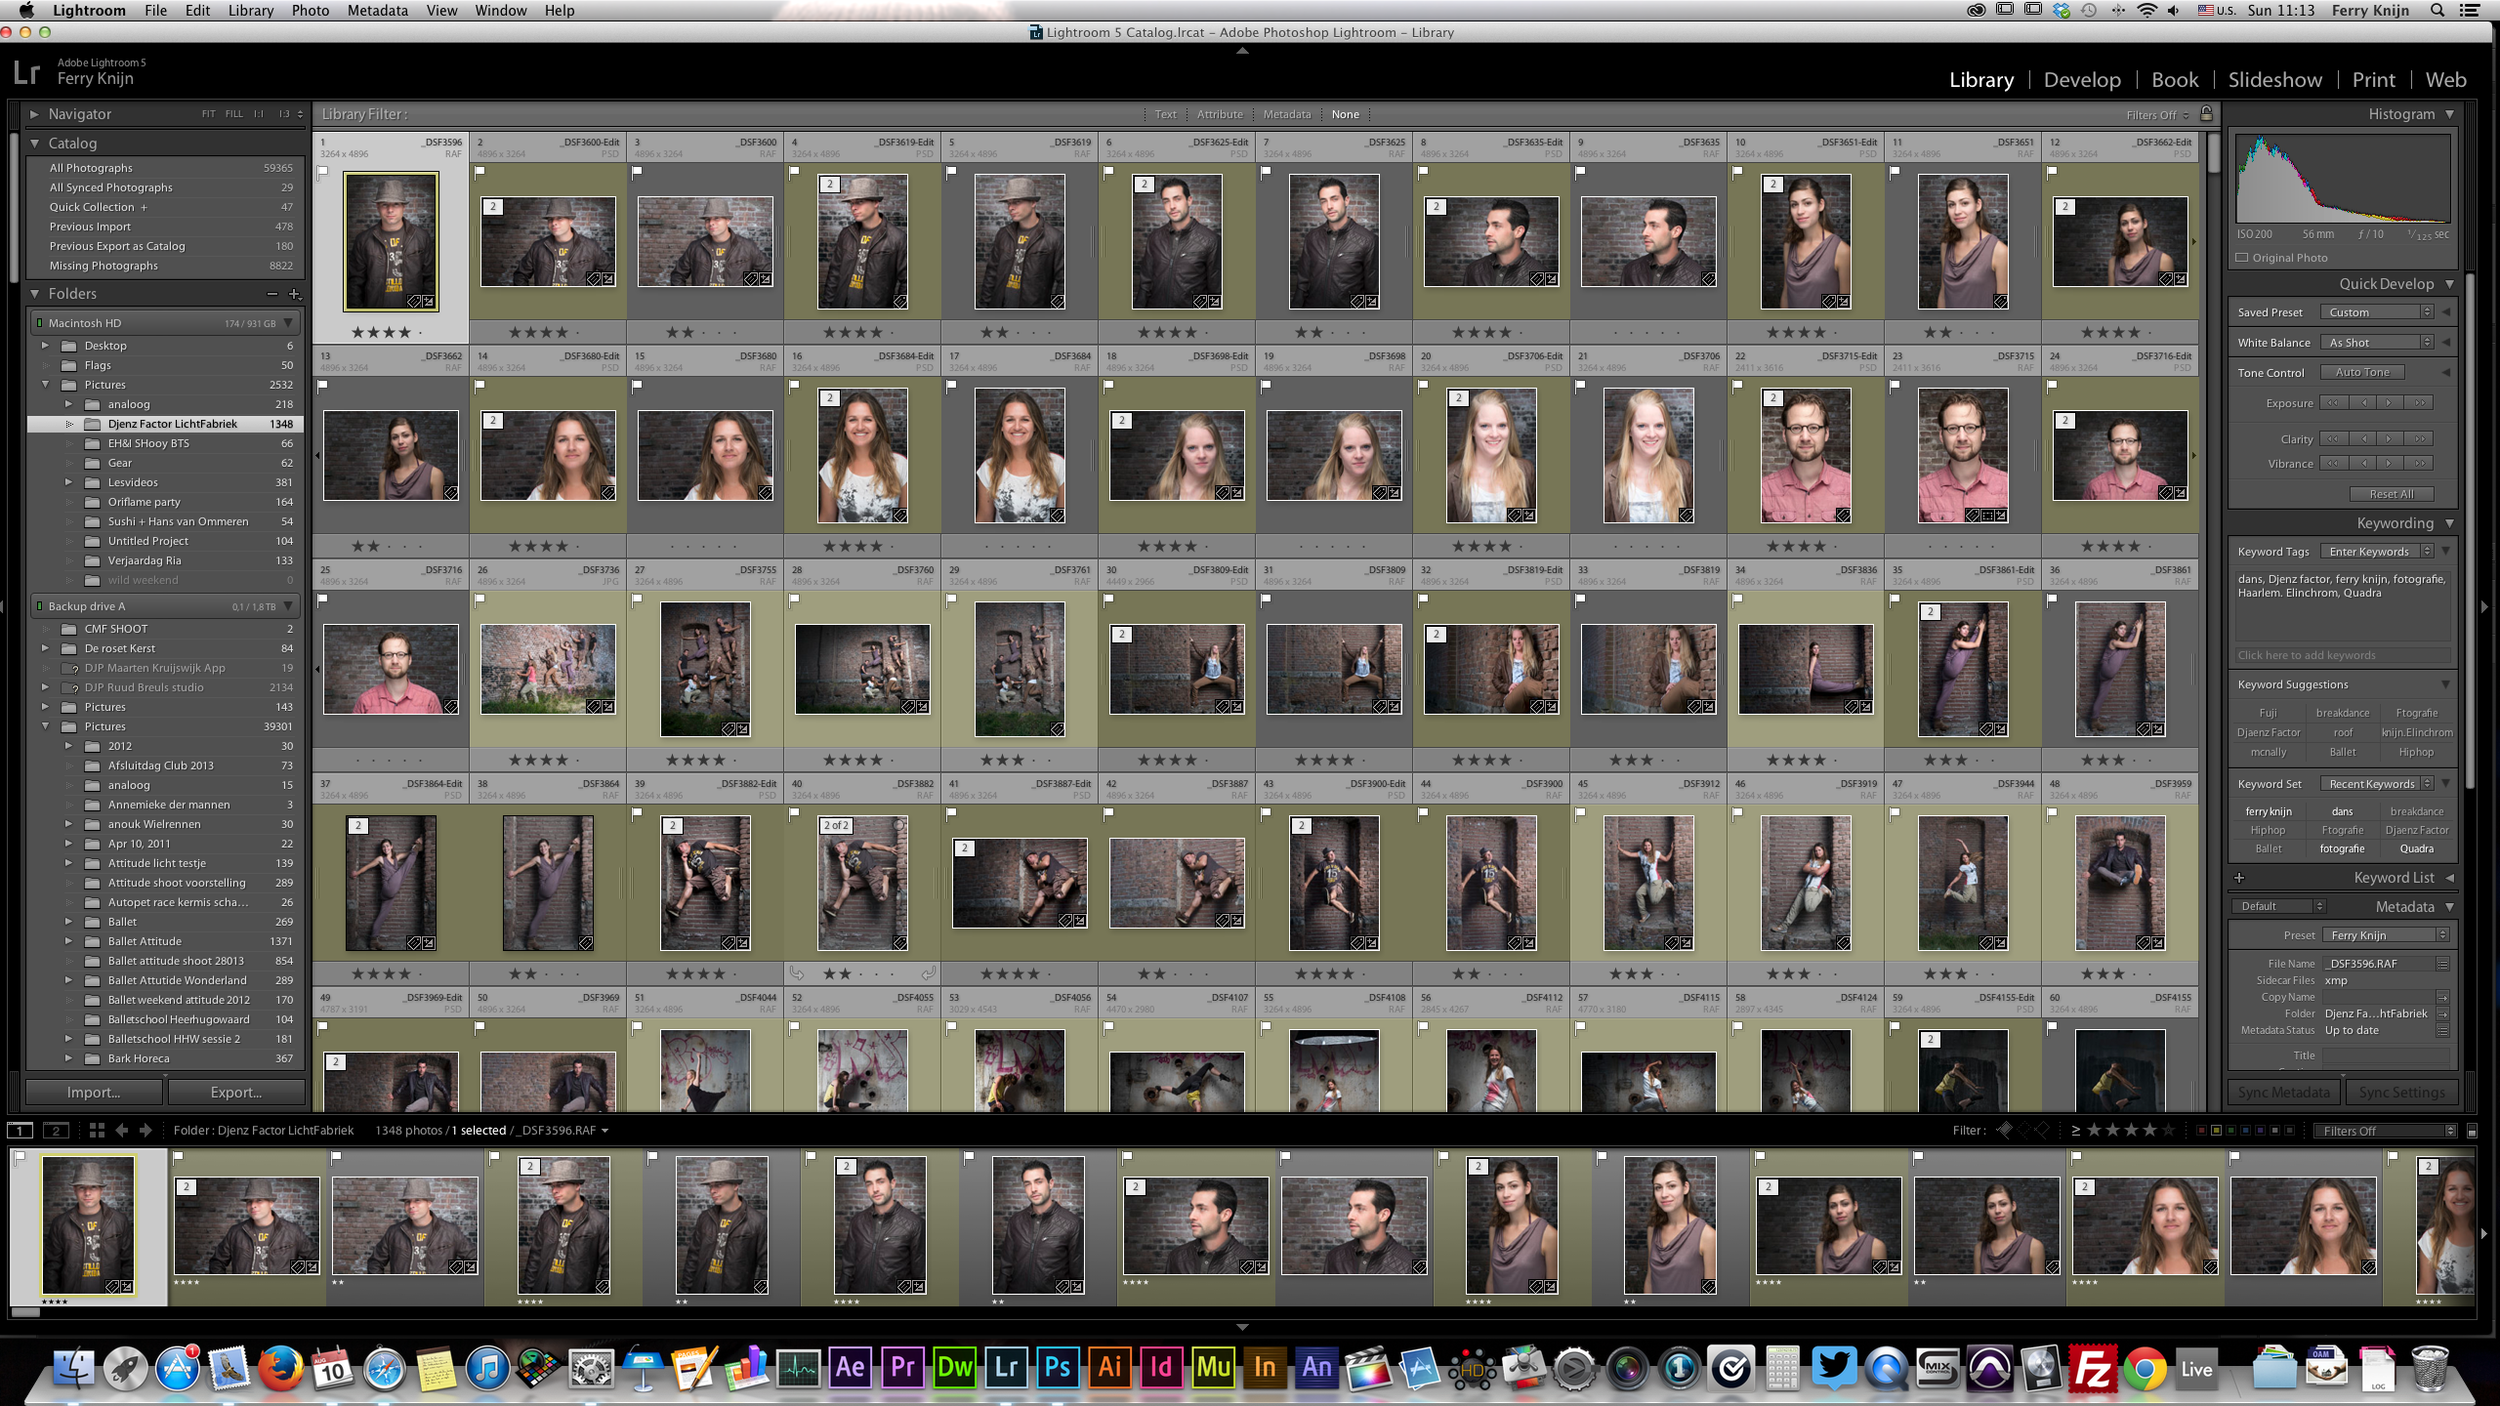
When I first opened the files in Lightroom I was really impressed by the jpegs of the camera. They where so good that I even have delivered some pure jpeg's to my clients. I also noticed that the Lightroom Fuji profiles are still of and not matching enough for my taste. For post I really have speeded up my workflow. In the past I was using Nik Color Efex pro a lot, but the loading time was getting to long for me. When I just have to do a few pictures it is no problem, but when you have to do around 50, it is too long. So I have started to create some actions to speed everything up.
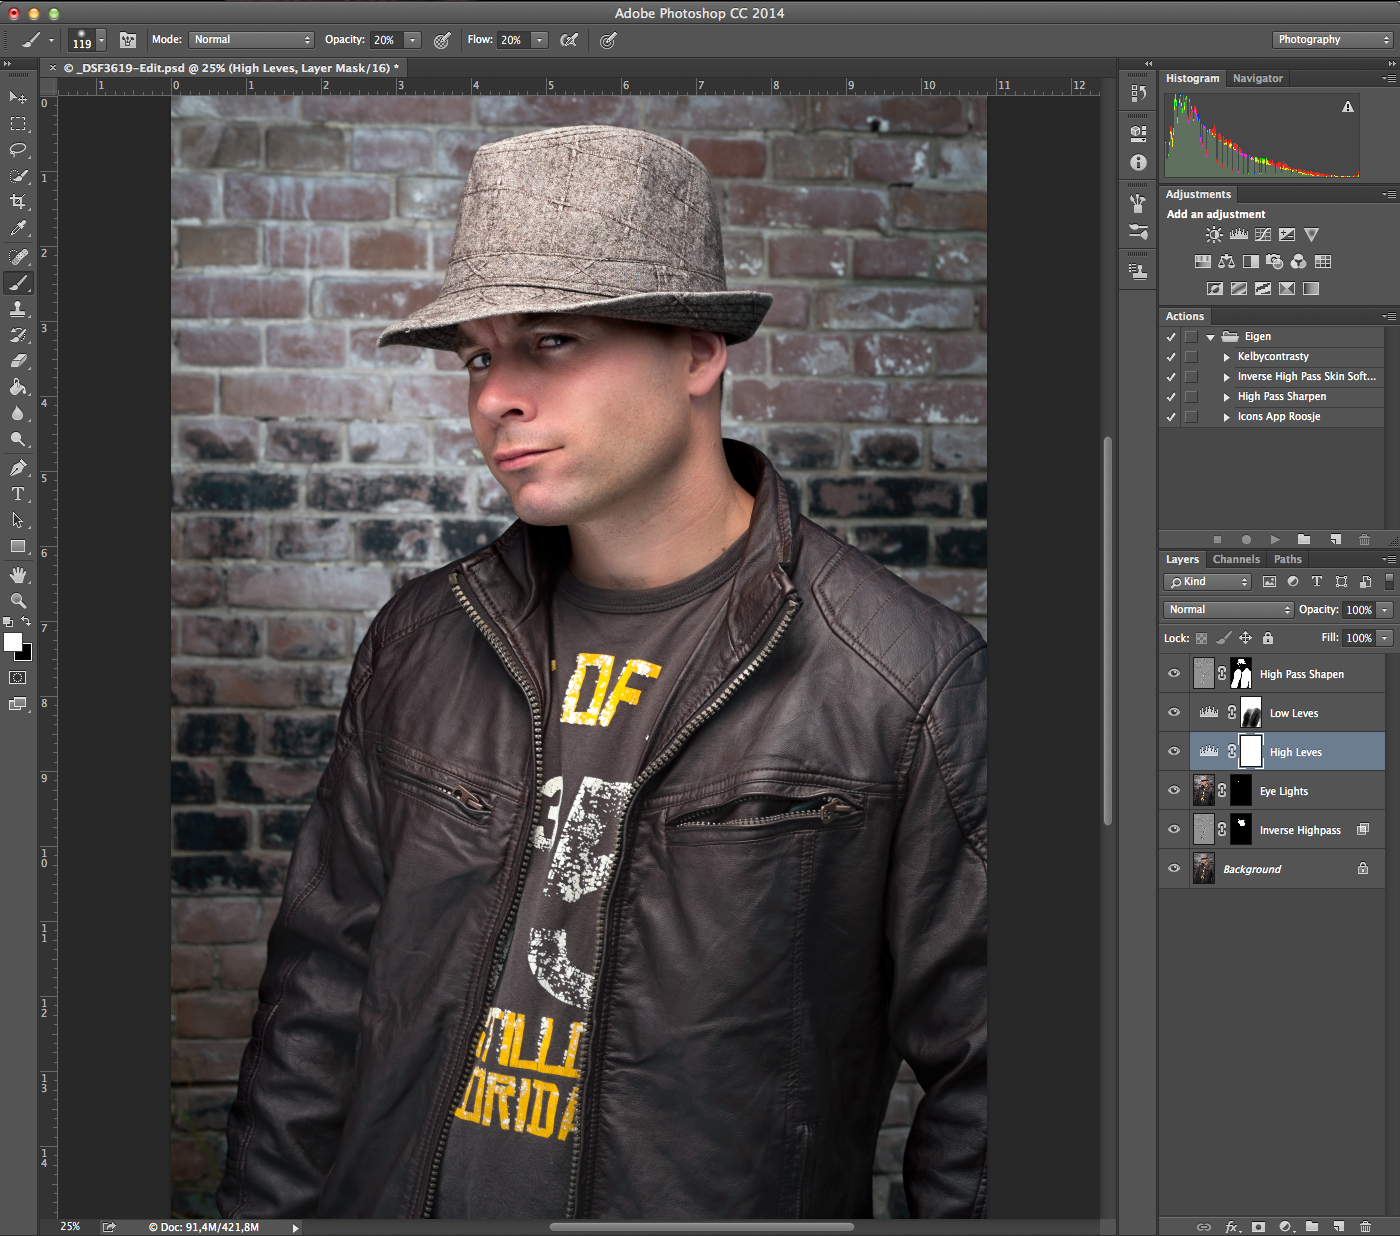
I first started to remove some of the basic blemishes with the healing brush. After that I used the Inverse High pass skin softening action. Which is based on a technique I learned from Scott Kelby on KelbyOne. It gives a nice skin in just a few seconds. After the skin was done I wanted to make the eyes pop a little more. So I created another layer, set it to screen and hidden it with a layer mask. Than used a brush to reveal it on the eyes and used the opacity to make it look more natural. To add a little more contrast I made two level adjustments and painted them in the Layer masks. To finish it off used the High Pass filter to give it a little more sharpness on some areas.
Done
And that was all I did. If you have any questions post a reaction down below!

Adobe Lightroom ondersteund Fuji Profielen!
Vandaag is het een belangrijke dag voor de Fuji X serie gebruikers! Adobe Lightroom 5.4 ondersteund nu de belangrijkste kleurprofielen van Fuji X camera's. Dit houd kort gezegd in dat de RAW foto's er ook uitzien zoals je ze gefotografeerd hebt met het Fuji X Camera profiel. Dus ASTIA komt er uit te zien als ASTIA en VELVIA als VELVIA. Doordat het nu in RAW zit kun je de foto's als basis nemen en verder tweaken met hooglichten en dergelijke. Maar de basis is zoals het er alf film uitzag/ziet. Dit is een vooruitgang waar ik erg blij mee ben!
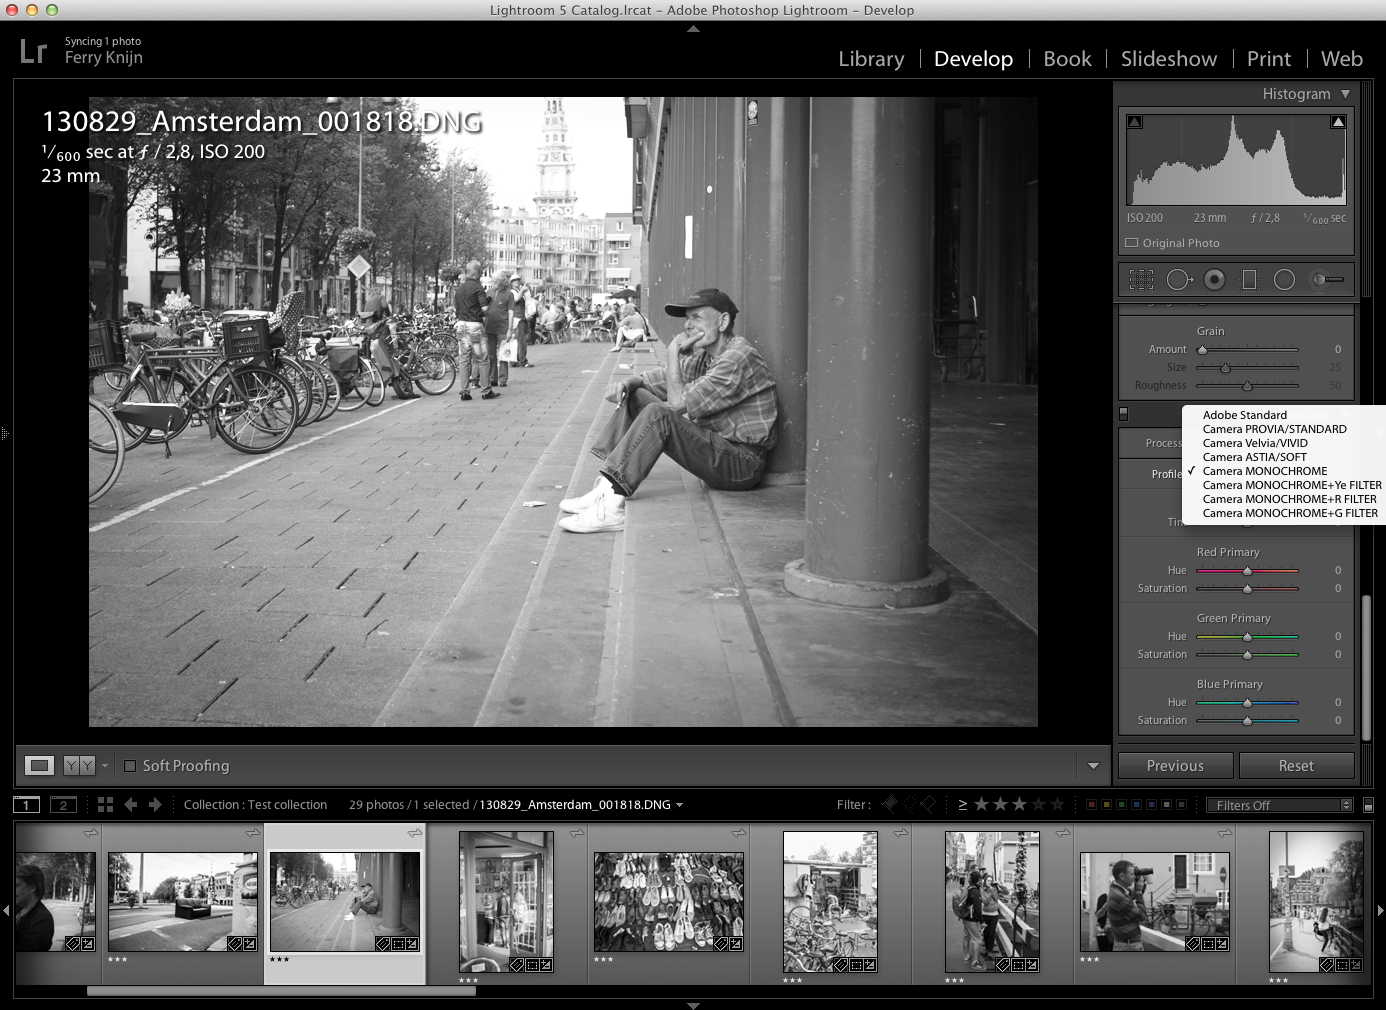
Voor de gene die ook met Fuji X camera's fotograferen. De functie zit onder het tabje Camera Calibratien bij profiles!

Lightroom Workflow

Voor iedereen die wil weten hoe ik mijn nabewerking doe, hierbij een video over mijn Lightroom workflow. Voor 80% van mijn werk gebruik ik Lightroom of Apple Aperture, een beetje afhankelijk van de Job. Lightroom is iets krachtiger dan Aperture, voor de meer commerciële en grotere opdrachten gebruik ik dan ook Lightroom. Heeft meeste van mijn editing probeer ik ook in Lightroom te doen. De meer specifieke dingen als echt retoucheren of samen voegen van foto's doe ik in Photoshop. Onthoud tevens, je kan met Lightroom en Photoshop een goede foto geweldig maken, maar nooit een slechte goed maken! Voor iedereen die meer wil leren over Lightroom en Photoshop, kijk bij mijn Workshops!